Storing Dies – Solving a Paper Crafter’s Dilemma

I love dies!  They are a great tool, but there are so many on the market you can go bonkers and end up with a storage dilemma!

I  use lots of Spellbinders and I love the dies that Memory Box, Poppy Stamp, Couture Creations and My Favorite Things put out.  I have some Sizzix too, but not many.  I find the size and thickness of those other Tim Holtz dies too problematic to store, so though I have a couple I no longer buy them.

The dies I do buy are thin.  They may be thin, but they are weighty.

When I first starting using dies, about six or seven years ago now,  I kept them in their packets in a small box.  I kept buying more dies [all paper crafters know it is addictive!] and they graduated to a large shoe box or two, where they got all muddled up and I spent more time hunting for what I wanted then actually die-cutting.

About two years ago they found themselves being fitted onto magnetic sheets and being stored in a purpose built plastic case.  Which the growing number of them soon out-grew. This solution was also problematic – the cases are pricey and the specially shaped magnetic sheets are also pricey.  The cases hold a finite amount of dies and do not hold the larger ones at all [Spellbinders ‘Grands’ for example.]

Their next home was an apartment building of 3 hard cover large ring binders, still attached to their magnetic sheets and each sheet individually encased in a plastic sleeve.

That seemed to work better than any of the previous scenarios, but the weight of the combined dies in each folder made for two problems.

1: hoisting the folders down from their storage shelf and back up again [I’m short and leaning over the work bench and reaching up to the shelf with weighty things can be fraught in a crowded working space – if you drop a folder it breaks stuff!]

2: the weight was tearing the plastic sheets away from the binding holes, making the folders unstable and searching for items more difficult.

There was still also the issue of searching through weighty pages of dies to find the one I was looking for.

Then a couple of weeks ago someone in my local Freecycle group advertised 30 new, empty DVD cases to give away.

I was on the phone like a shot!

When I got to the house to collect the cases the lovely man asked me how many I wanted.  “All of them” I said – meaning ‘all thirty.’ and explained what I wanted to do with them.  He swooped up two boxes and carried them to the car.  When I got home I discovered I had ninety new, empty DVD cases.

Ninety!

Here’s a shot of about forty of them:

Die Storage 2

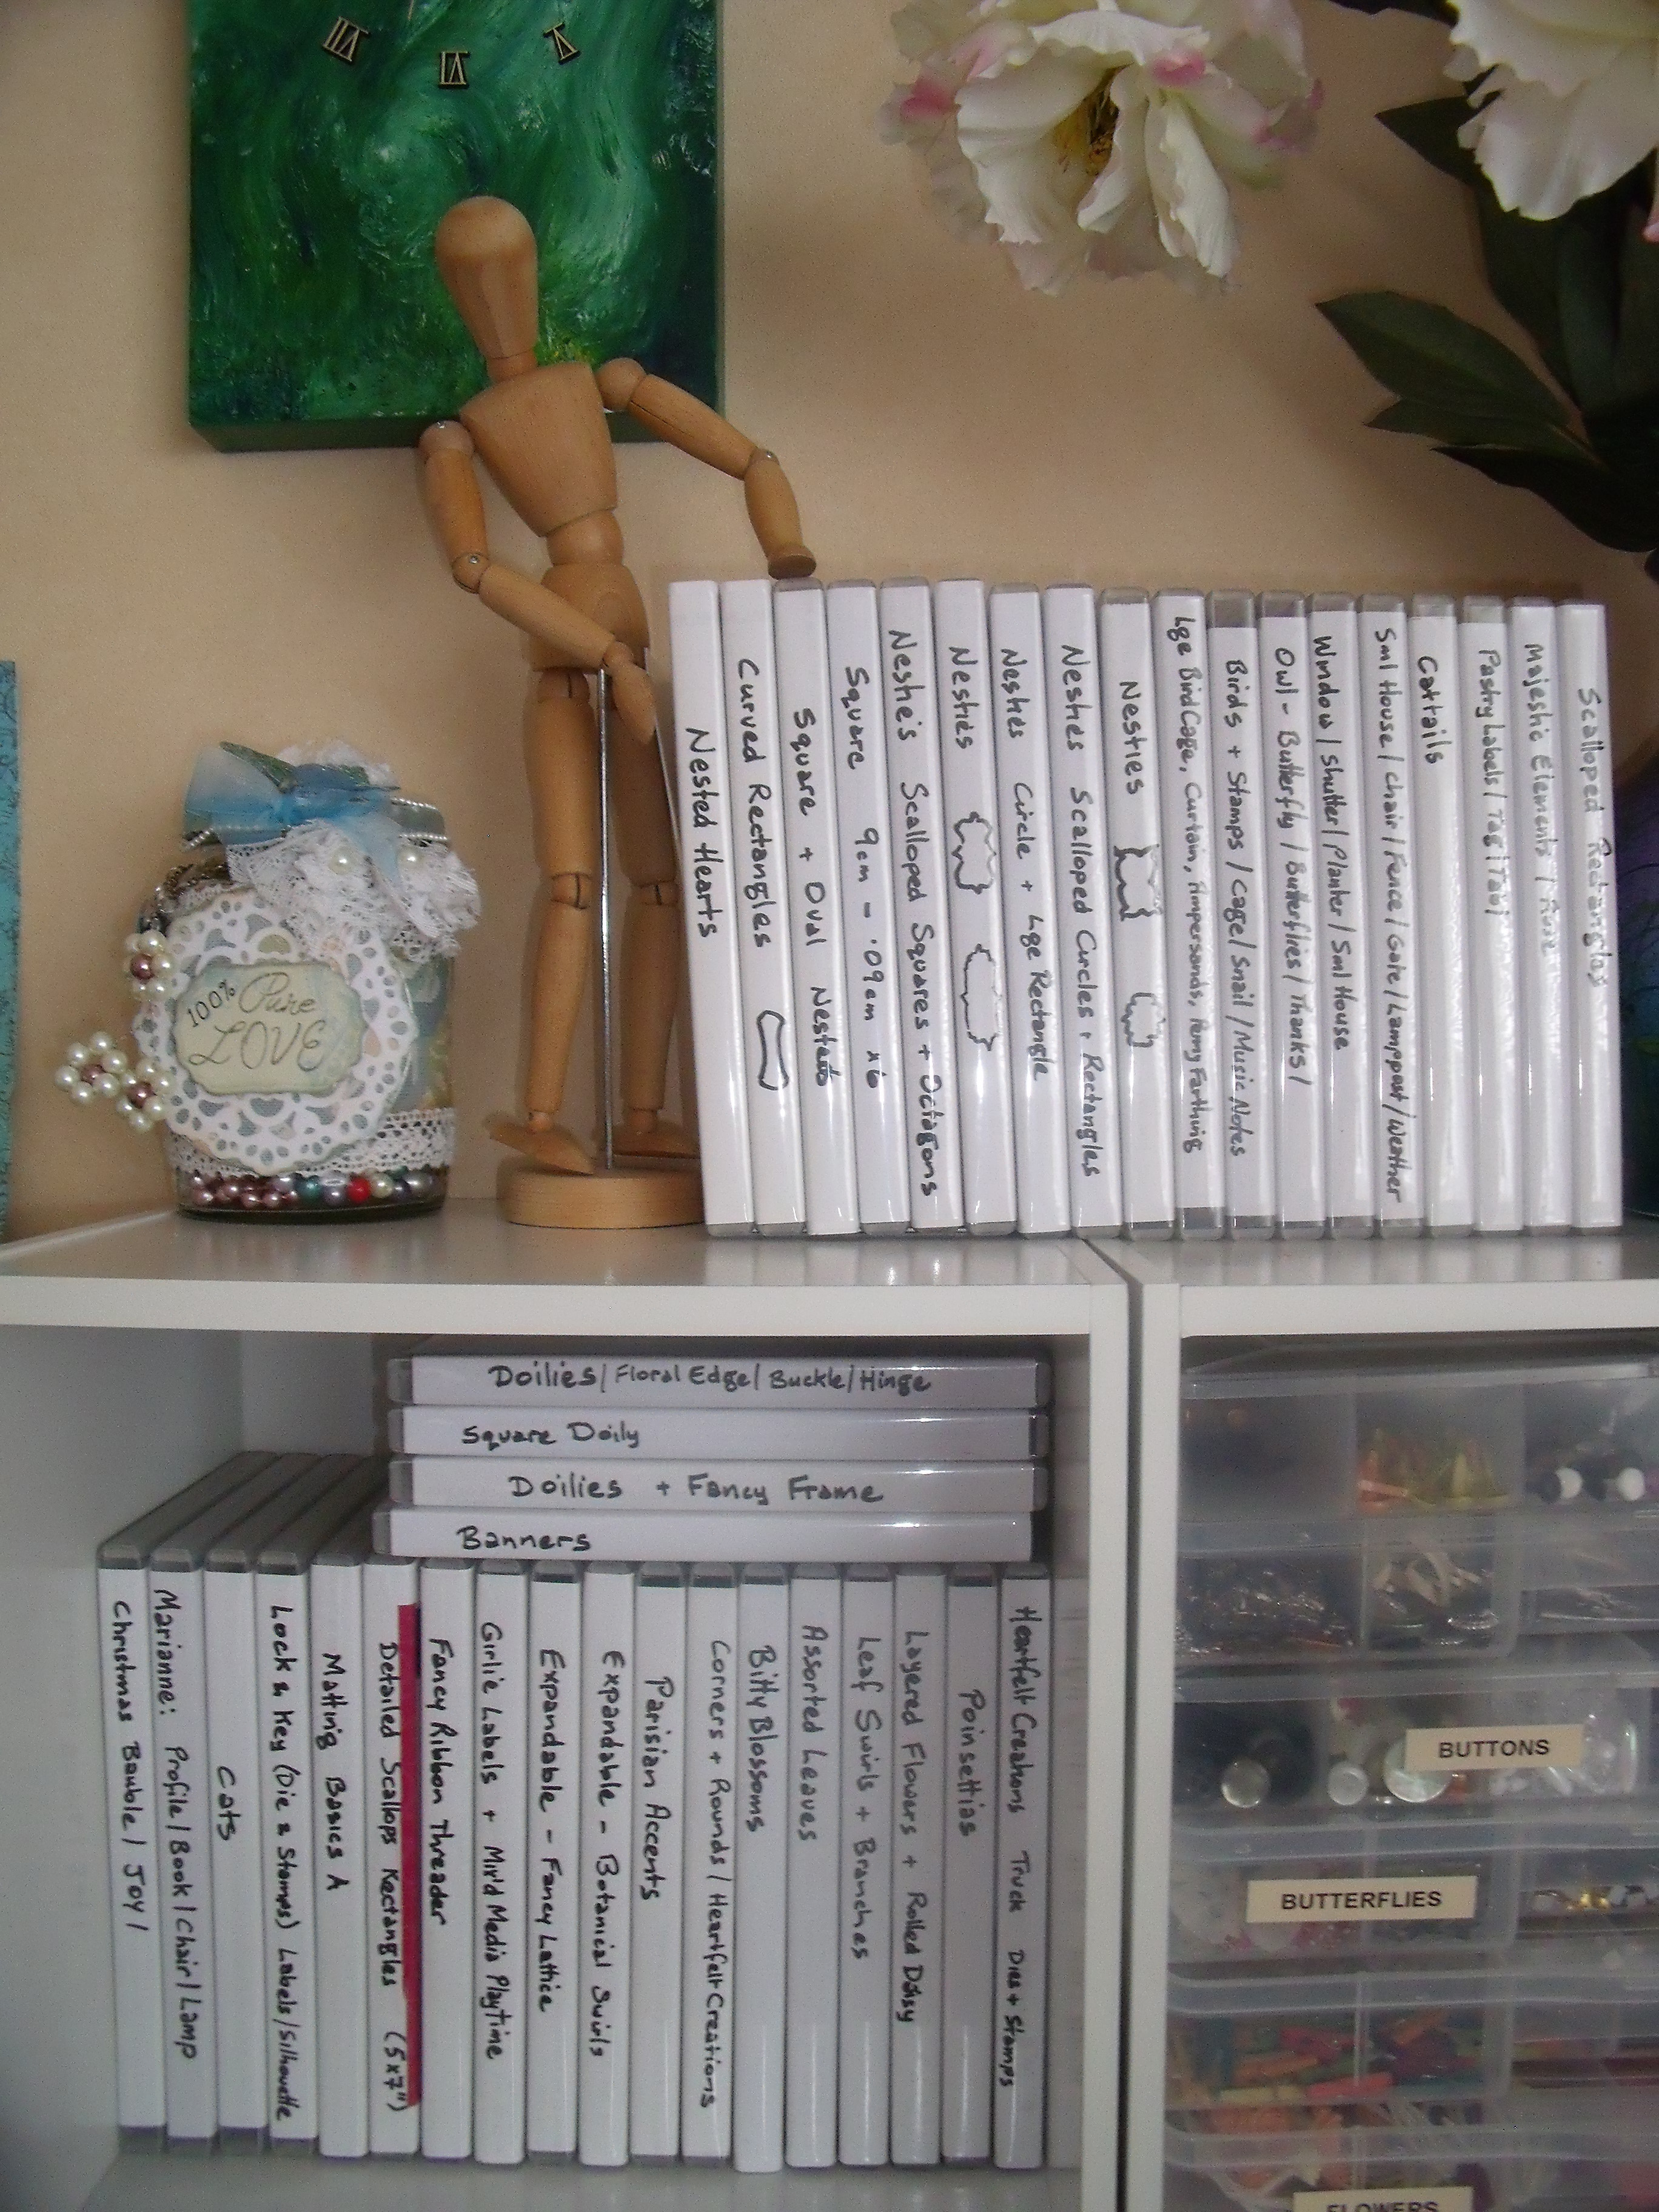
All beautifully and tidily lined up, labelled and categorised.   Every Virgo’s dream  🙂

Some of the fronts even have a picture of the contents, others just a list.

Die Storage 5

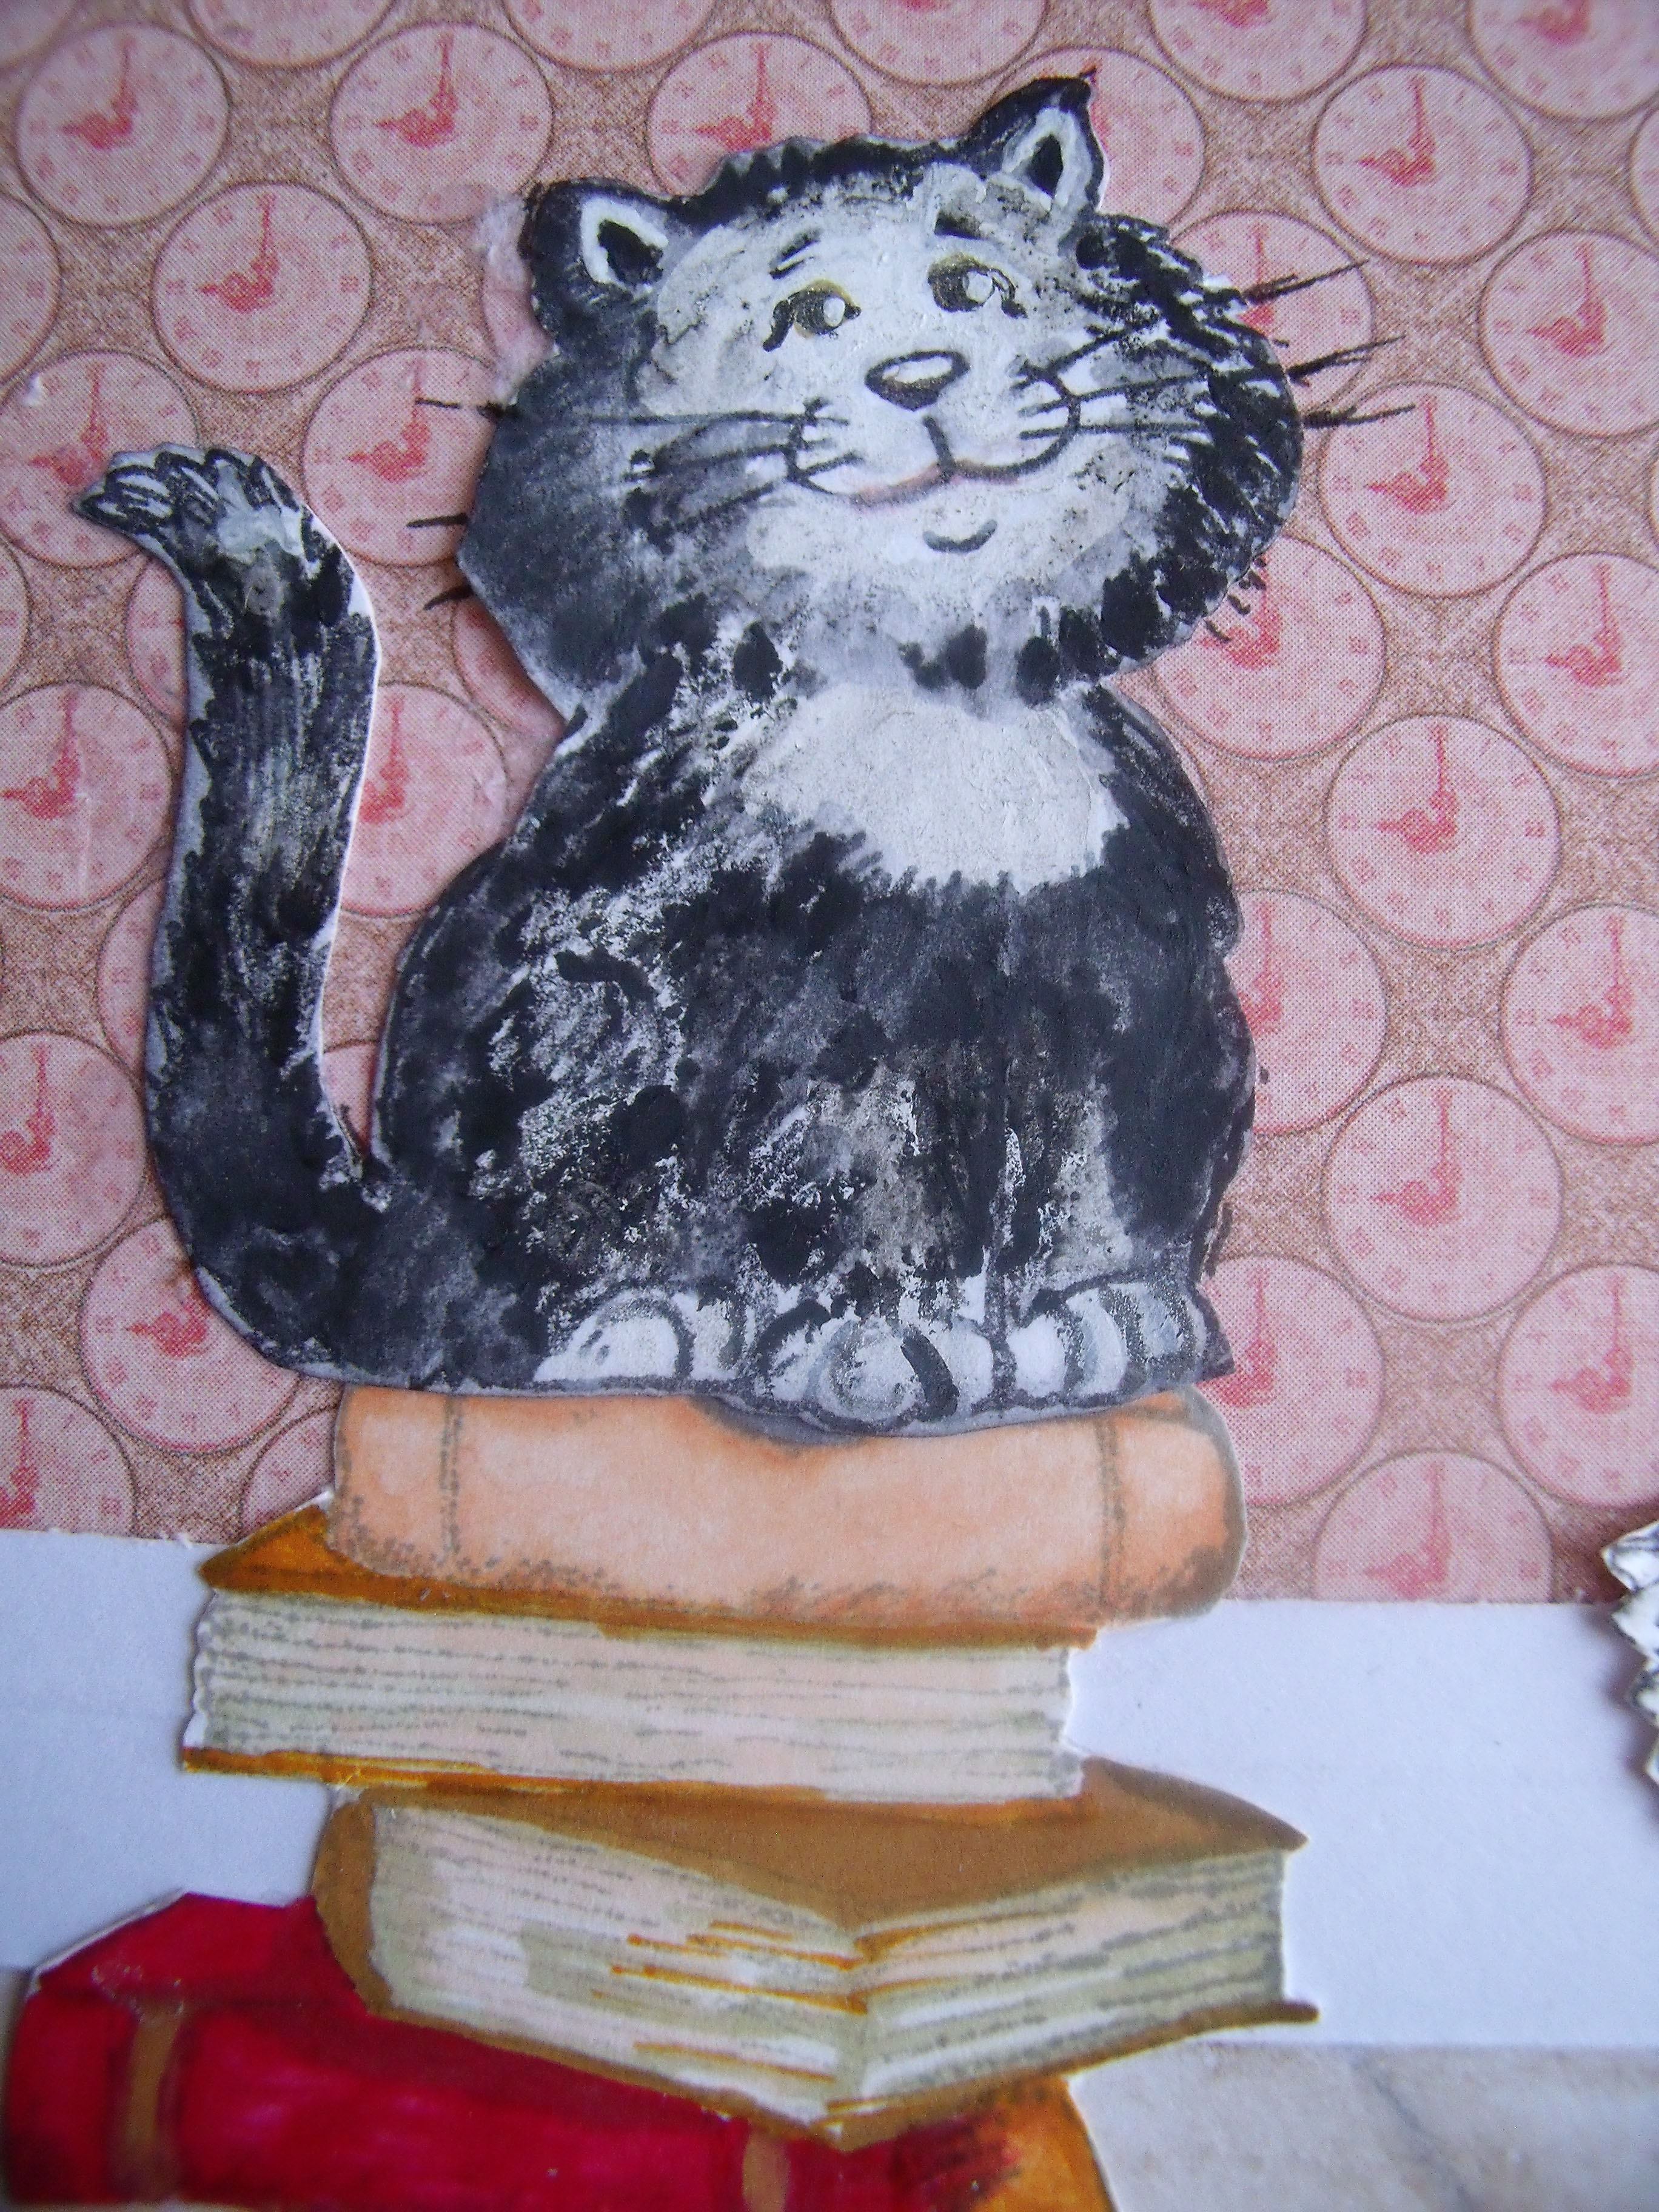
Open one up and take your pick – this is a selection of my favourite embellishment type dies::

Die Storage 3

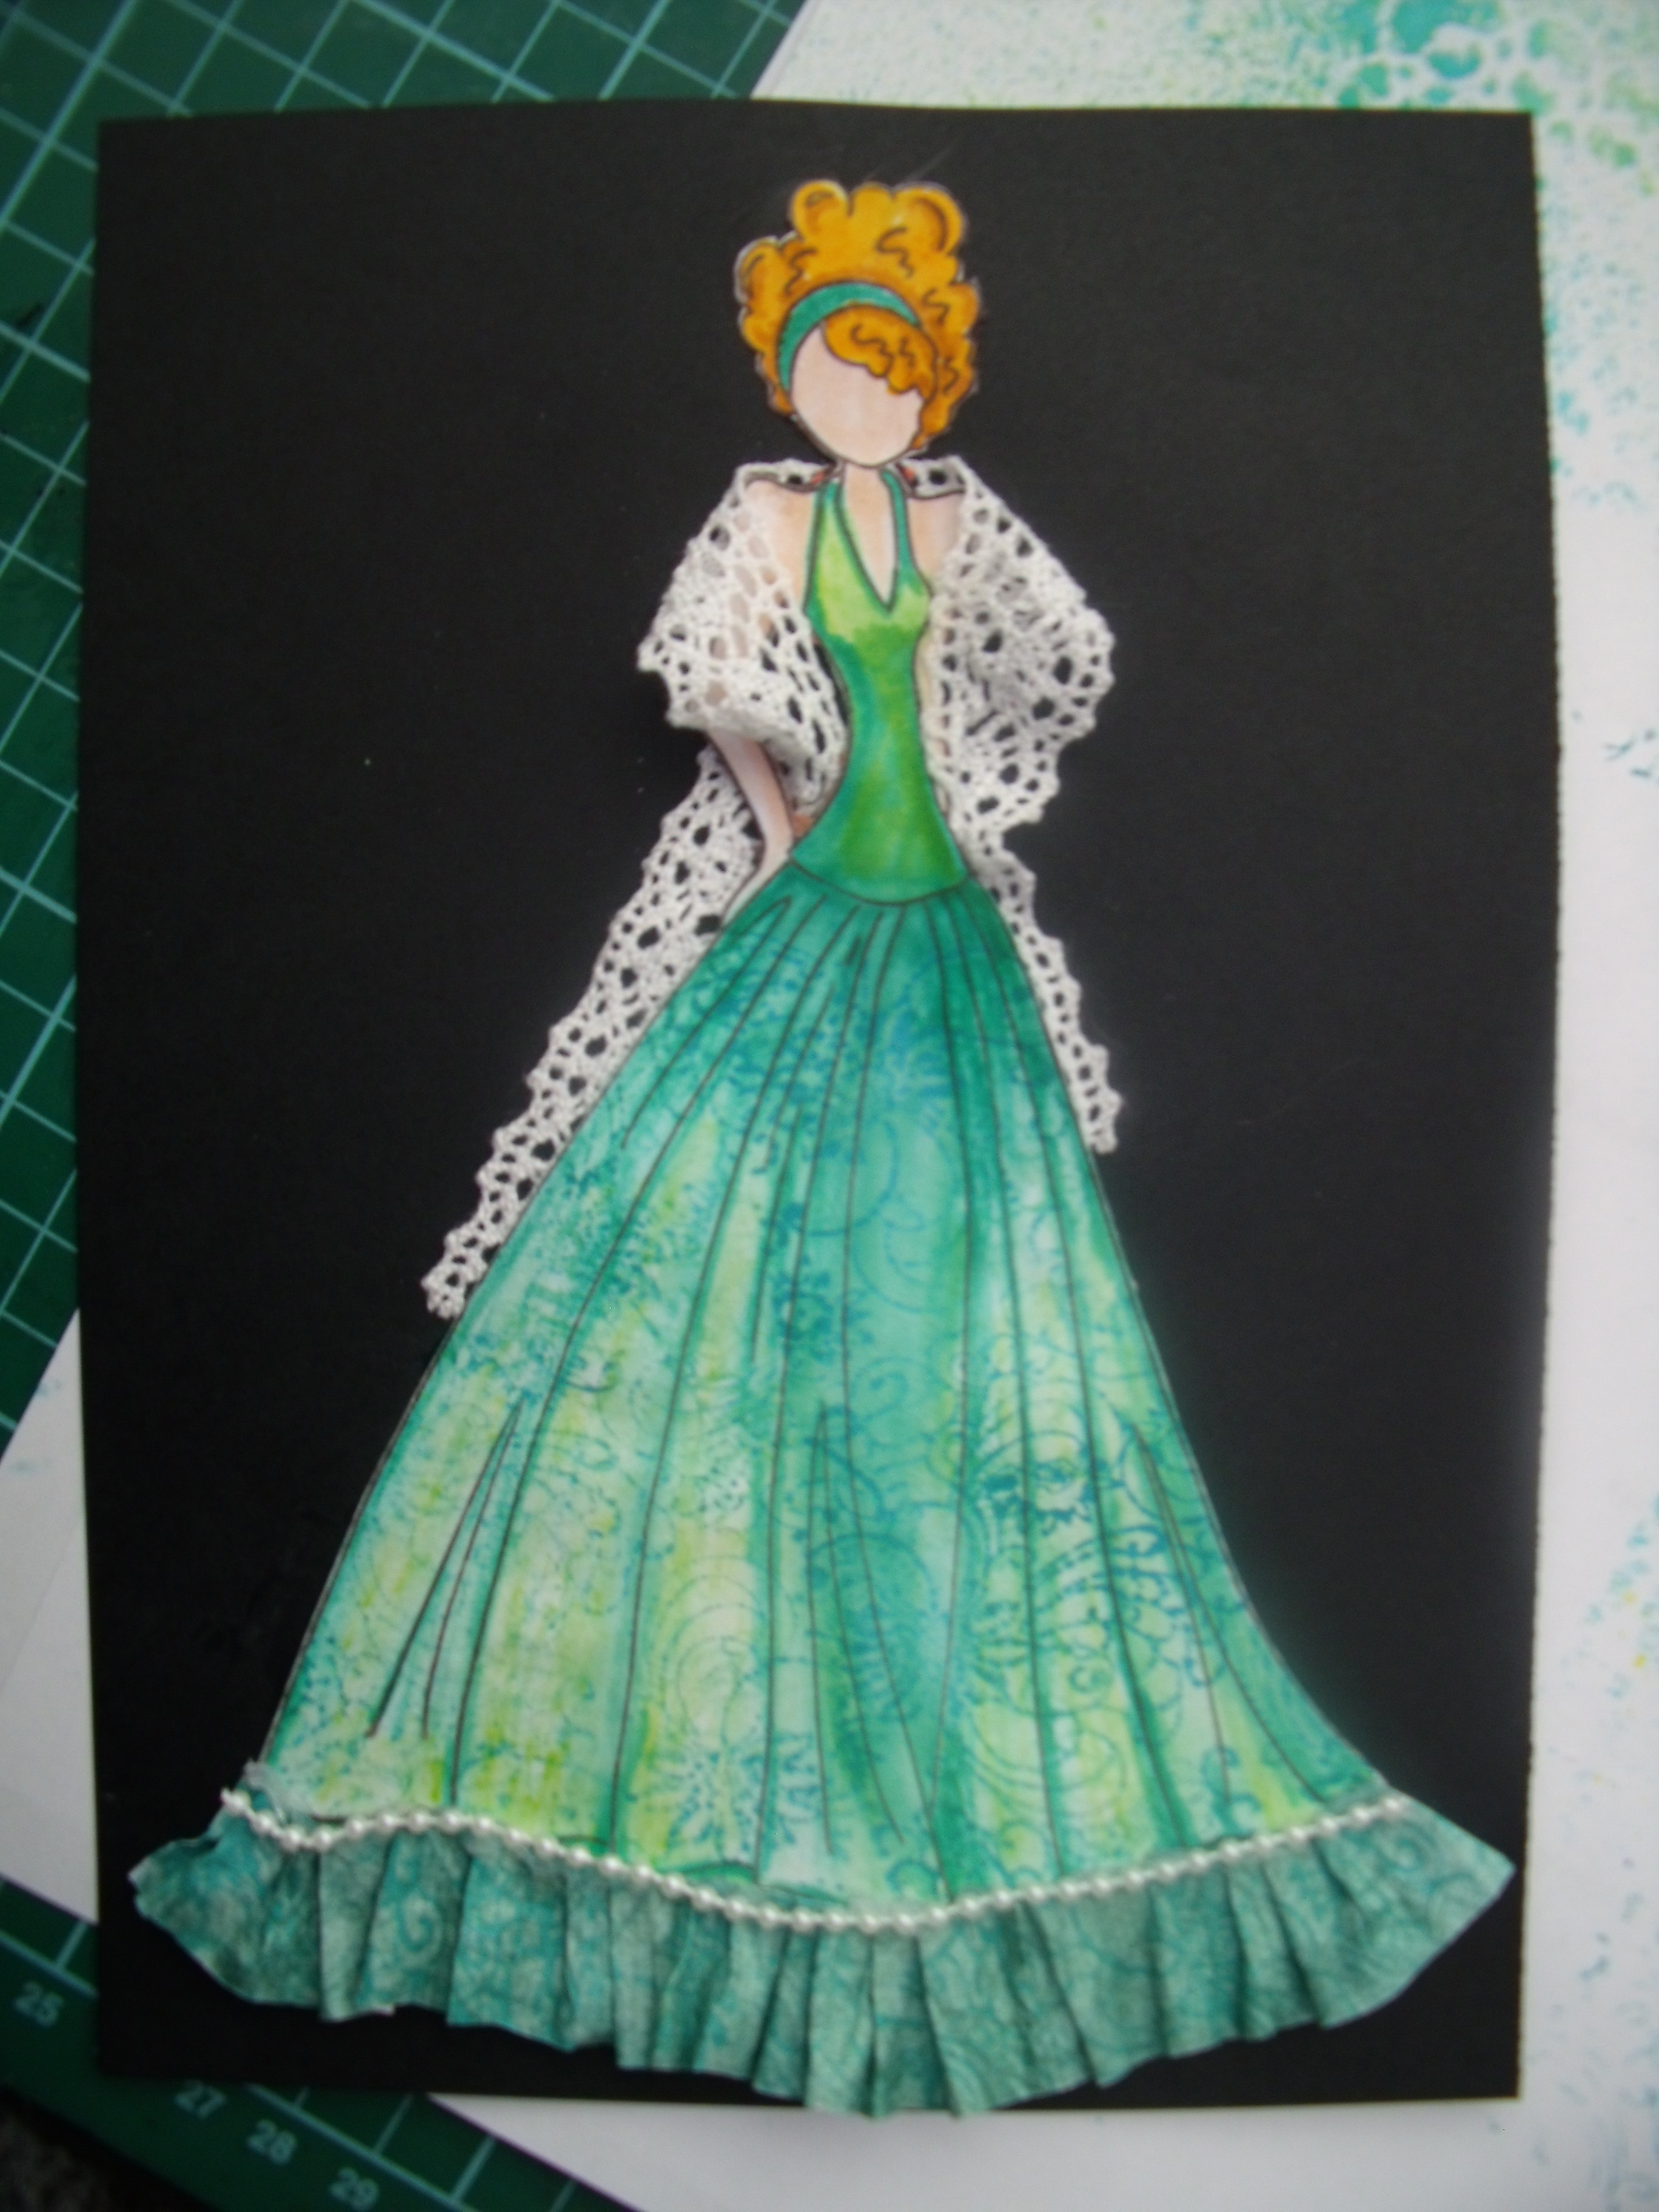
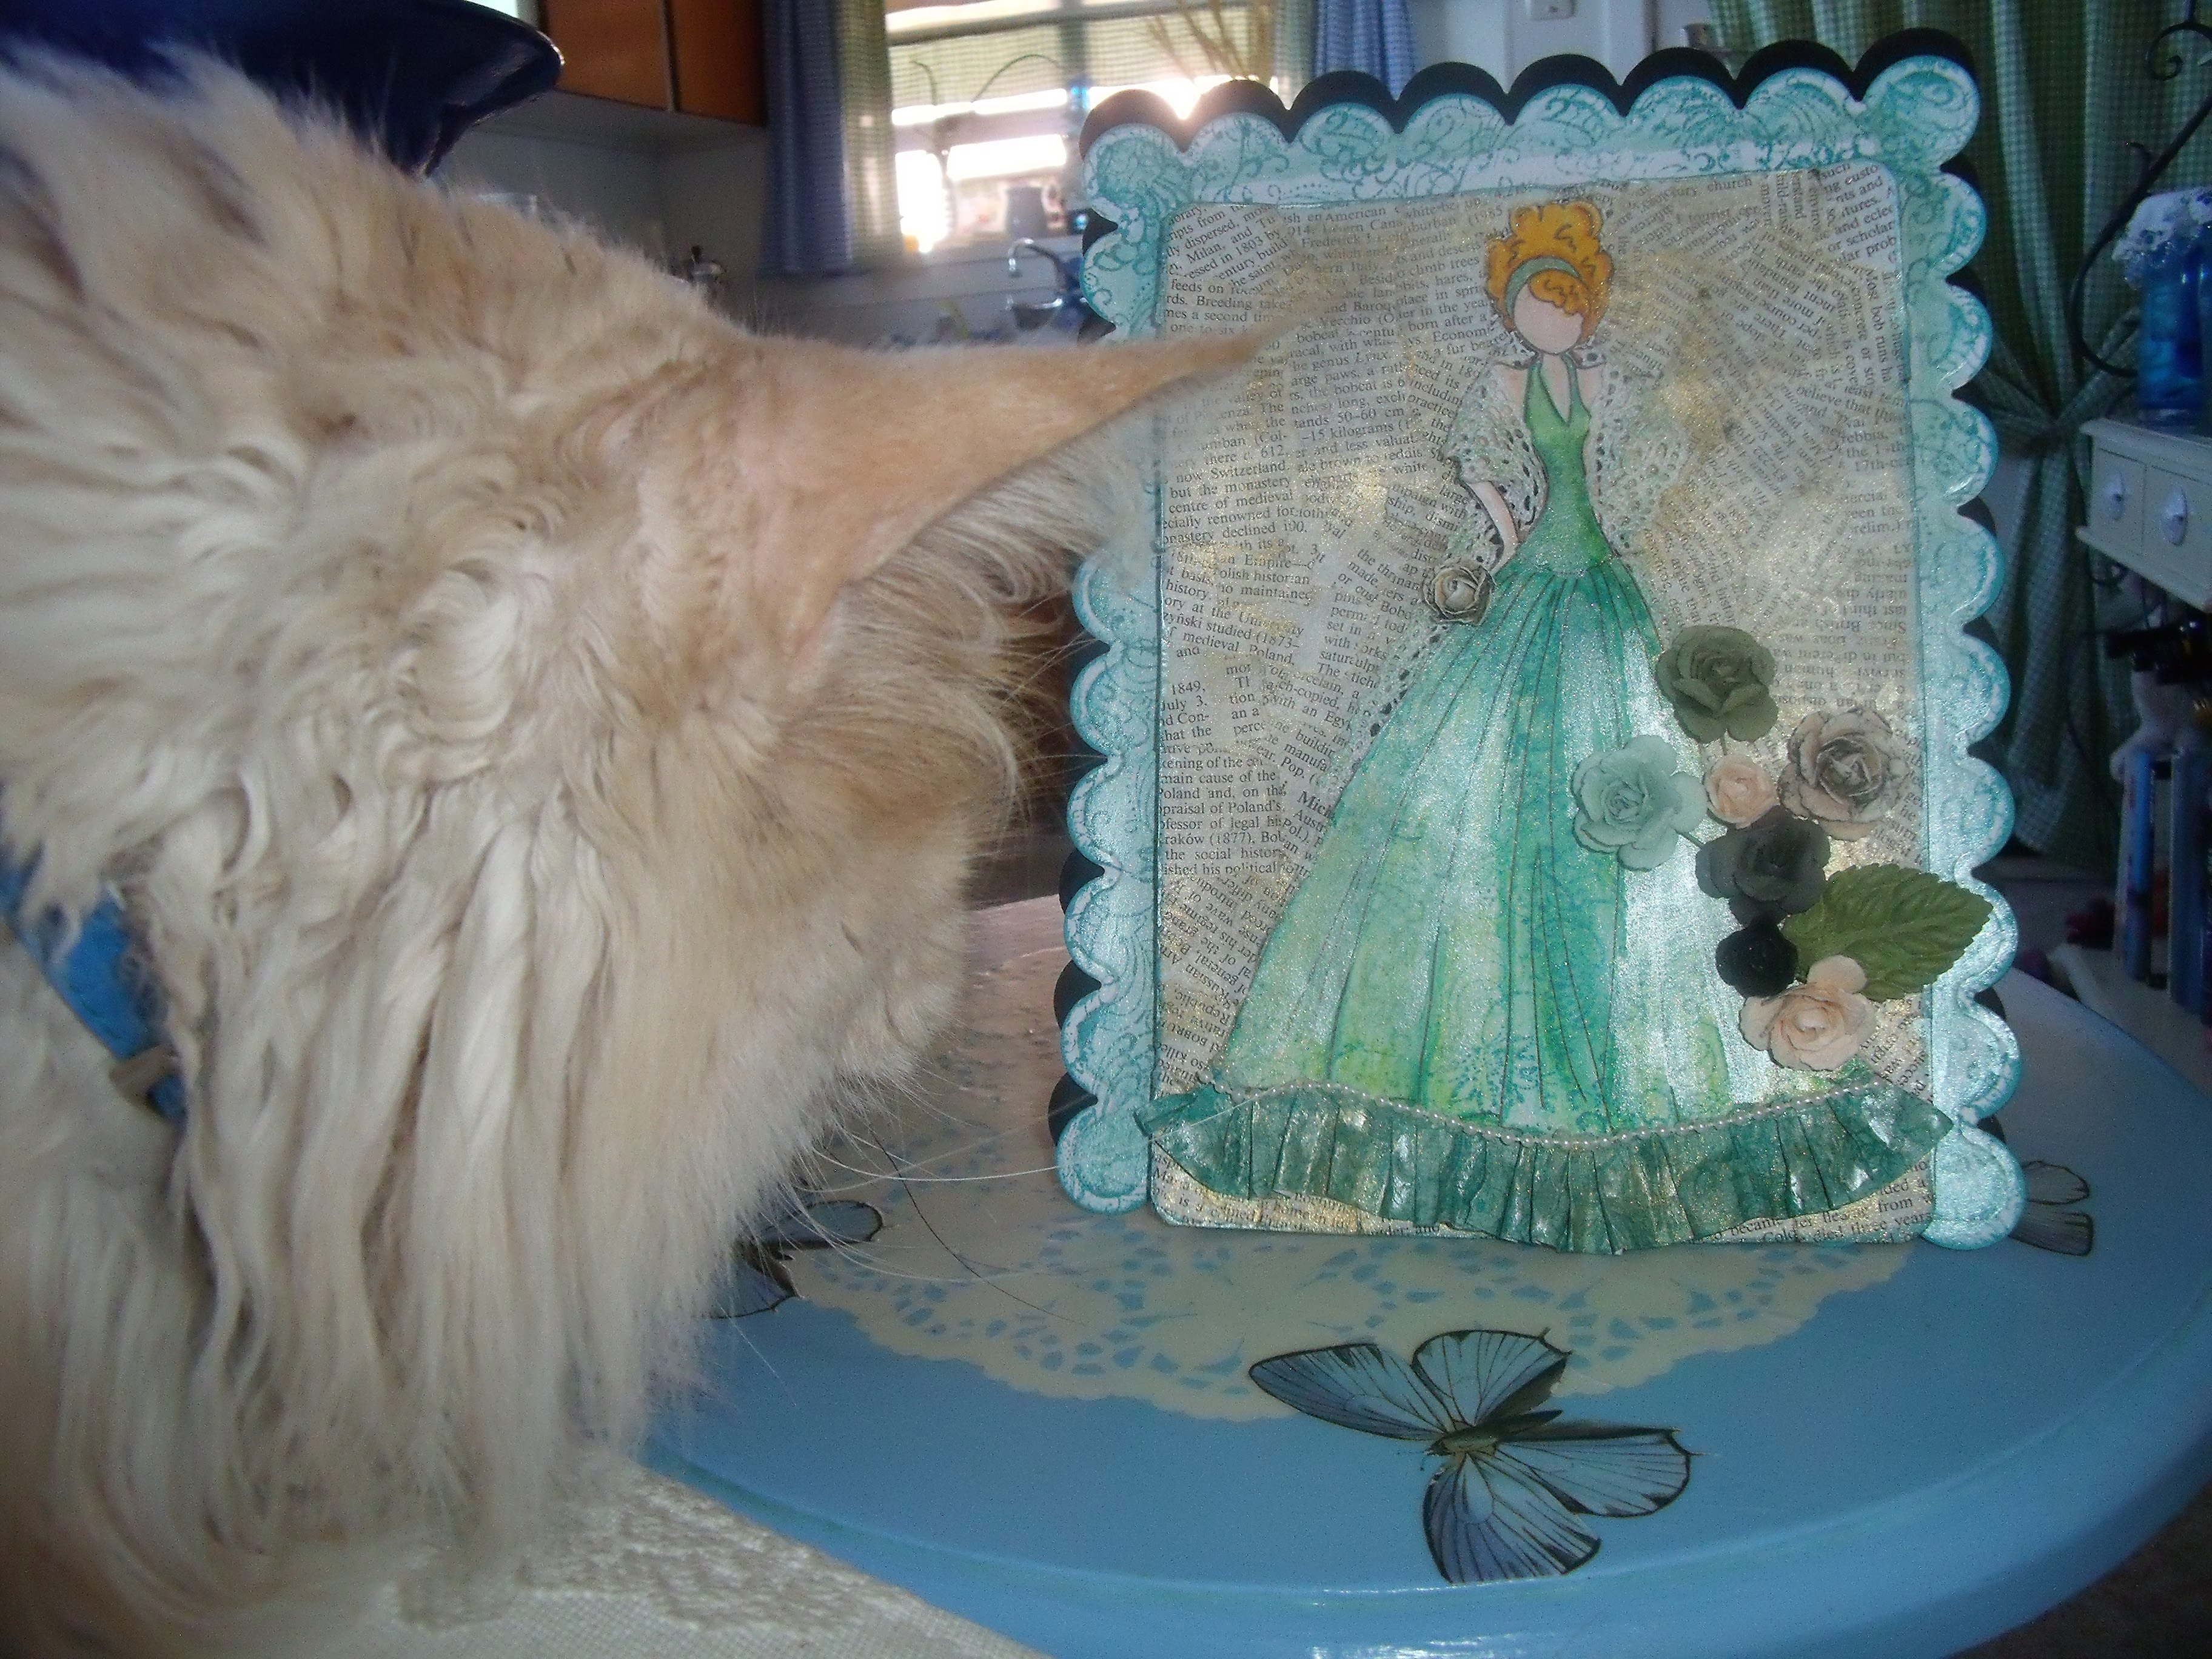
This is a Sizzix set of stamps and dies – most recently used in the making of the ‘Box to Book’ project:

Die Storage 4


No more hunting through pages of heavy dies – now a quick peruse down the spines and Hola!  there is the one I want to use!

Die Storage 1

I love my little mannequin posed there – he ever so slightly reminds me of C-3PO out of Star Wars ….. Perhaps I should paint him – is it silver or gold, I can’t remember – what do you think?

There is now one remaining large folder housing the  aforementioned ‘Grand’s’ and a couple of extra long lace edge dies from Couture Creations.  Not a problem with just six pages to sort through.

The remaining DVD cases are now being utilised to store acrylic and unmounted rubber stamps – still in progress.

And there we are my friends, one less dilemma in the creative space   🙂  It is working really well and is encouraging me to use my dies more often as they are so easily accessible!

Thanks for dropping by today, I love that you did!

A Card For Kerry

Hi all!

You may remember this card – I made it for my ED’s birthday back in March

B'day Card front March 13

ED’s sister-in-law liked it very much and has asked that I make something similar for her.

I had the camera sitting on my desk, so pretty much was able to document the process step by step – ergo if you want to know how I make a card, read on! 🙂

I used 2 A4 pieces of white card stock,  one folded in half made the card base, the second went to the die machine and was put to work making all the add ons.  I think all the dies I used – with one exception –  are Memory Box dies and I also used a Martha Stewart punch.

The Contented Crafter

The Contented Crafter

I embossed the house wall with my brick embossing folder than rubbed three different shades of reddy-browns in Tim Holtz stains over it.  The die cut window was treated to some white acrylic paint and grey ink to shabby it up.

That done, I turned my attention to the inside.  Wallpaper was added to both sides of the card and another window frame was fitted with some recycled plastic packaging fitted between the two frames to serve as glass, so we have a proper window:

The Contented Crafter

The Contented Crafter

Next the architraves and floorboards were created.  I used a Couture Creations Die at the top:

The Contented Crafter

The Contented Crafter

I coloured the floor boards with water colour pencils and am really happy with the result!

Yay water colour pencils!

The next step was to create the cat and the girl – Benson and Kerry:

The Contented Crafter

The Contented Crafter

They were stamped onto white card stock and coloured with alcohol ink pens:

The Contented Crafter

The Contented Crafter

Then they were cut out – to you non-crafters this is called ‘fussy cutting’ and takes forever

The Contented Crafter

The Contented Crafter

This is where I discovered I’d made an error with my calculations – the window was too far above the floor and the cat couldn’t see out the window – some creative thinking was called for:

The Contented Crafter

The Contented Crafter

Puss sits on top of the pile of books so he can see out the window:

The Contented Crafter

The Contented Crafter

I made the flower garden and forgot to photograph that process too – sorry!

Now we are getting to the finishing touches – ‘So, what’s all this for?’ you ask:

‘Well,’ I respond ‘You remember when I cut out the window from a die?  Where the panes of glass go there are little square discards of white card.  When cut in half they are just the right size for some banners….”

The Contented Crafter

The Contented Crafter

The Contented Crafter

The Contented Crafter

The Contented Crafter

The Contented Crafter

Did you spot the window blind?  Forgot to photograph that being made – and the presents?

All ready to go!

Here is the finished front:

The Contented Crafter

The Contented Crafter

And finally, a few close ups for those of you who want a better look:

The Contented Crafter

The Contented Crafter

The Contented Crafter

The Contented Crafter

The Contented Crafter

The Contented Crafter

The Contented Crafter

The Contented Crafter

If I ever make another one I think I’ll put a table in, with a cake or some flowers on – or a chair – the room looks a little bare to me ……

I hope you enjoyed that walk through my card making process.

Thanks for dropping by today and I hope you are having a great week!

Go well!

The Adventures of a Prima Doll Stamp

I got myself a new stamp.  It is so pretty!

Now before we go any further I just need to tell you that I was never able to be a little girly girl when I was a little girl – and, as a result, I have never quite gotten past the frilly-blingy-dress-up-pretty stage – ’nuff said?

So here is the stamp – she’s quite a tall lass, standing about 20 cm [8″] and the primary colour used in the composition, Distress Ink  ‘Peacock Feathers’ an absolutely delicious colour:

Prima Doll Stamp

And this is what I did to it:

Prima 2

Sh is coloured with water colour pens and the dress is over stamped in a pattern by randomly plonking a small swirly type stamp over the four colour base.  Even though the dress has a sort of bottom frill, i wanted more, so made the fabric look frill from paper coloured in the same way as the dress and then pleated and shaped to get the look of movement.  It’s topped with a row of tiny pearls.

She looked a bit cold so I took a piece of narrow white cotton lace and turned it into a shawl. Later, the harsh white will be softened with a few dabs from the green and blue colour palette.

The next day I decided the black was too harsh and did this:

Prima 3a

Tiny pieces of my encyclopaedia paper are glued down and brushed with some gold ‘Perfect Pearls’  which also made their way onto the gown  The edge is treated to some ‘Peacock Feathers’ ink.

Now she needed to rest a bit while I had a think about where to go next – did she need to be affixed to a double layer of scalloped edged card?  Did she like having flowers around her?.  I often stand my half completed work out where I can see it when I’m doing other things.  Getting a glimpse of it when I’m not focused on it, helps me know what is needed as a next step.

The little fella likes to get in on the action too:

Tig & Prima

She spent an evening out of the play room and when she went back in this happened:

Prima 4

I think she’s finished – but you can never be quite sure …… not until she is safely tucked up in her cellophane bag or gone to her new home!

Thanks for coming by 🙂  I hope you enjoyed your visit, do let me know what you think – constructive criticism is always appreciated!