Hello there!
ED looked at the previous post, ‘A Card For Kerry’ – “It’s very nice,” she said “but it’s supposed to be blues and purples…”
Nothing happened inside my head indicating information previously given and momentarily forgotten – nope, just a big black hole. “Oh!” I responded helpfully……….. I always have a slight feeling of panic when this happens – as it seems to do so with alarming regularity – am I losing it – already?
But no, I just wasn’t fully present and some information just went in one ear and out the other – I’m not dotty, I’m just becoming an air-head!
As it happened, I was hoping to for the opportunity to make another, similar card – and here was that very opportunity. Quite serendipitous really [this appears to be the word of the week]. Now, do you suppose I did the wrong colour deliberately ……?
Any how, I wanted to make a variation on the theme, using the same techniques I would utilise if I was creating a similar lay-out in my art journal.
I didn’t document the process this time – you’ve seen it once and any way I was much too involved with the creation of this little world to stop and get the camera out.
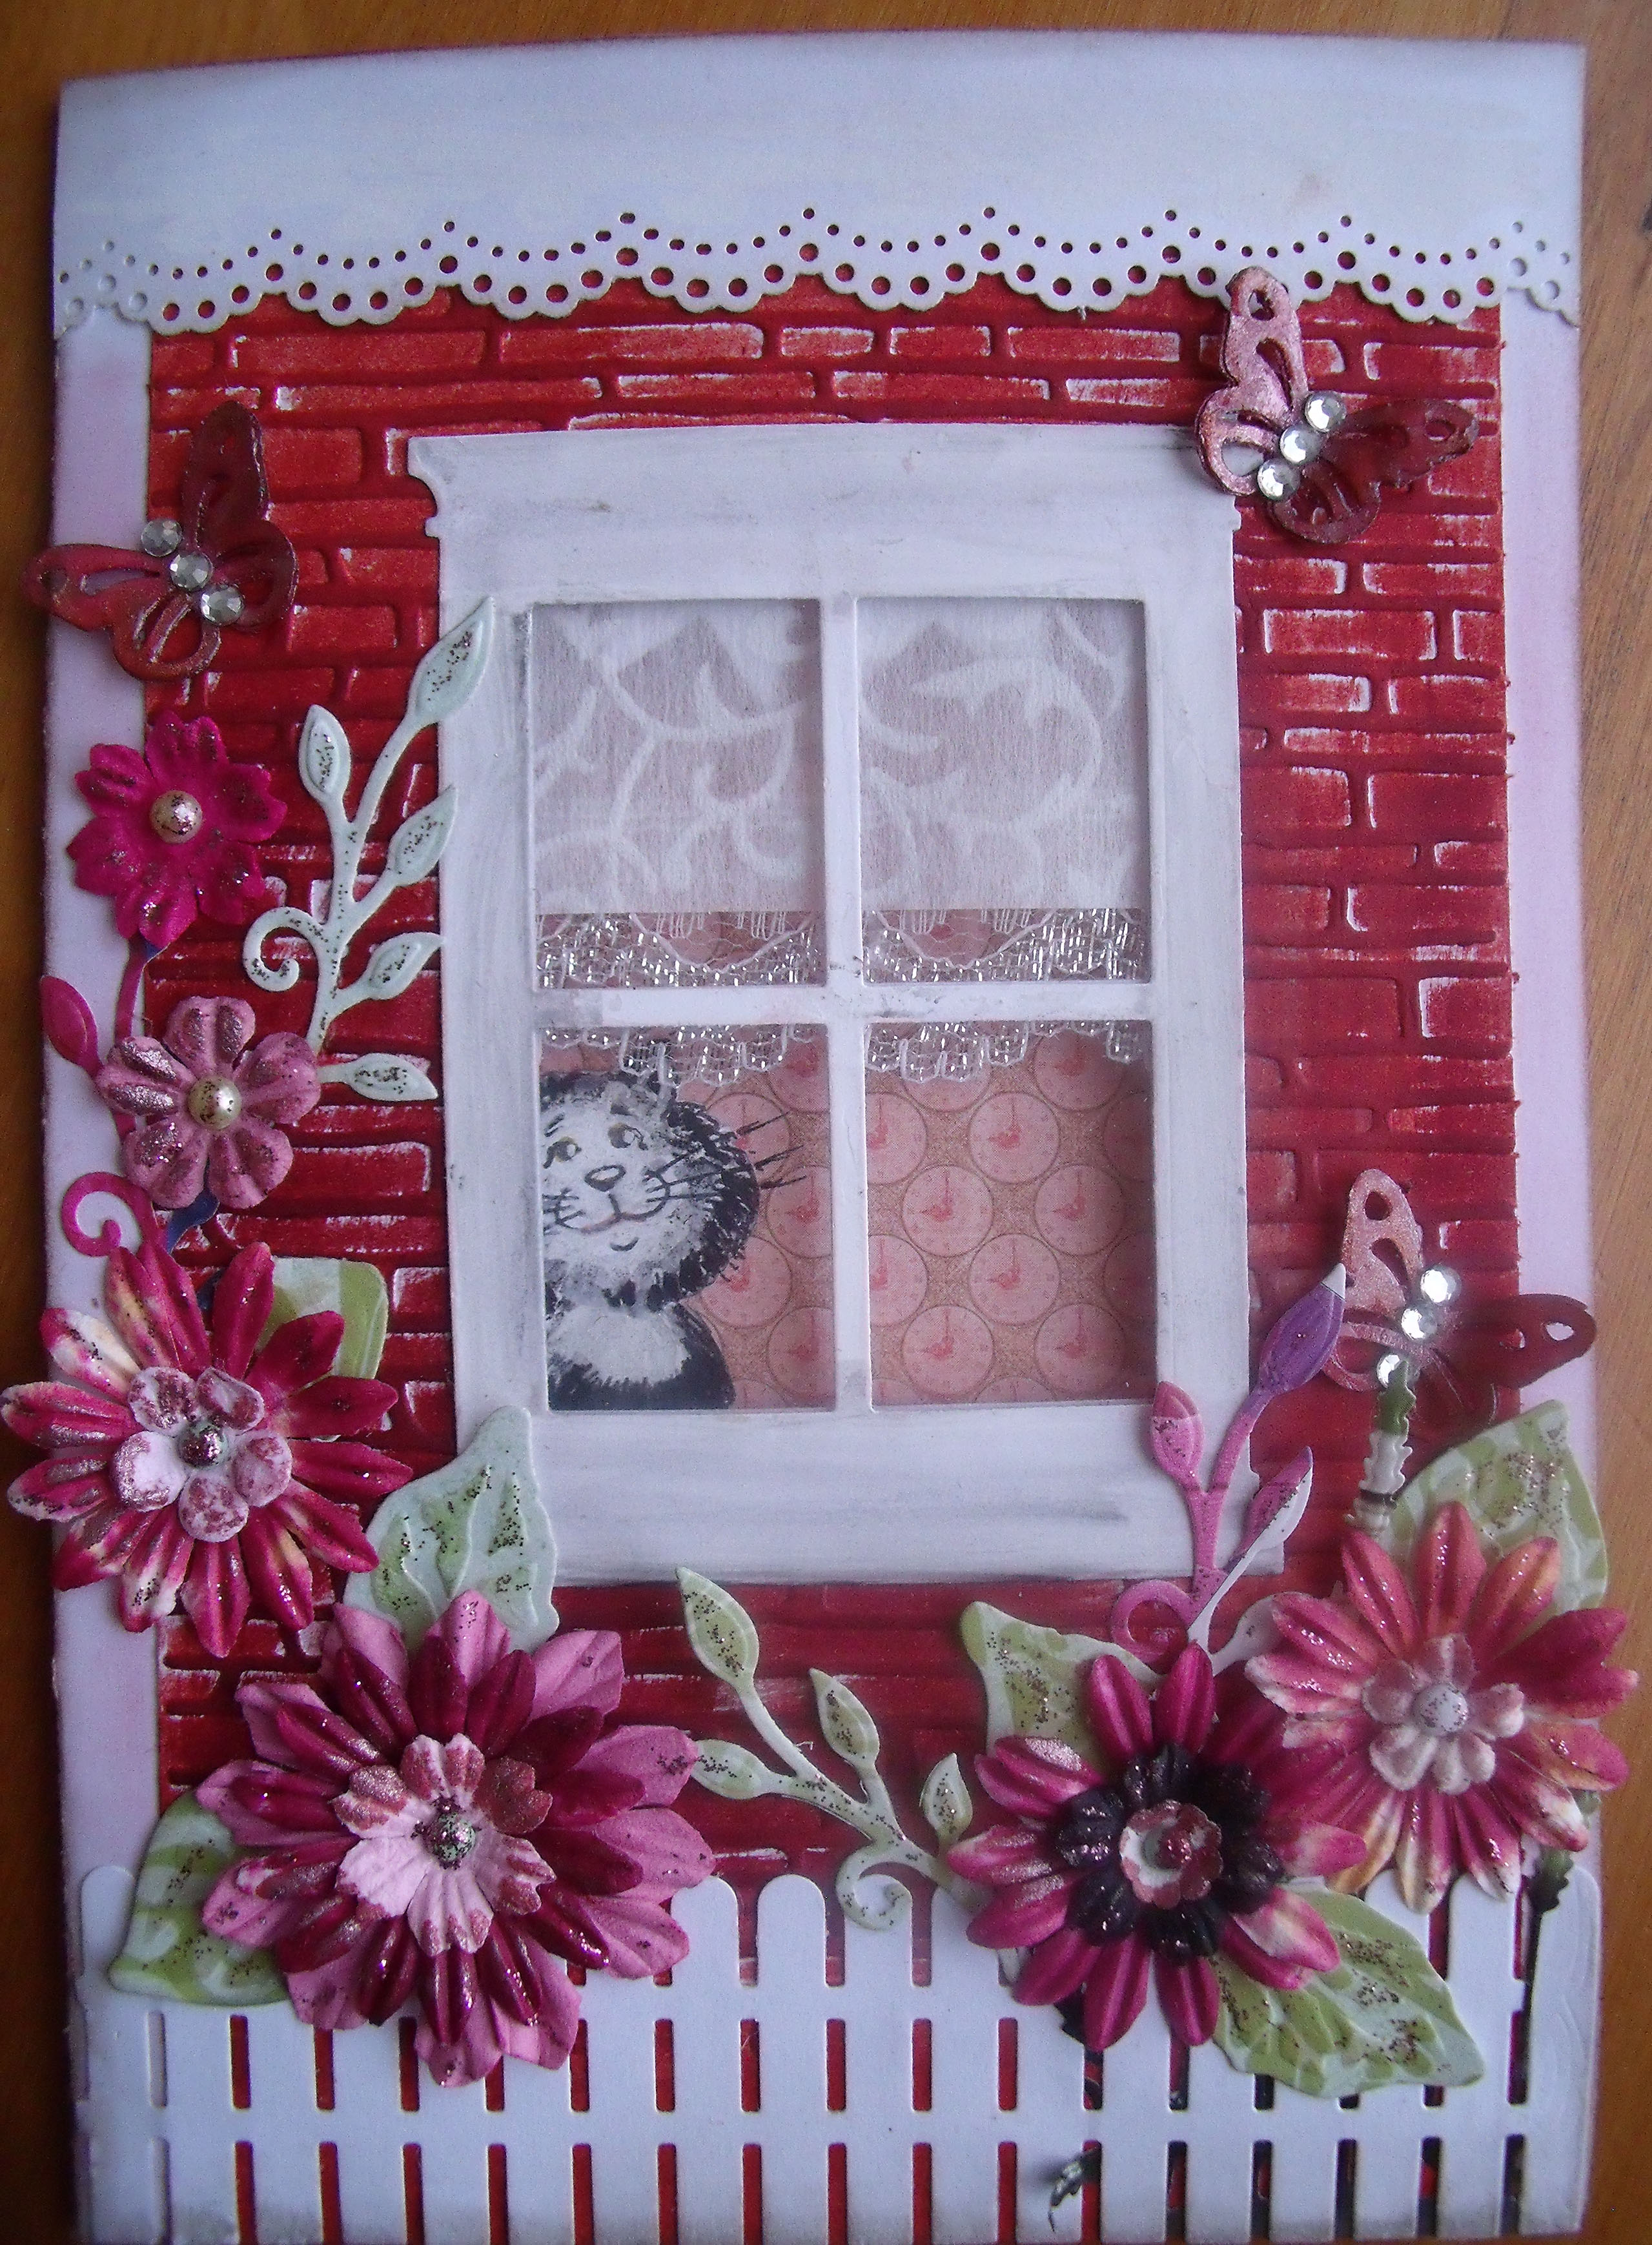
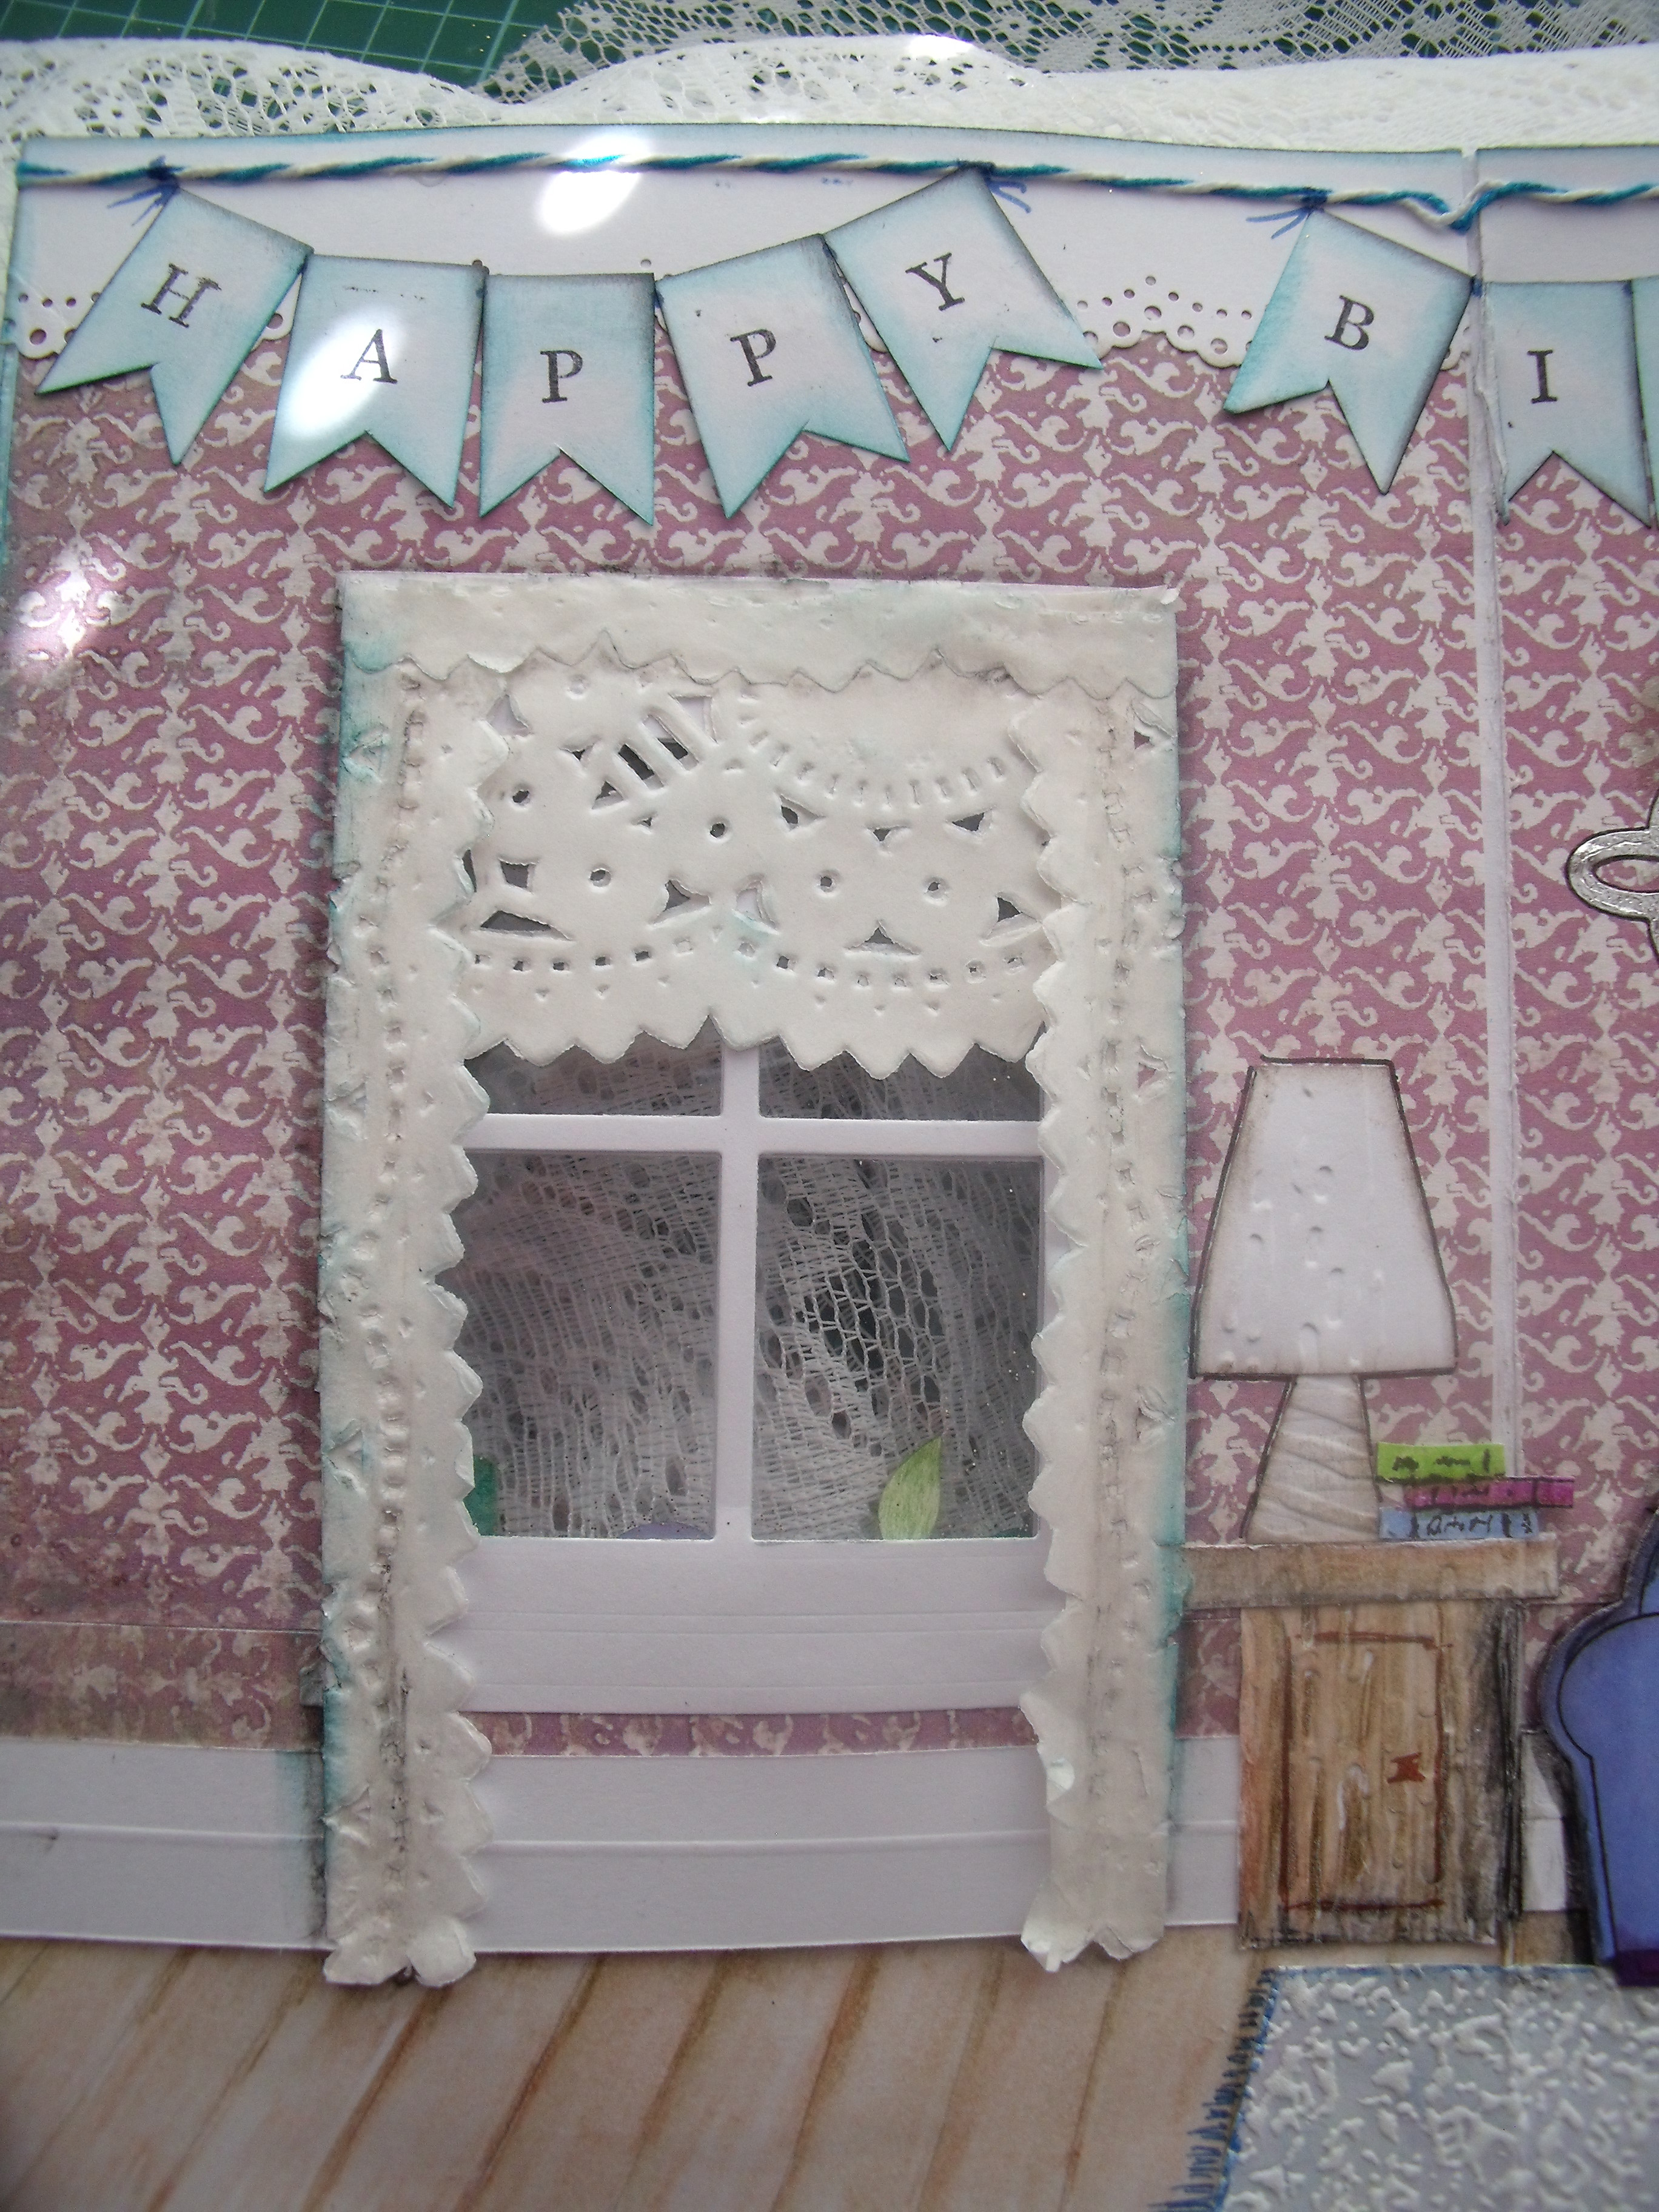
Here is the front of the card – it is so full of layers and textures that the camera doesn’t always pick up so I’ve included some detail shots. The house is not brick this time – the reverse of my embossing folder does a wood effect – so we have a blue wooden house 🙂

Blue House Card – front
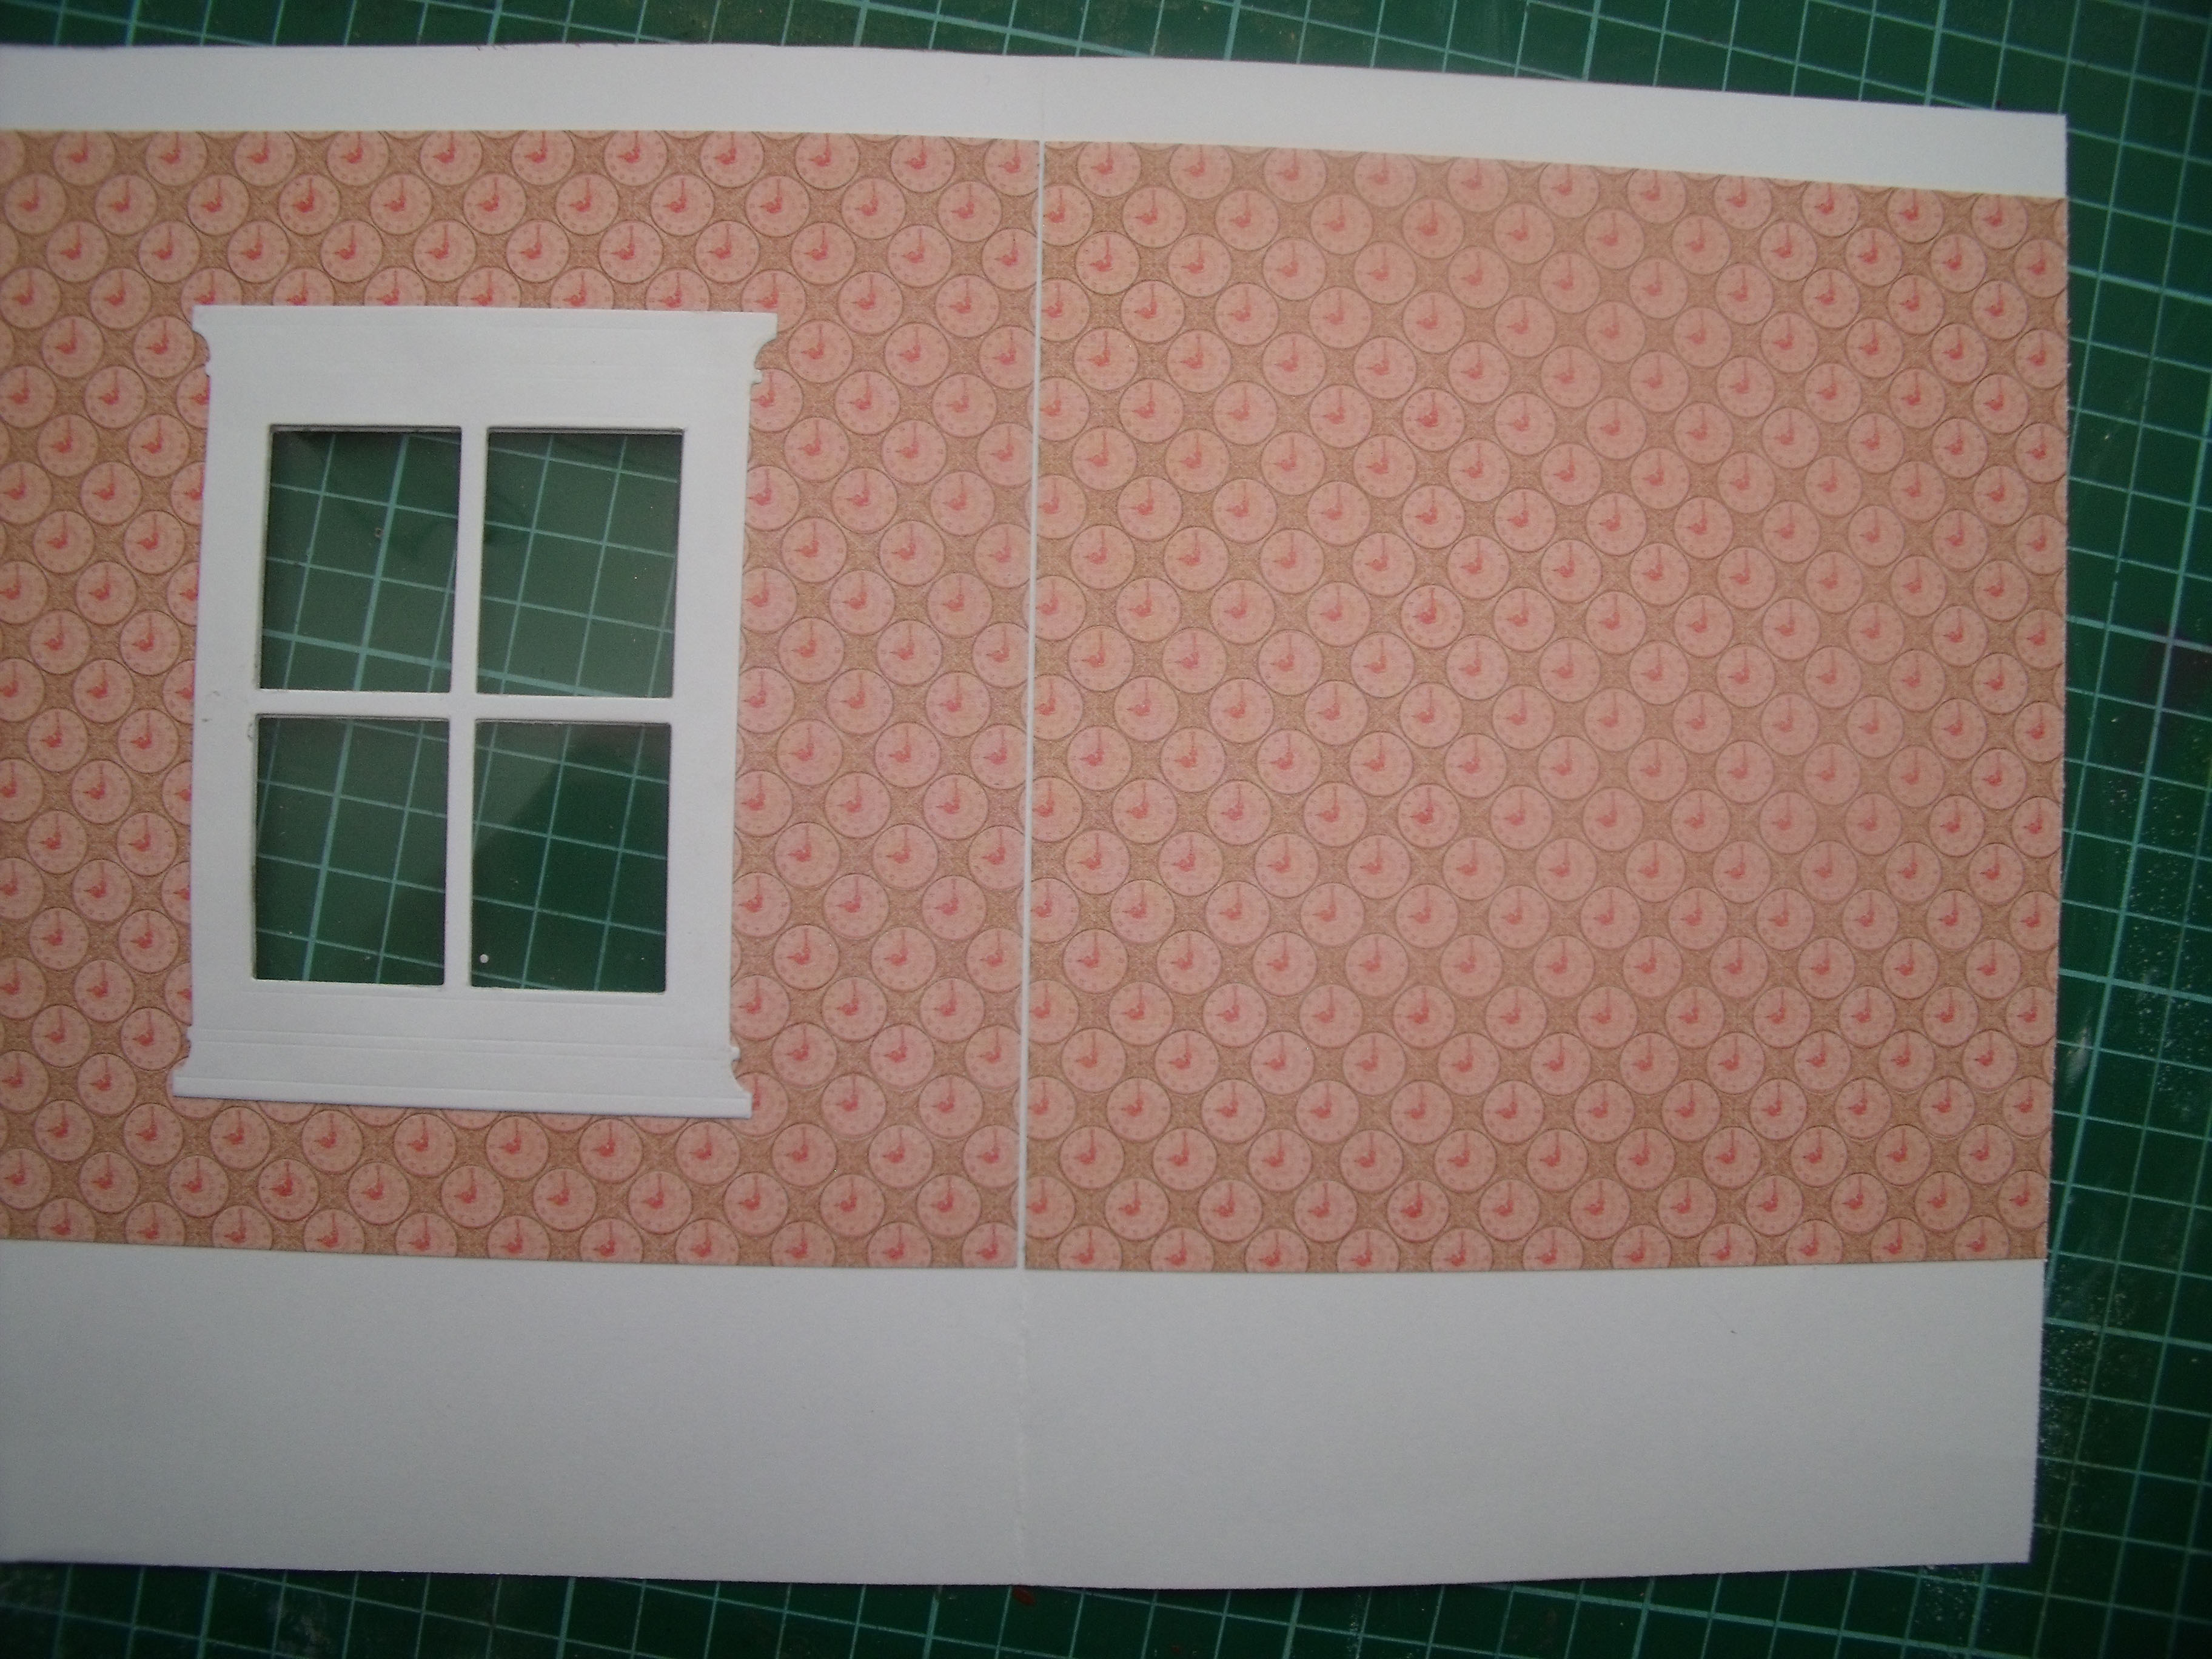
Not everything has been hand created this time, some of the flowers are from my stash and may be Petaloo or Prima – apologies, I can’t quite remember. The larger blue and purple flowers are cut from coloured card stock, inked and layered up. The very small punched flowers, and the strip along the top of the card, are courtesy of some old inked and sprayed wallpaper that has lived in my stash for years. The ‘glass’ in the window is recycled rigid plastic packaging.

Blue House Card – detail

Blue House Card – detail
Right at the end, when everything was finished, I went back in and sprinkled a bit of glitter around – just for a wee touch of sparkle – the reality isn’t quite as glumpy as this close-up shot of the butterfly would have you believe …..

Blue House Card – detail
And here is the inside:

Inside the Blue House Card
The cut-out shapes have been finished with water soluble charcoal shadowing; the side table was some left over exterior wall [wooden this time] as is the lamp – and the book spines on the table ….. no waste! The floor rug is also a piece of the same coloured wallpaper that contributed to the small punched flowers on the front..
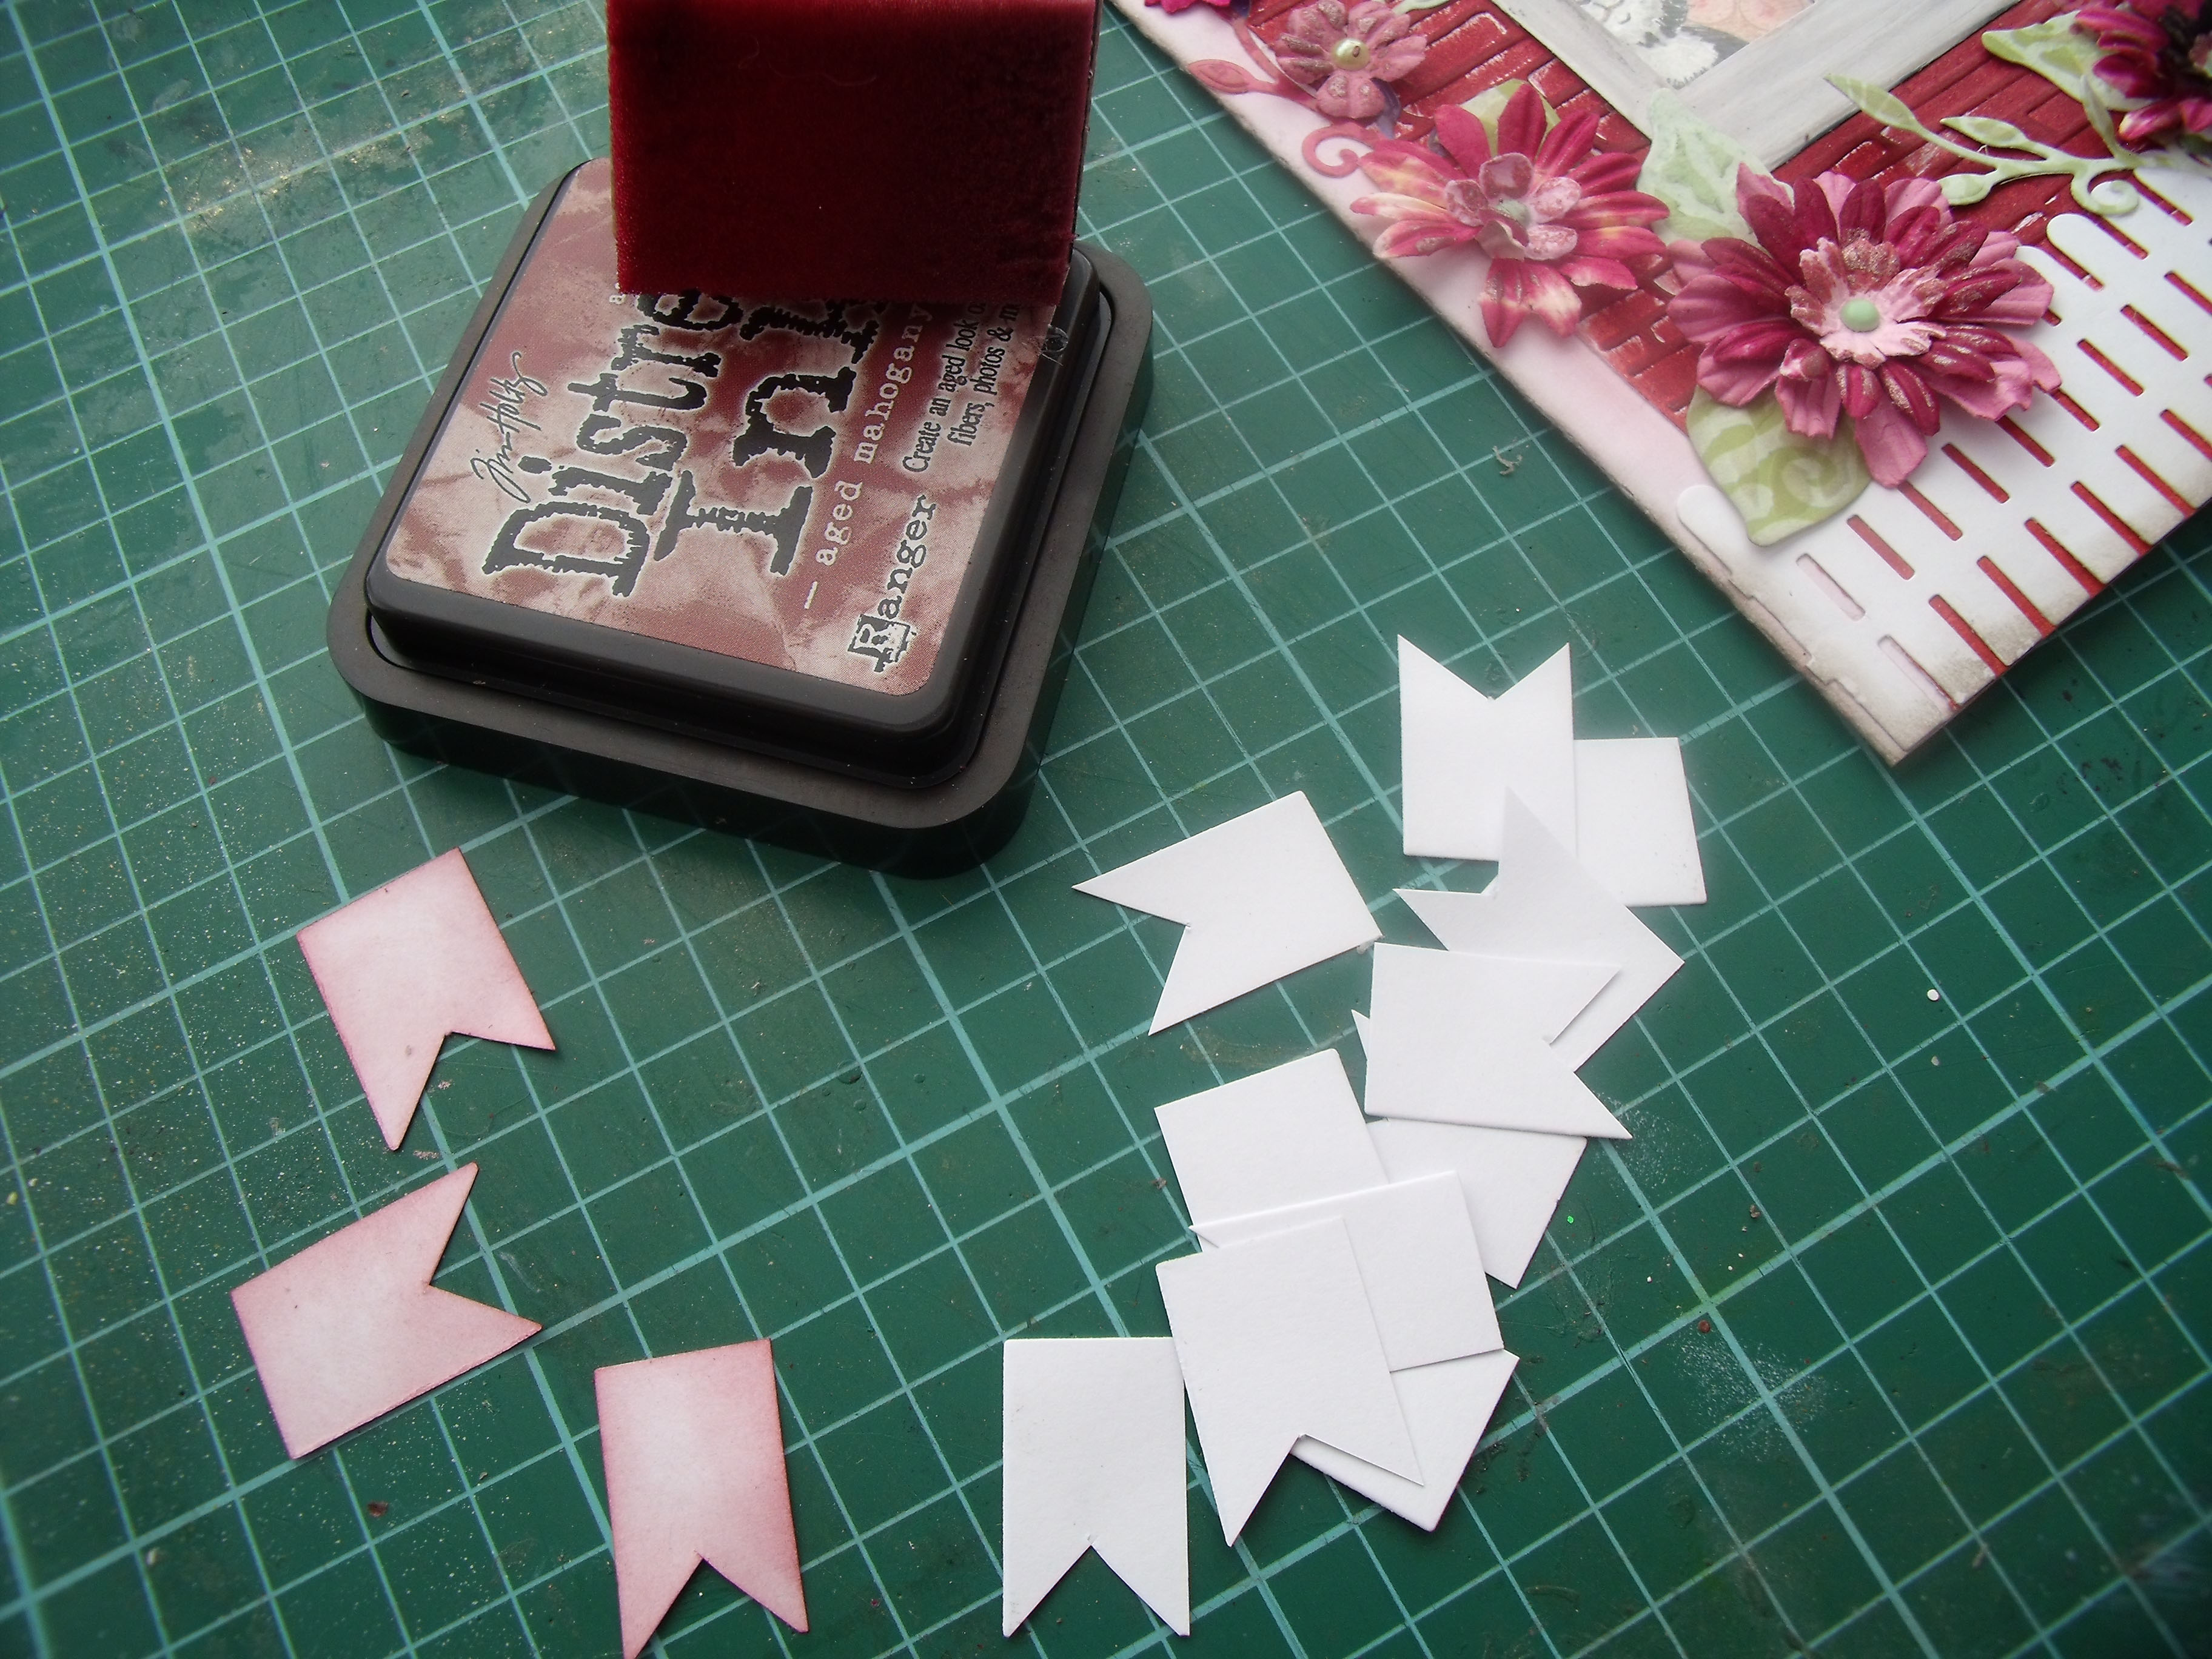
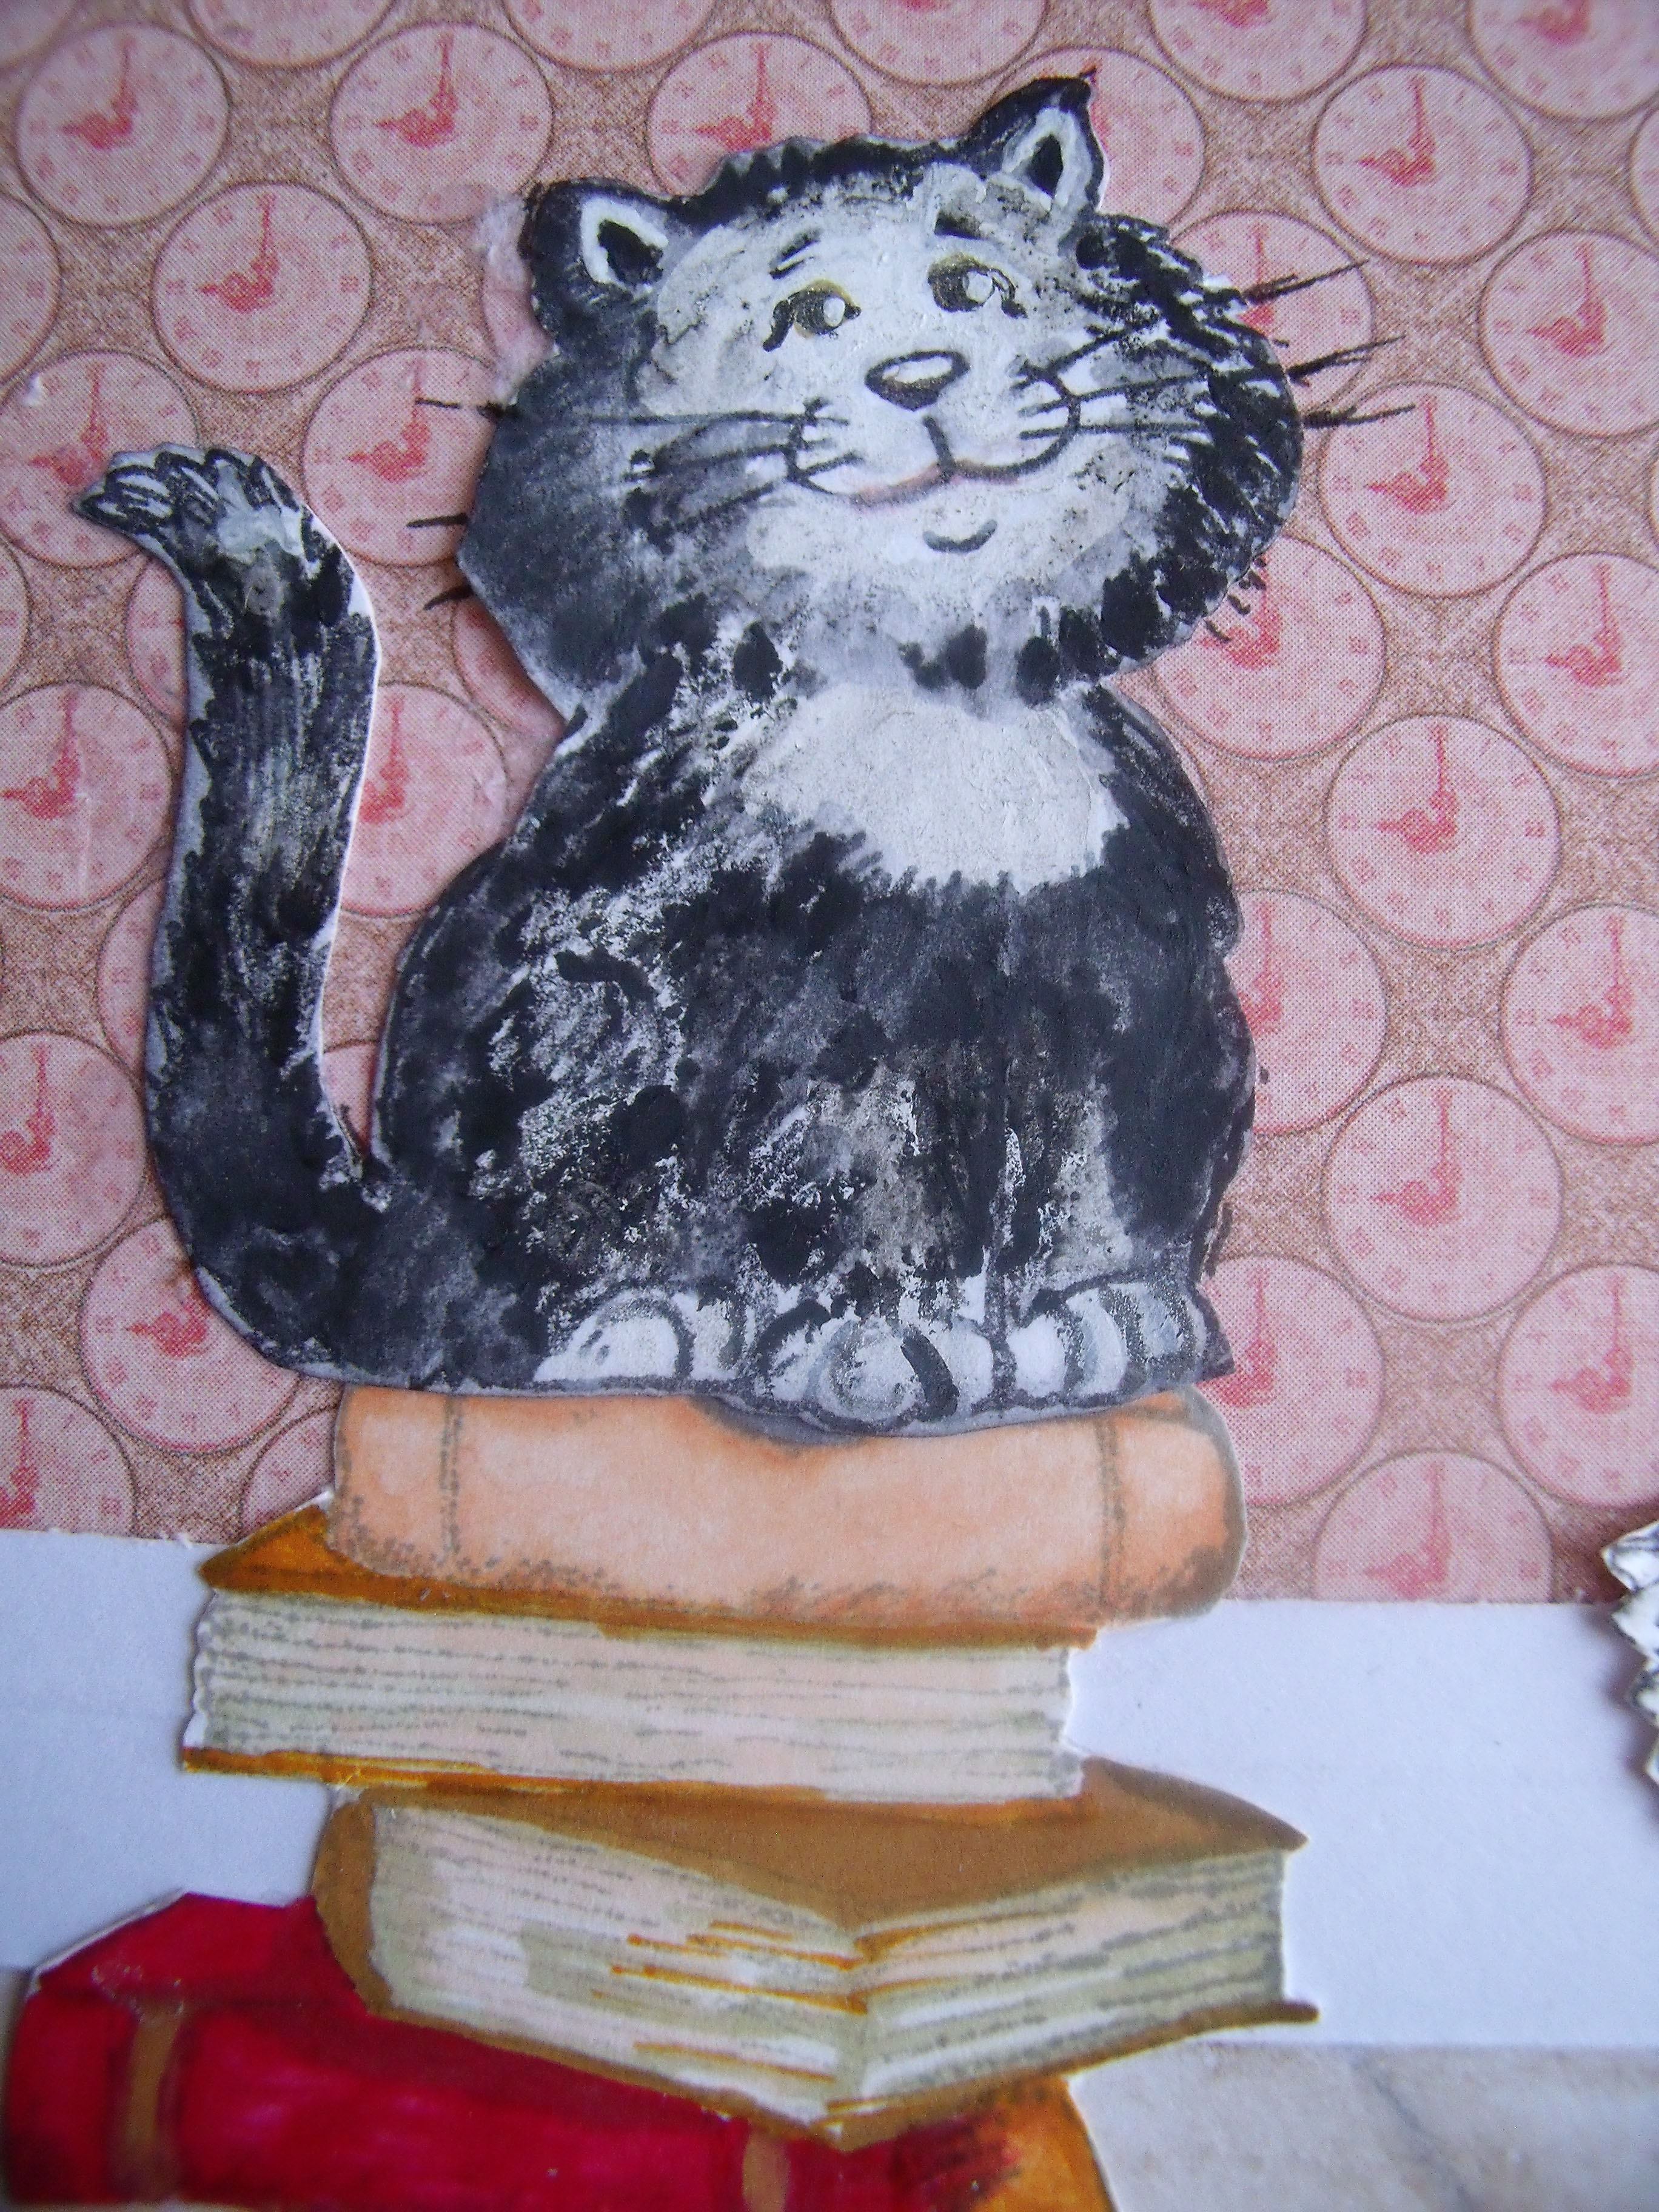
The chair is a Poppy Stamp die and stamp, which has been coloured with Spectrum Noir alcohol ink pens, as has the girl and cat. The banner is once again made from the discards when the windows are die cut.
The mirror is made from a lightly textured silver paper glued to a slightly larger piece of hand cut black card and has a coat of ‘Glossy Accents’ painted over it. The mirror frame is made from the same paper but has some ‘Crackle Accents’ over it and a light rubbing of ‘Pumice Stone’ Distress ink to finish.

Blue House Card, inside – right
The window blind and side drapes are cut from paper doilies, another stash inhabitant for many years – I’m not that thrilled with them, must have another try at some stage…….
Blue House Card, inside – left

Blue House Card – inside detail

Blue House Card – inside detail
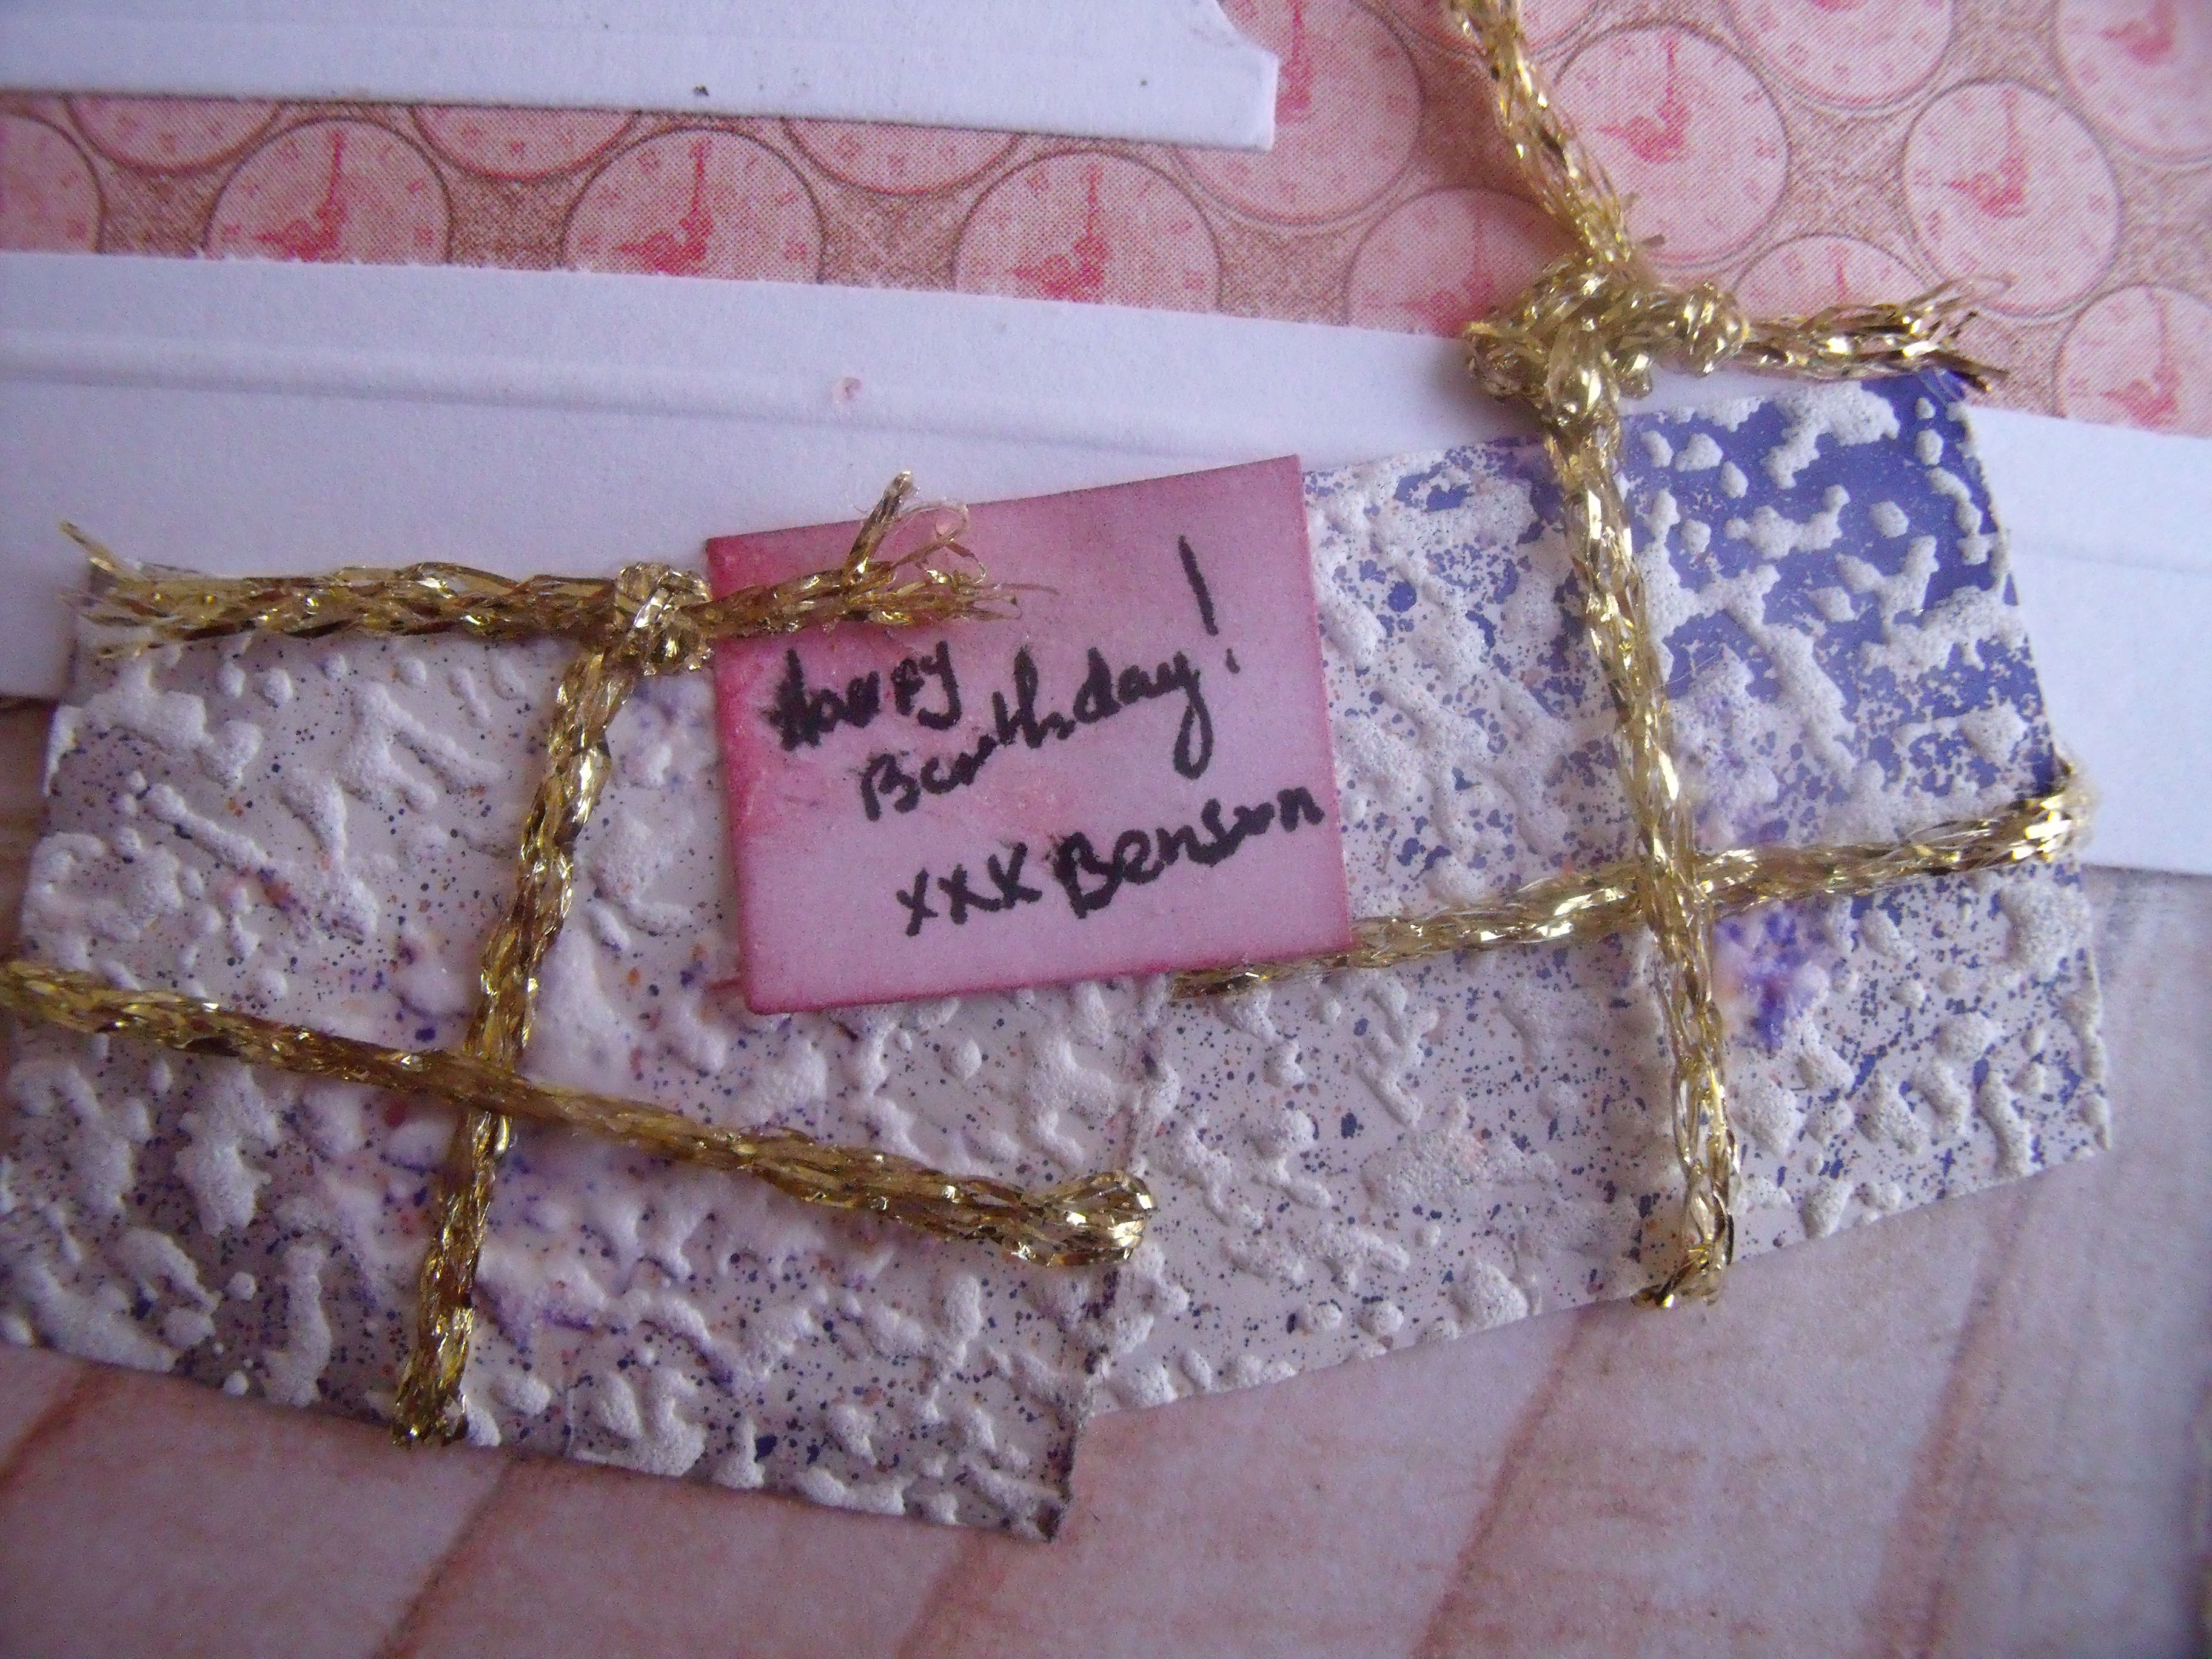
And finally, because there is no room inside to write a nice Birthday Greeting to the recipient – the back of the card:

I hope you enjoyed that little visit to the Blue House! I just hope I’ve got the colours right this time!
Thanks for coming by today, I am always happy to know you have been 🙂