
Hi all!
You may remember this card – I made it for my ED’s birthday back in March

ED’s sister-in-law liked it very much and has asked that I make something similar for her.
I had the camera sitting on my desk, so pretty much was able to document the process step by step – ergo if you want to know how I make a card, read on! 🙂
I used 2 A4 pieces of white card stock, one folded in half made the card base, the second went to the die machine and was put to work making all the add ons. I think all the dies I used – with one exception – are Memory Box dies and I also used a Martha Stewart punch.

The Contented Crafter
I embossed the house wall with my brick embossing folder than rubbed three different shades of reddy-browns in Tim Holtz stains over it. The die cut window was treated to some white acrylic paint and grey ink to shabby it up.
That done, I turned my attention to the inside. Wallpaper was added to both sides of the card and another window frame was fitted with some recycled plastic packaging fitted between the two frames to serve as glass, so we have a proper window:
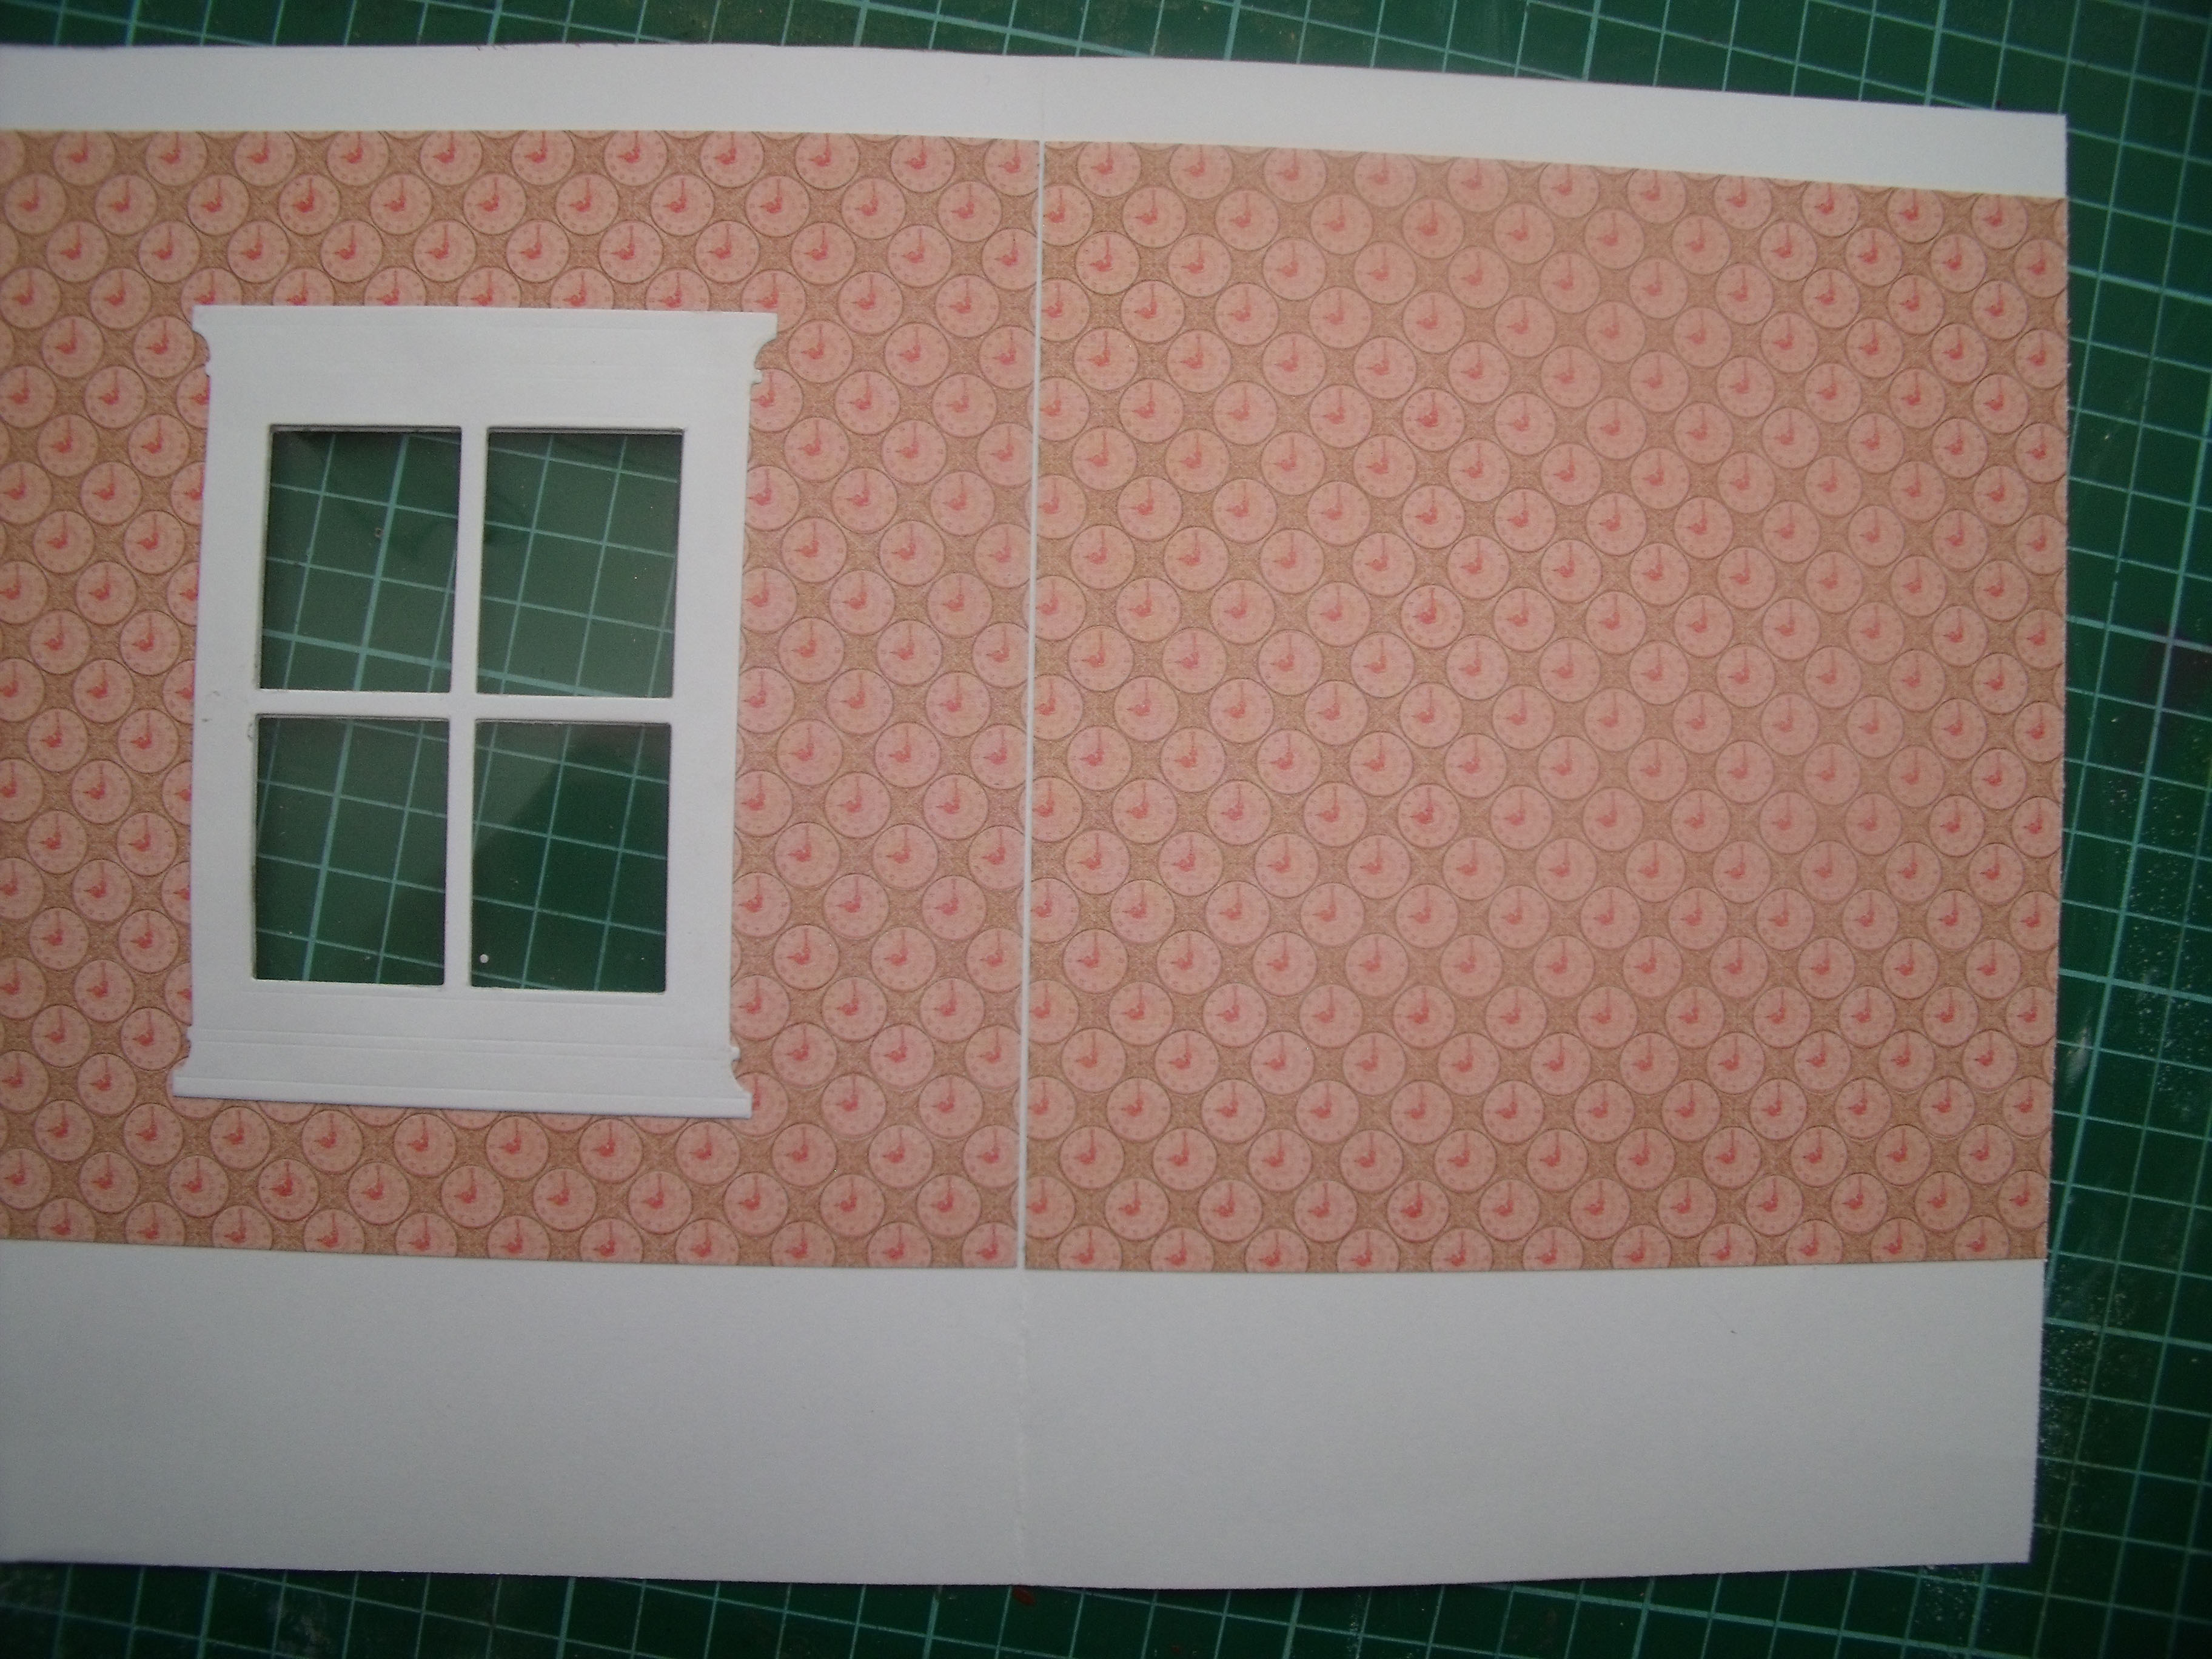
The Contented Crafter
Next the architraves and floorboards were created. I used a Couture Creations Die at the top:

The Contented Crafter
I coloured the floor boards with water colour pencils and am really happy with the result!
Yay water colour pencils!
The next step was to create the cat and the girl – Benson and Kerry:

The Contented Crafter
They were stamped onto white card stock and coloured with alcohol ink pens:

The Contented Crafter
Then they were cut out – to you non-crafters this is called ‘fussy cutting’ and takes forever

The Contented Crafter
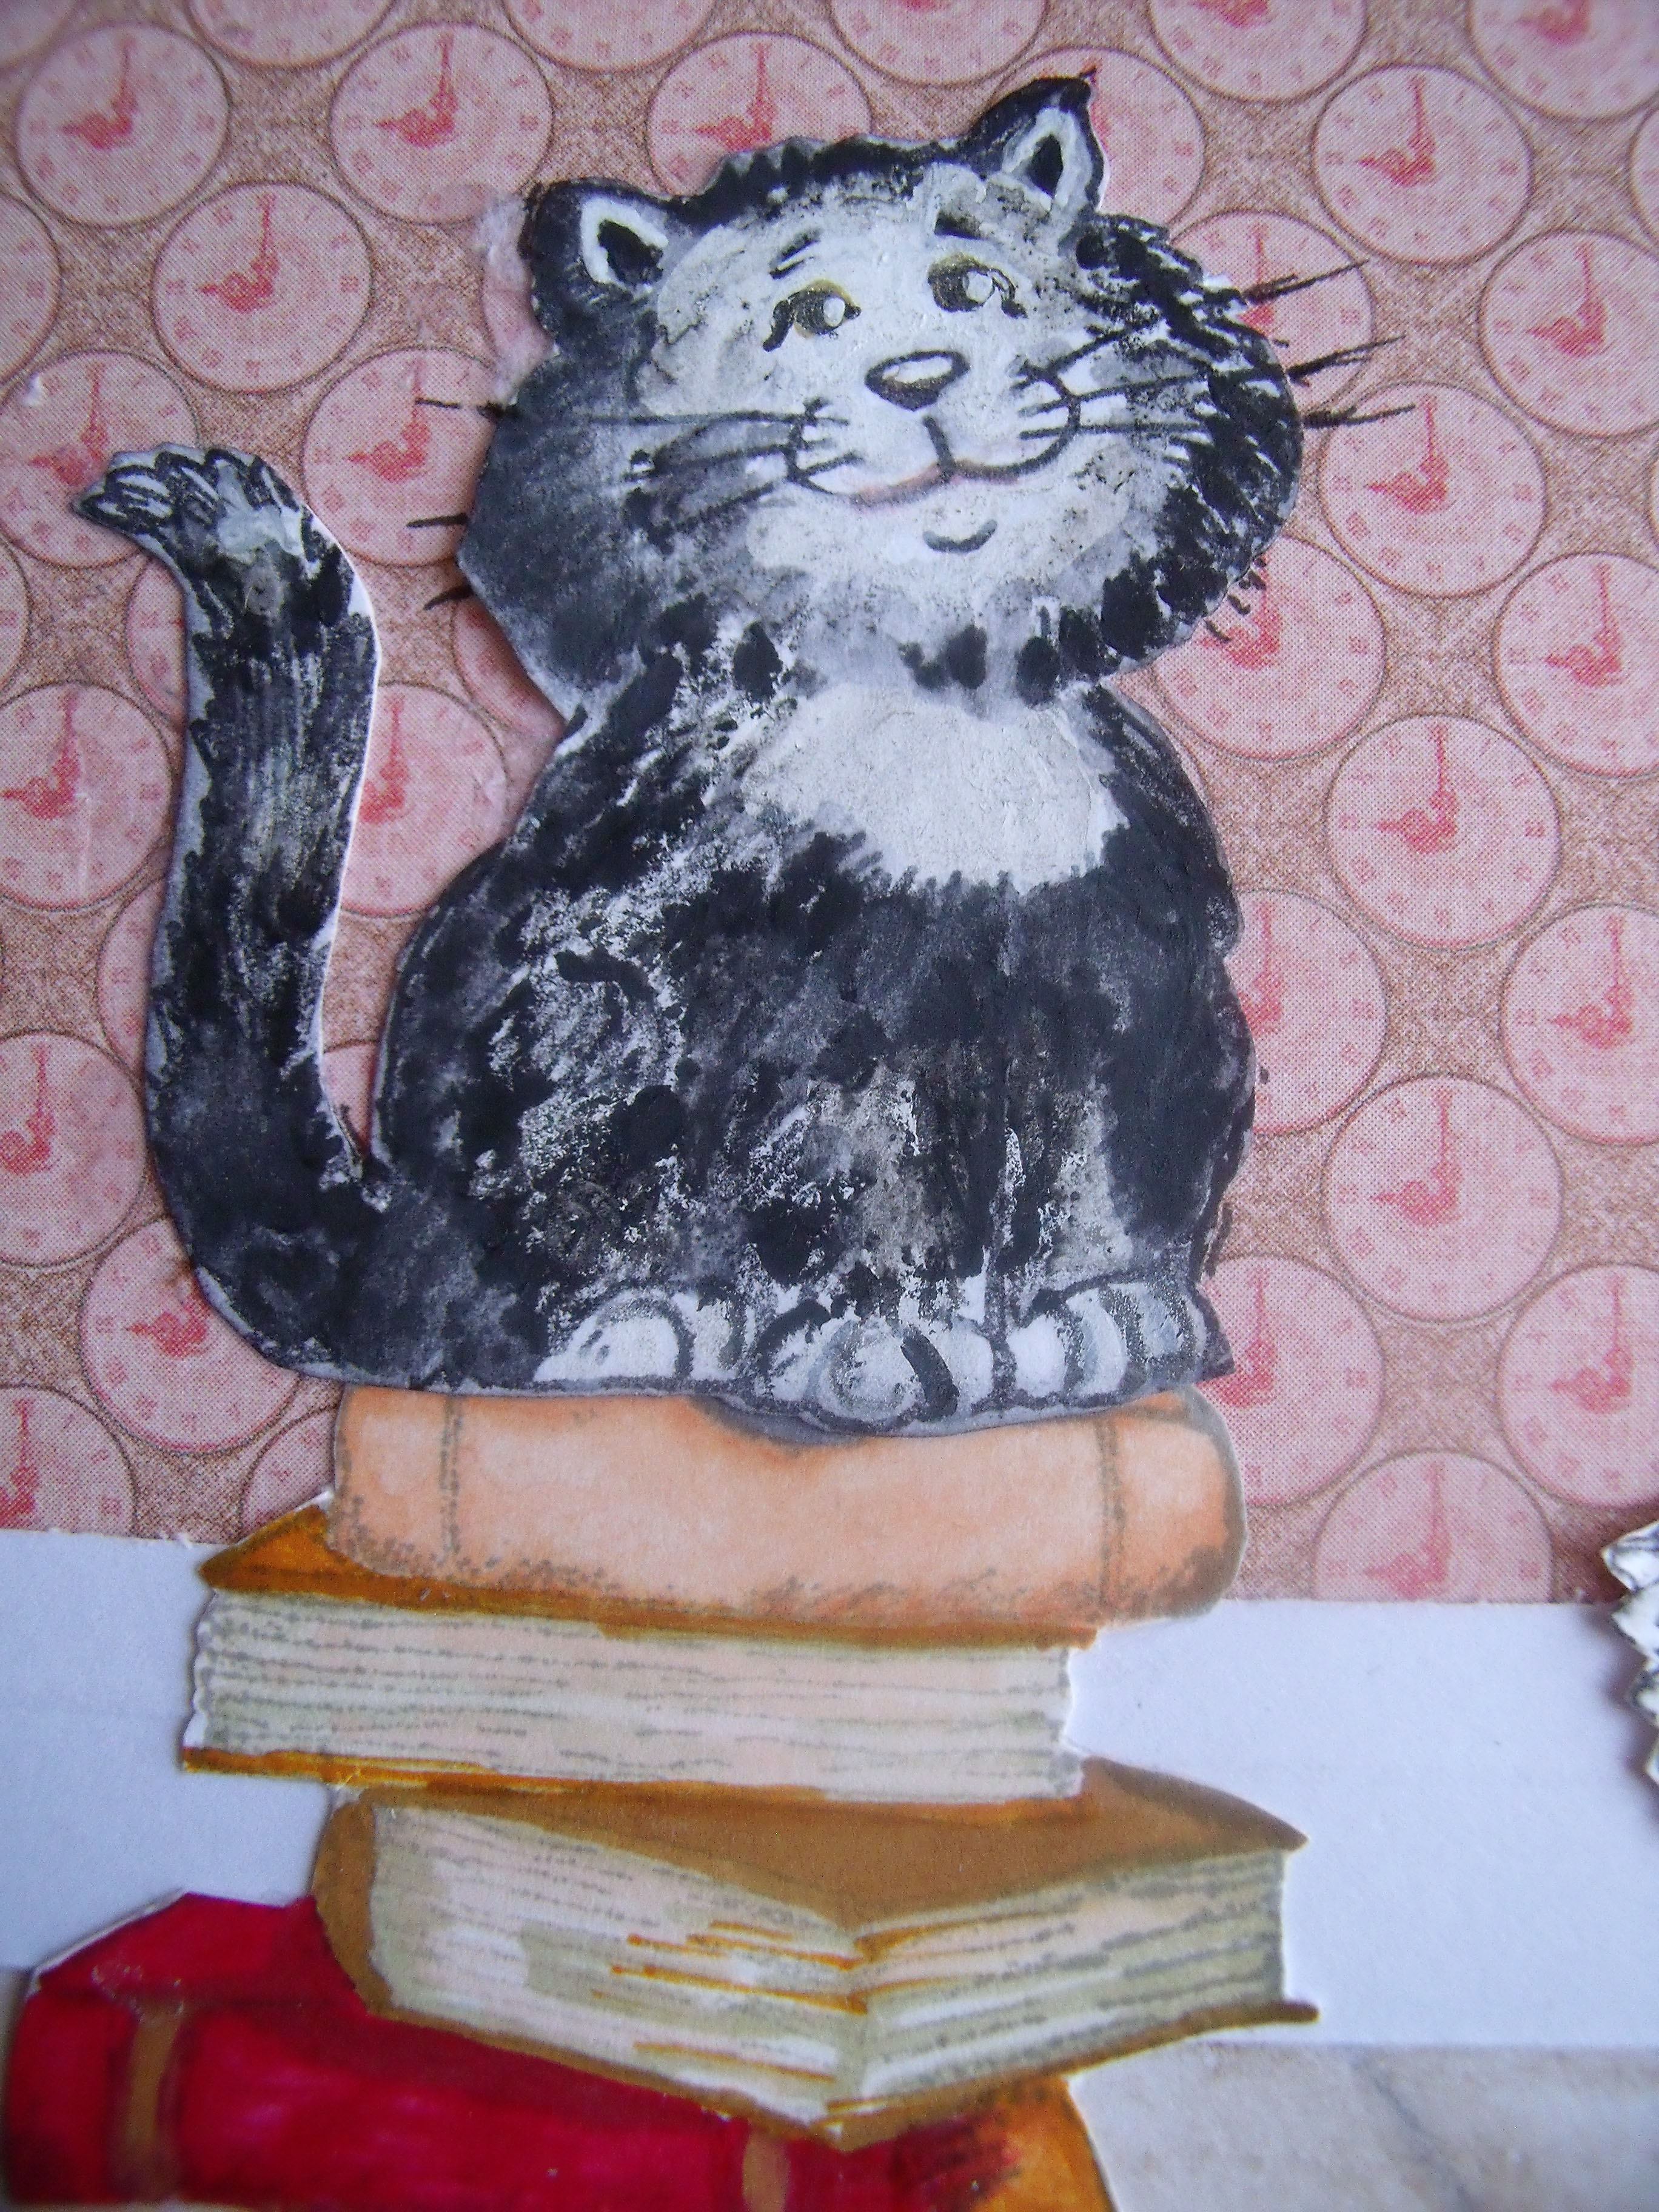
This is where I discovered I’d made an error with my calculations – the window was too far above the floor and the cat couldn’t see out the window – some creative thinking was called for:

The Contented Crafter
Puss sits on top of the pile of books so he can see out the window:

The Contented Crafter
I made the flower garden and forgot to photograph that process too – sorry!
Now we are getting to the finishing touches – ‘So, what’s all this for?’ you ask:
‘Well,’ I respond ‘You remember when I cut out the window from a die? Where the panes of glass go there are little square discards of white card. When cut in half they are just the right size for some banners….”
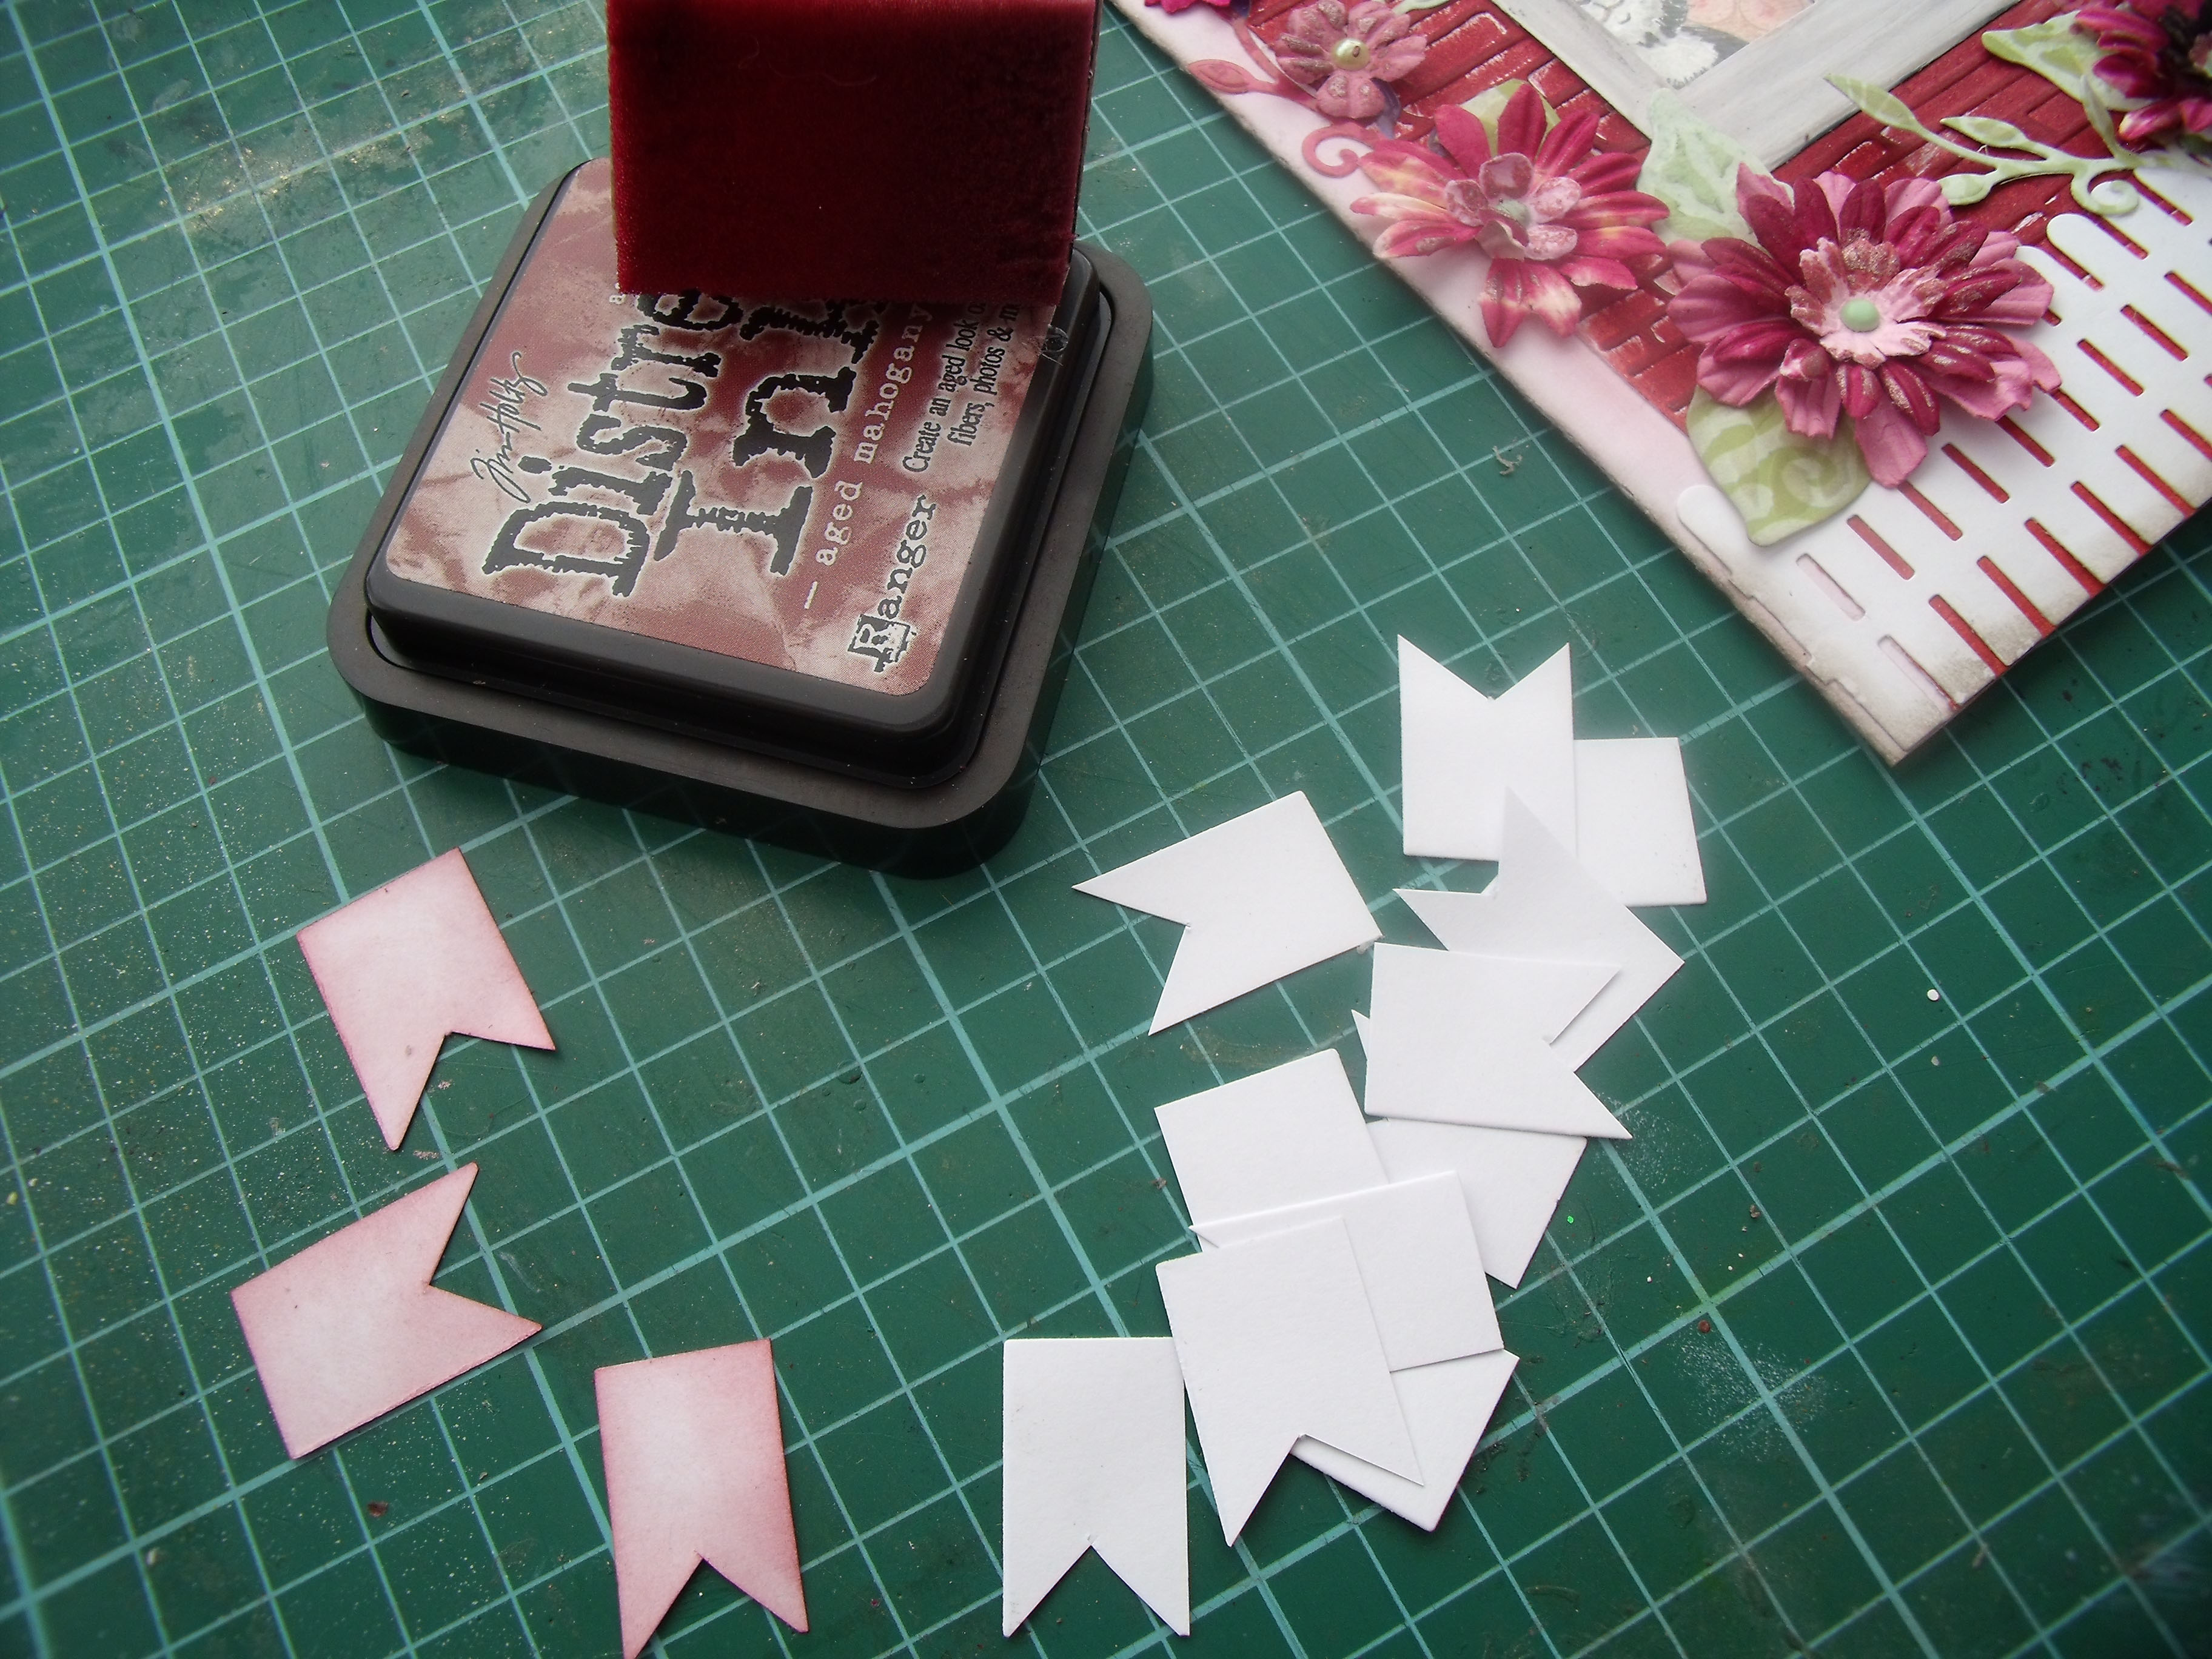
The Contented Crafter

The Contented Crafter

The Contented Crafter
Did you spot the window blind? Forgot to photograph that being made – and the presents?
All ready to go!
Here is the finished front:
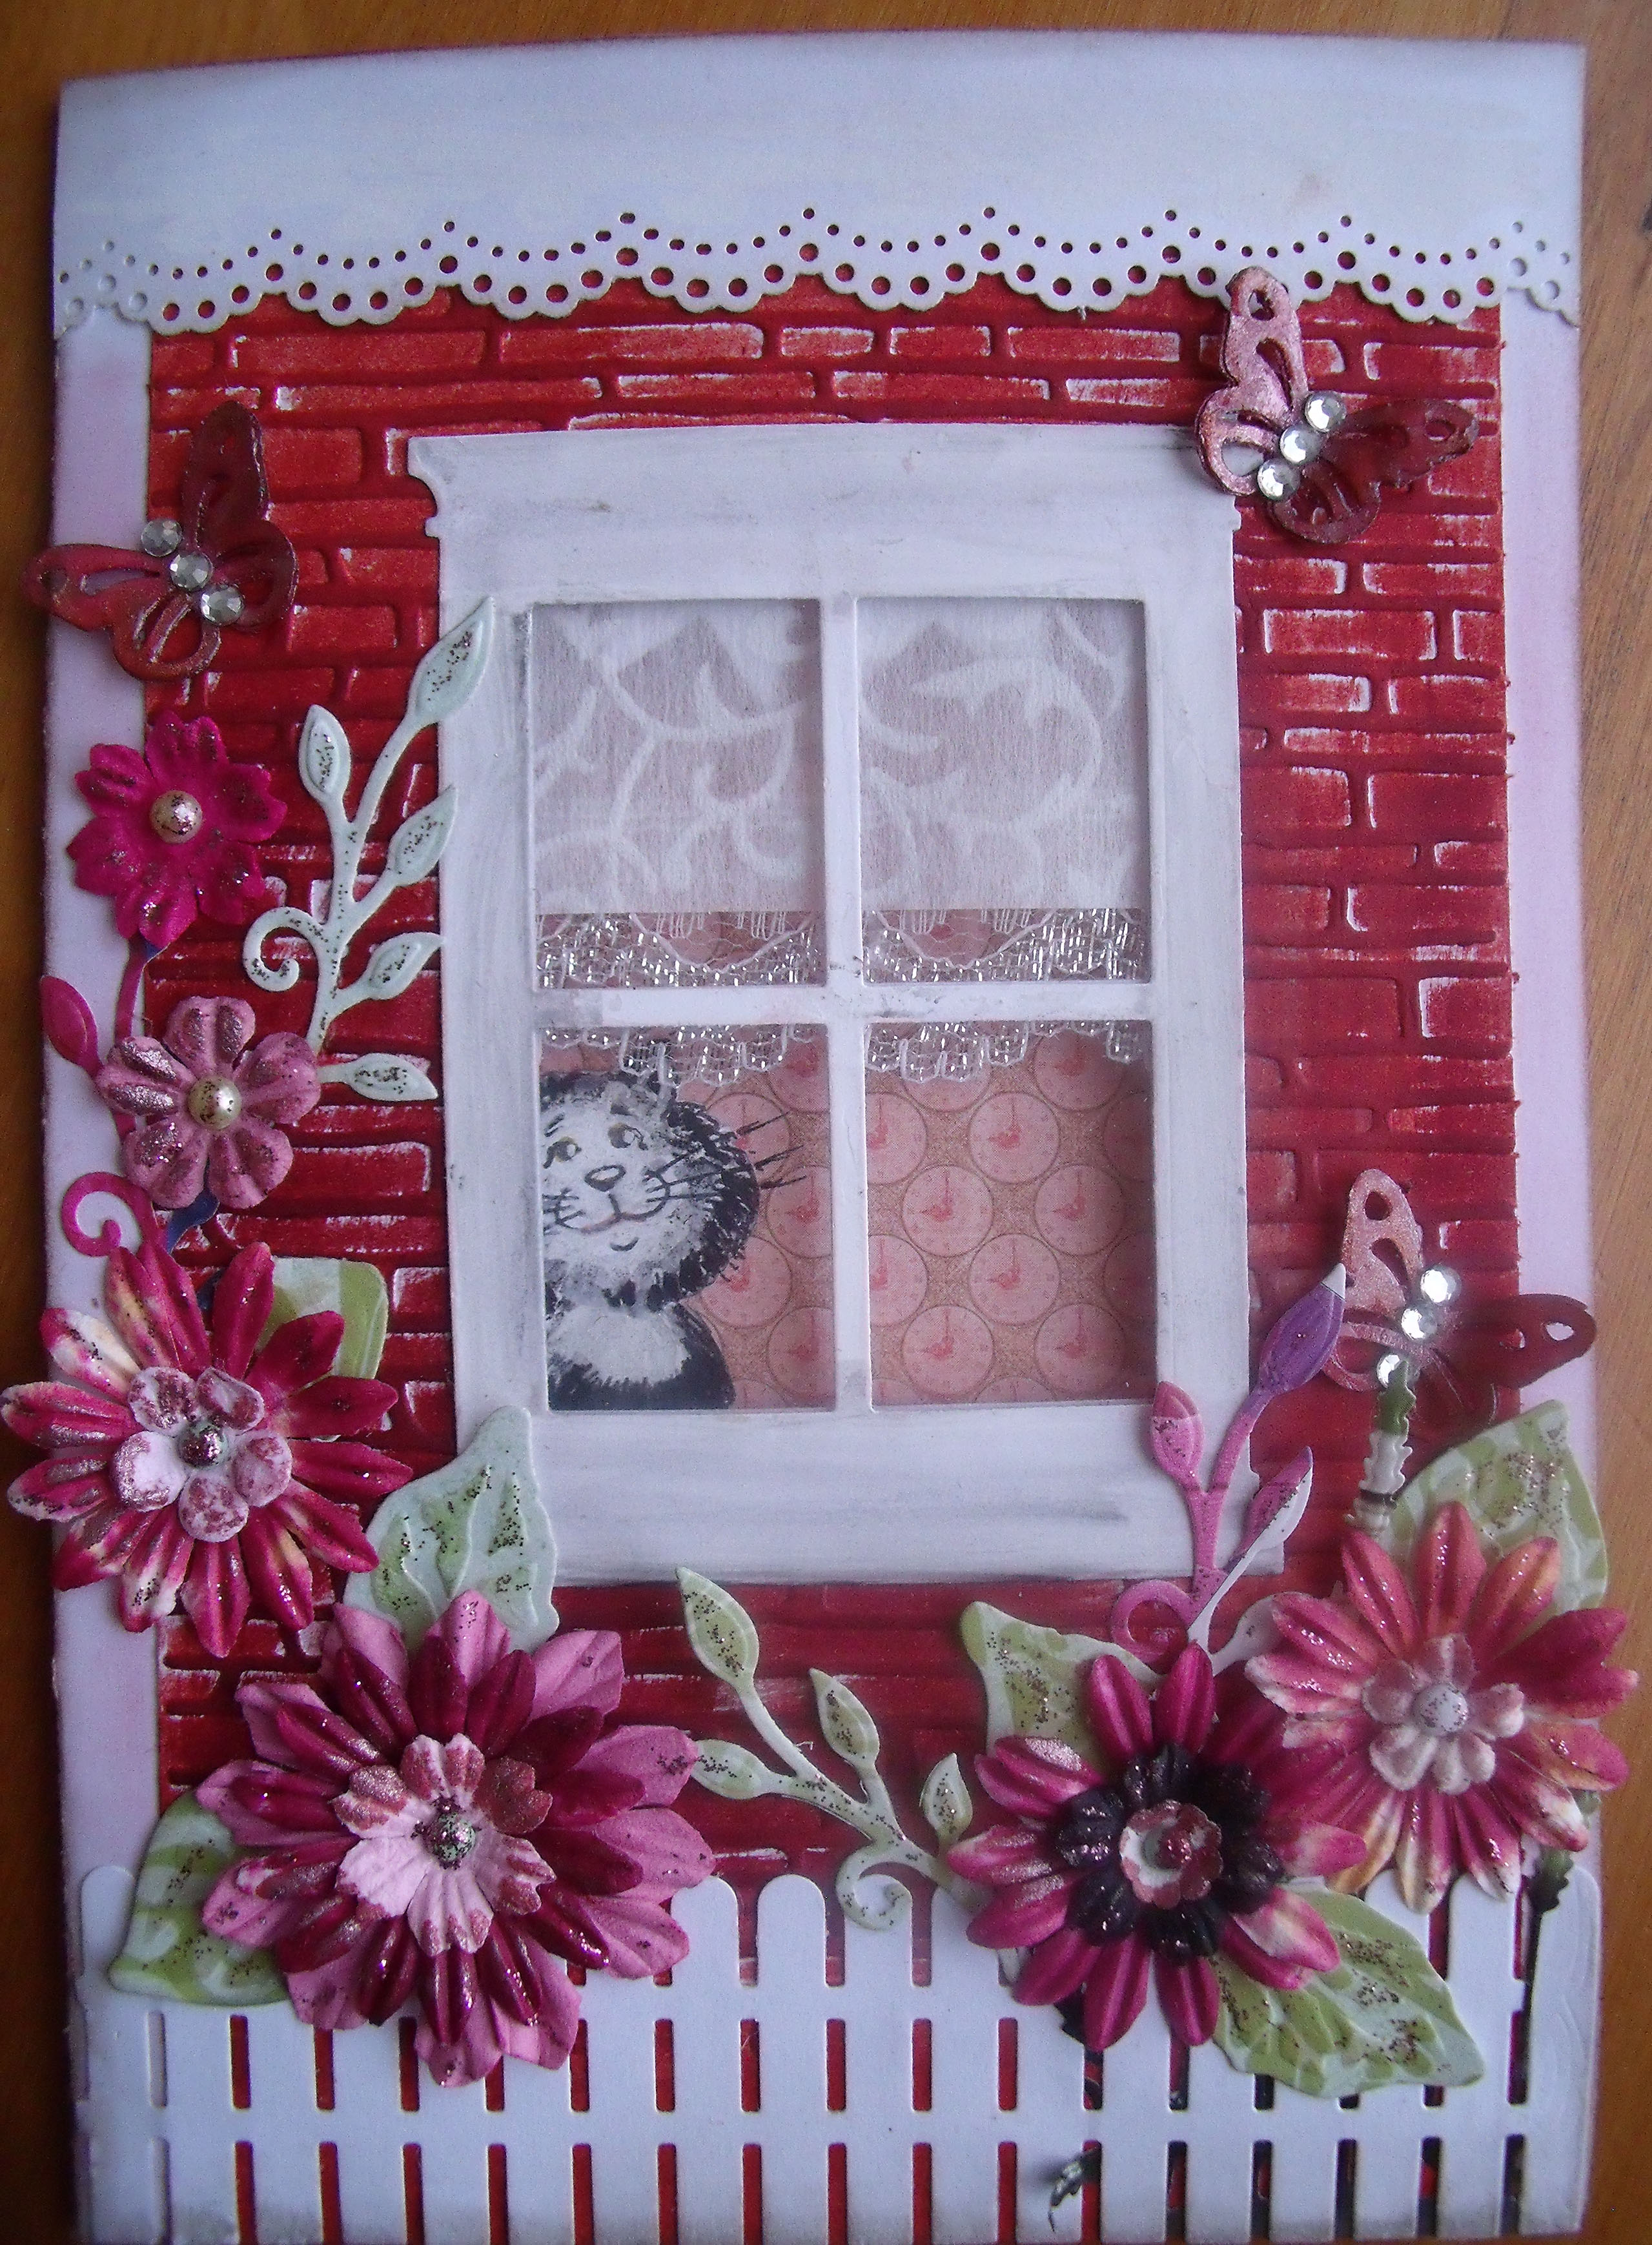
The Contented Crafter
And finally, a few close ups for those of you who want a better look:
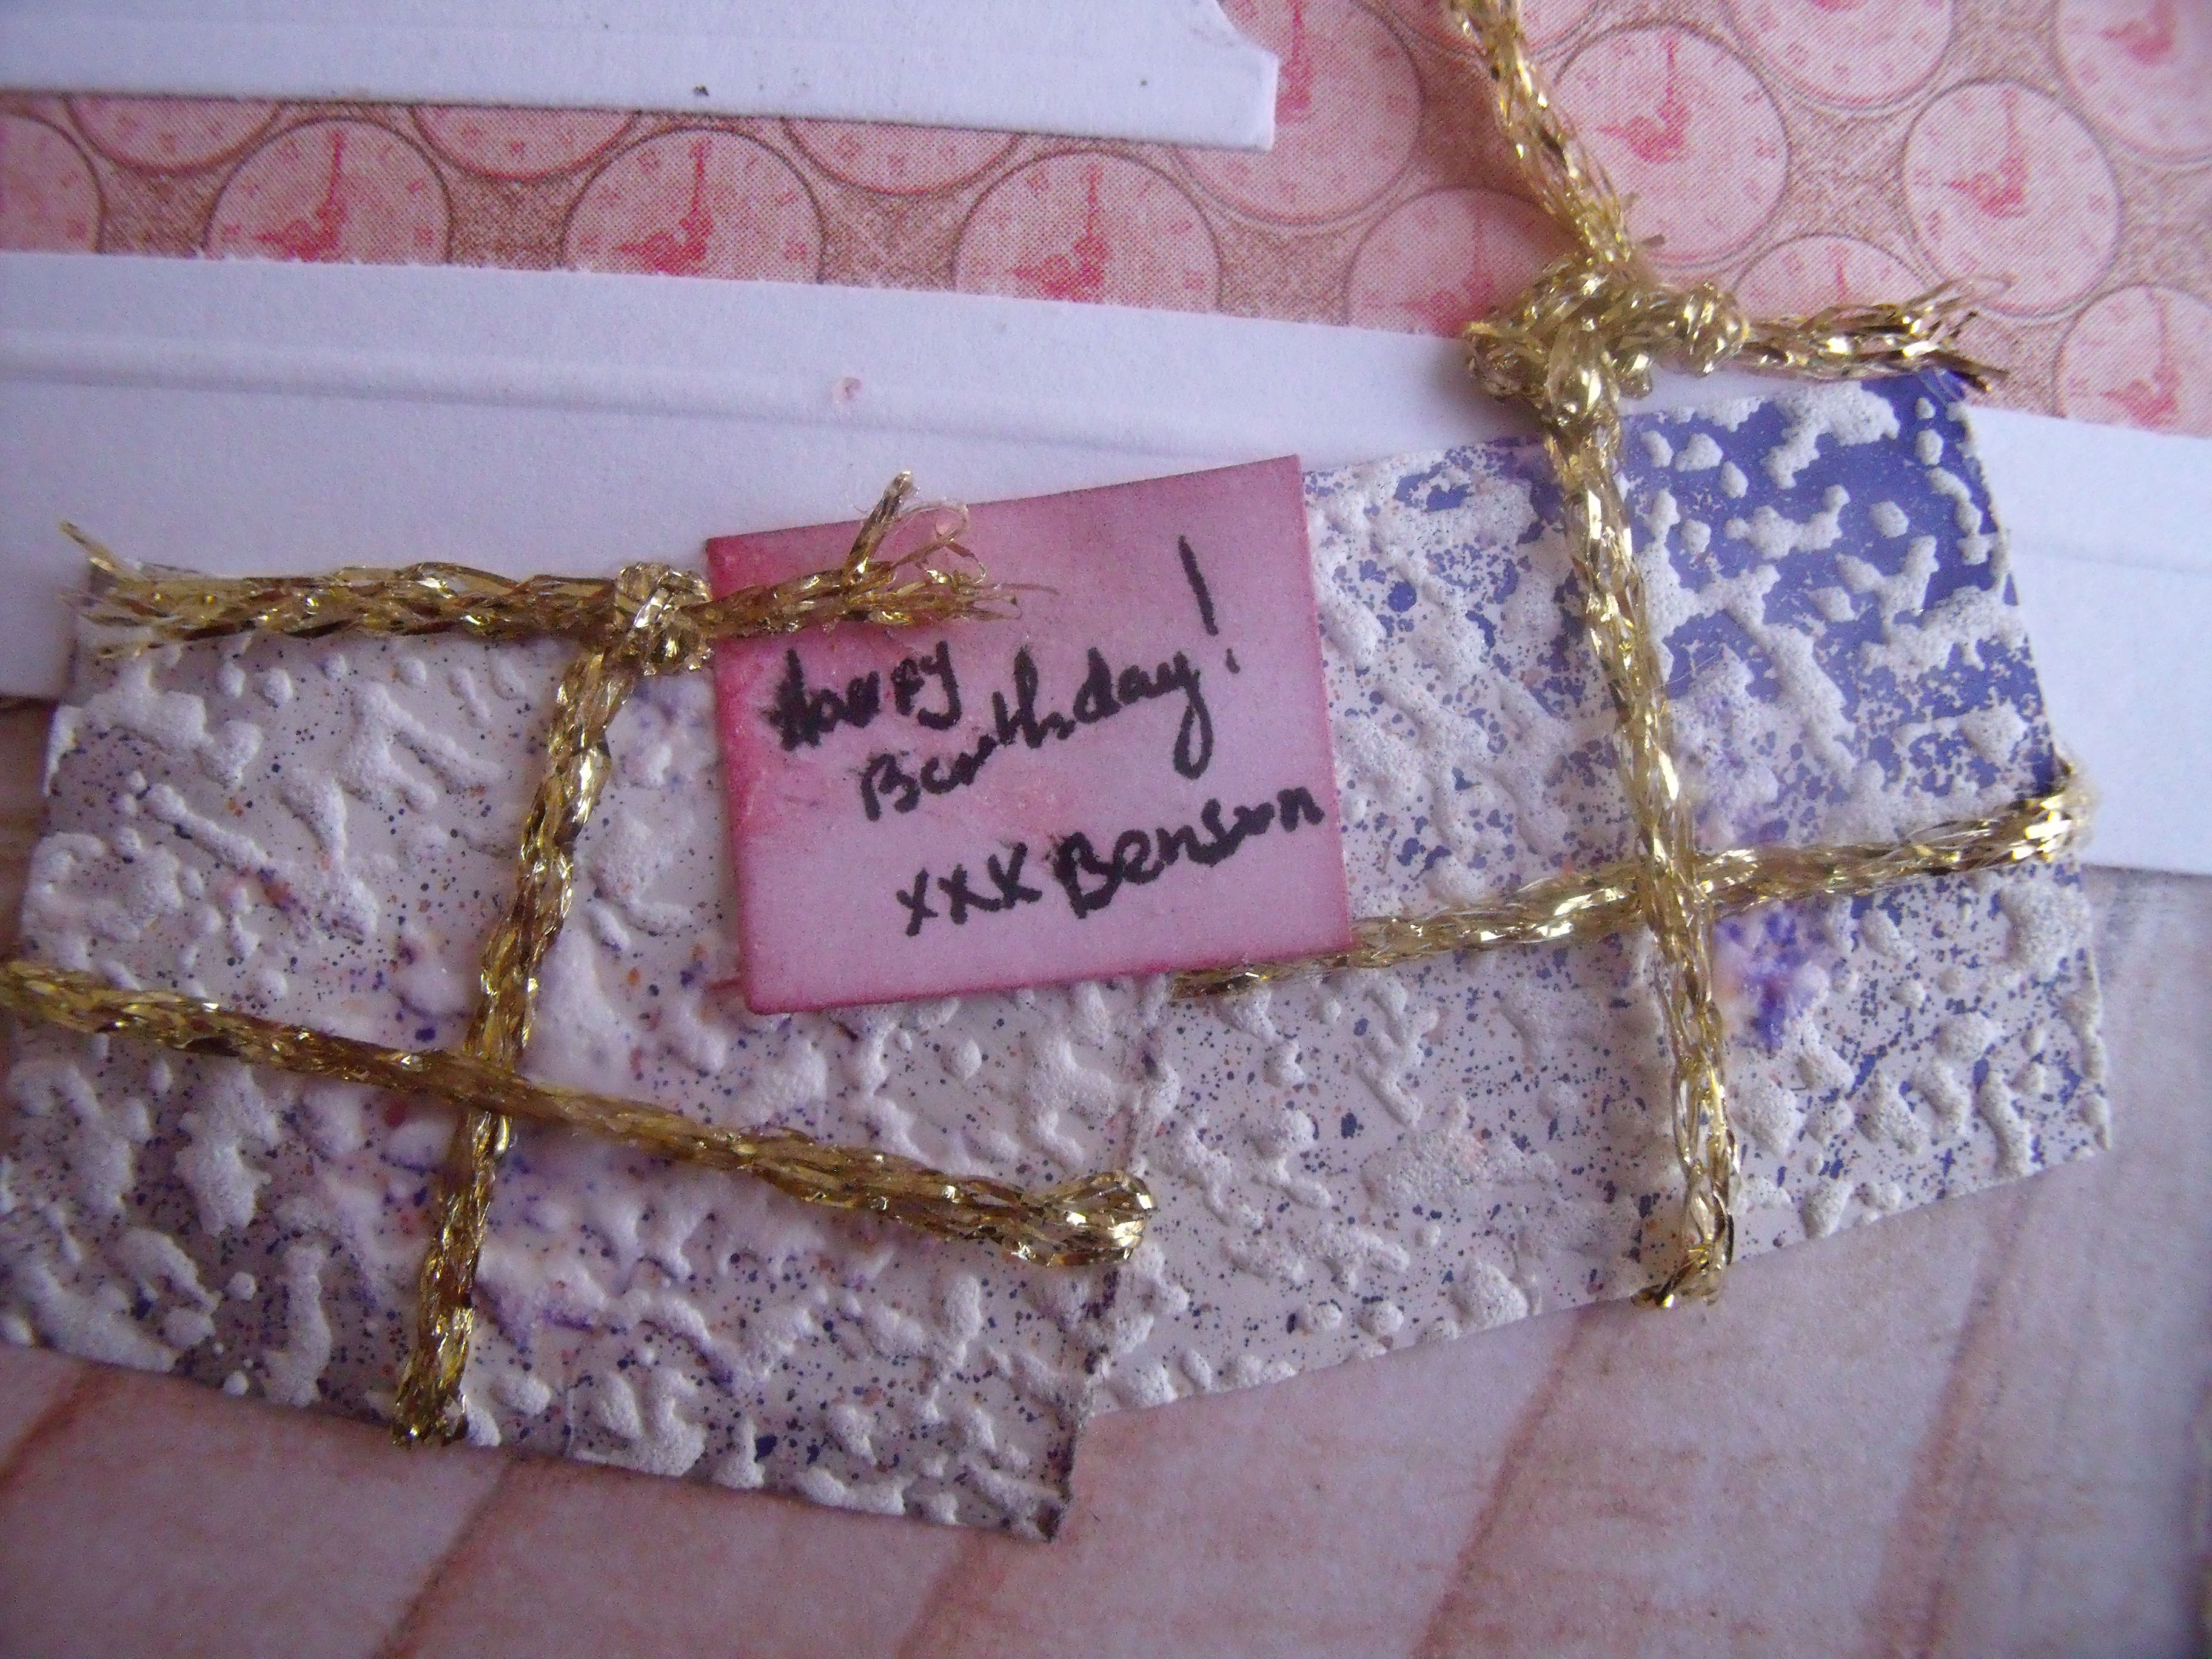
The Contented Crafter
The Contented Crafter

The Contented Crafter

The Contented Crafter
If I ever make another one I think I’ll put a table in, with a cake or some flowers on – or a chair – the room looks a little bare to me ……
I hope you enjoyed that walk through my card making process.
Thanks for dropping by today and I hope you are having a great week!
Go well!

