The painting is not going well, the lap top is still temperamental and the weather is changeable – it being spring and all – and I have not posted for ten days!
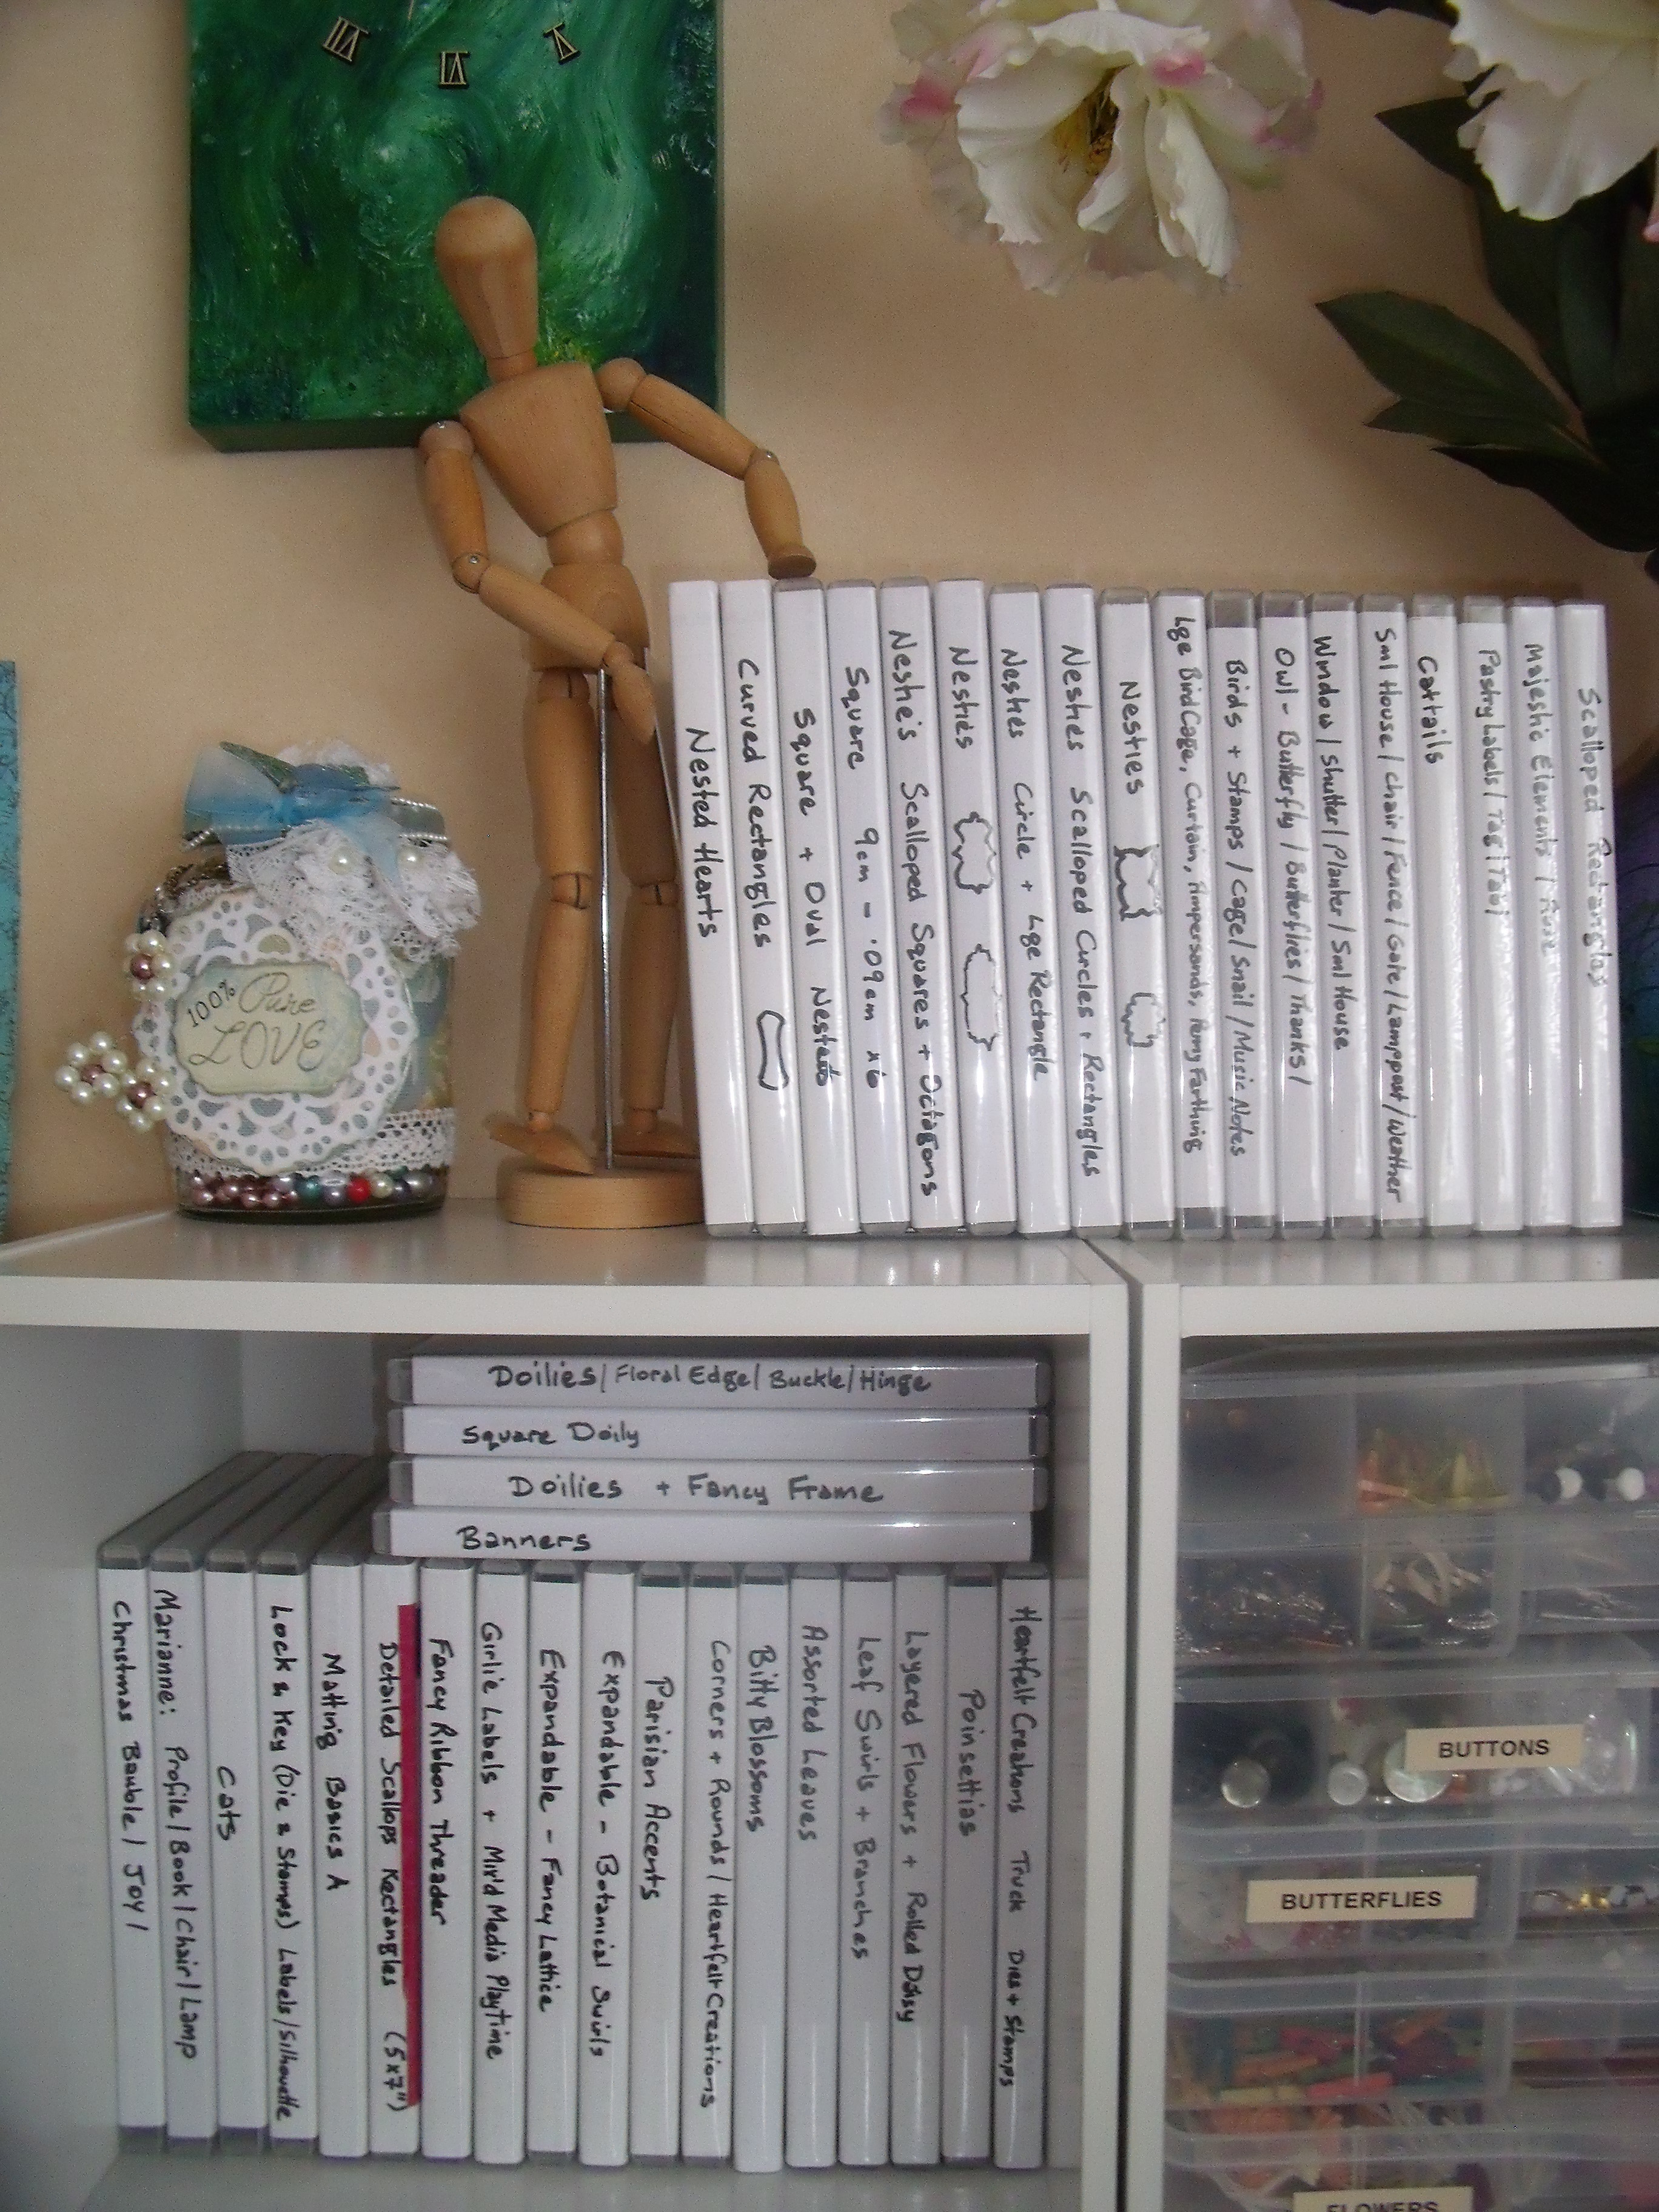
The desk top is buried under a pile of papers and inks and paints and heavens only knows what and I end up working in that little 10 cm square empty spot in the middle:

Now before continuing with my tale I must just fill you in a little more. I am an enthusiastic fan of Vivian Keh, whose blog ‘Contadina K’ is peppered with beautiful and inspiring work and who often makes videos to share her talent. [If you are a card maker and haven’t, you should check her out]
Vivian has been making gorgeous cards [check ’em out here] which kind of inspired me to get out my embossing folders and play around a bit with them – I can’t remember why precisely, but something was kicked off in me and I left her blog and wandered off to the play room and hauled ’em out ………. I didn’t document the process, but all that work can be seen as the background to what comes next……….
On with the story.
If you are a long time reader of this blog you will know that when things are not going well in the arty-farty part of my life I make flowers.
So, I’ve also been making flowers.
This time I played with water soluble pastels and pastel gliders [which are similar to Faber Castell Gelatos] only with a more affordable price point 🙂 I randomly splotched colours all over some 160gms water colour paper and then spread them about with a very wet paintbrush.
See those chopped up bits of paper lower left of the photo, that’s all that is left of those lovely colourful papers I created.
I die cut as many flower and leaf dies as I could fit onto each piece of paper and got a wildly varied collection of colours and patterns – some look really interesting and pretty:

Others not so much:

Some colour ways just did not sit well with the cards I had already begun to prepare for them – using the embossed backgrounds remember – so I got out the ‘Twinking H20’s’ and started playing around to see what happened.
What happened was that as I layered the different colours I began to get a metallic look.
This was exciting and interesting so I forged ahead and made these:

The card on the right is not finished – it is still waiting to be flowered up, but here you can see one of the embossed backgrounds I’ve been wittering on about. The other two are already tucked away safely in their cellophane bags, maybe not so very clear, but you get the idea – yes? And those beautiful backgrounds are really my favourites – more about how they were made a bit later.
Here is the latest card I made, not yet bagged up so let’s have a closer look at it:

I make these cards as durable as I can. They are made from A4 200gsm card and the inside back is given the same matting format as the front which makes it sturdier and able to support the weight of the card front. Here is what the inside looks like:

Lots of space to write your message!
Closeups to show the faux metal look:


I think the above photo shows best the metallic look – the leaves look weighty and see, even the tiny butterfly has a metallic look.
In real life they all do really and truly look as if they are made from metal – this morning I actually had a tinge of disappointment when I picked up a metal looking butterfly [made using the smallest Martha Stewart butterfly punch] and it had no weight to it – and I made the darn thing!
Here’s another flower with a copper look to it:

Once the H20’s have dried I run a darker ink around the edges and some raised parts of the flower and leaves, which gives a more finished look to each piece I think.
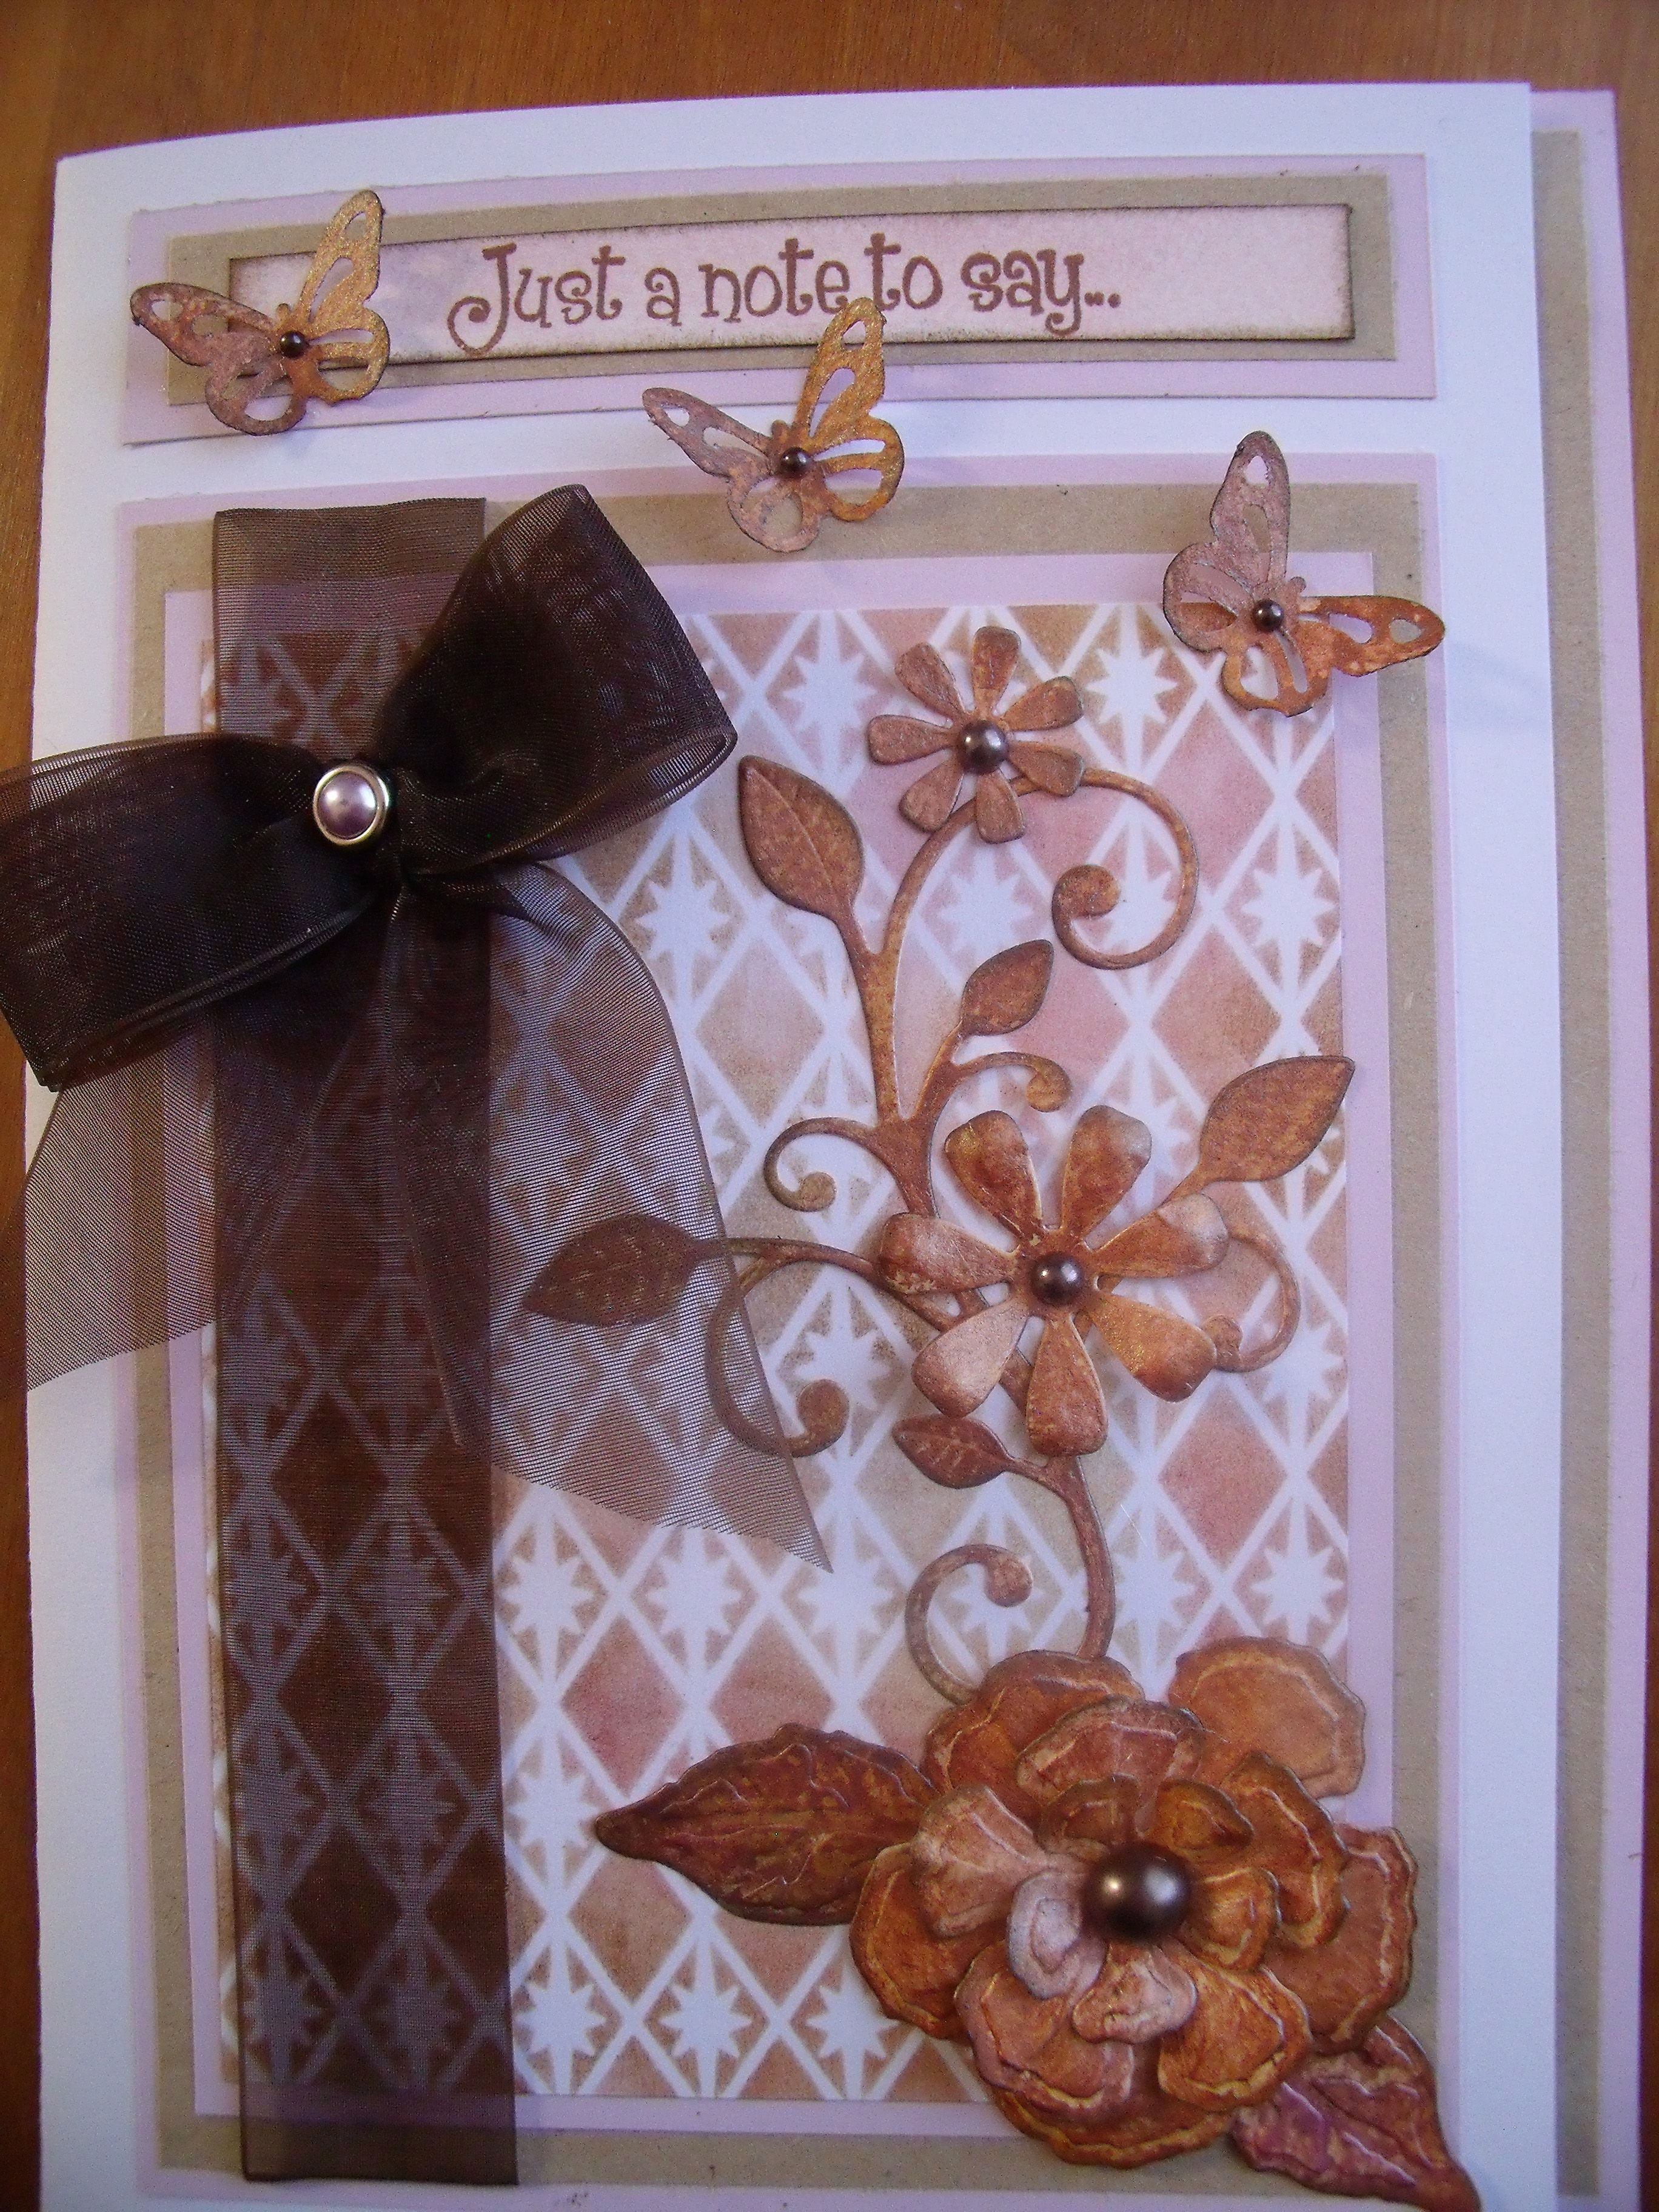
This card also has my favourite background – remember those first two cards, here is how they were made. I used two Spellbinders ‘Impressabilities’ – this one called ‘Diamond and Stars’ and the one used at the top of this post called ‘Butterflies’ – as templates and inked through them with three to four different coloured chalk inks. I think the colours are soft and pretty and they work well – Yay, successful backgrounds. 🙂
So that’s what I’ve been up to the past week or so – just playing around to see what happens………………
What do you think?
Thanks for coming by today, I love that you did 🙂