Well, it’s partly exciting and partly not…..
A couple of weeks ago I received an email from an on-line designer store named ‘Vida’ inviting me to become one of their designers. They had seen my art work the mail said and were very excited by how it would translate into bags, cushions, scarves, wraps and tops.
I, of course, was hugely flattered and not a little sceptical and asked three people whose opinions I trust implicitly to check them out too. Two were my daughters and the third my friend Alys.
The daughters were spending time together in Wellington and a couple of days later sent me this ever so slightly tongue-in-cheek response:
We think it looks very professional and very inviting.
We think it would be a very exciting thing to be a part of! We love the idea that everyone involved in the process matters equally and is remunerated accordingly.
Regardless of whether you do sell anything this is a great opportunity to showcase your artwork to the world. Also we think your artwork would stand up very well against anything else on the website currently.
And some of your pieces were made for this medium.
Do it!!!!!
Love YD and ED XXXOOOXXX
So, I’m pretty excited for you after reviewing this site, checking out some of the press and following them on Facebook…………….
She went on to give an impressive breakdown of the companies background and the legalities involved in being a designer for them.
With such thorough researchers and information like this who would not hit the ‘sign me up button’ and throw themselves in boots and all?
I was really impressed by the fact that the company stated they treat everyone involved in the process equally. Items are made in Pakistan and the workers have access to literacy and numeracy programmes as part of their jobs.
This morning I received a note from Vida with a $15 discount code attached which can be used by anybody purchasing anything from my collection, from now until the 12th of February.
I was keen to buy a ‘Small Things’ tote bag, a great way of advertising my work I thought, plus I still like that painting even though it is now three years old.
There’s no perks being a ‘contributing artist’ to Vida, in fact one is invited to spend up to $US250 purchasing samples of ones own work to show potential customers when touting ones wares….
Any how, I went through the check out process, obtained my $15 discount from my $60 tote and it all went rather swimmingly until I hit the shipping bit. $US50!! But, that’s more than my purchase!! That is ridiculous!!
In short – I can’t afford to buy my own stuff 🙂
C’est la vie!!
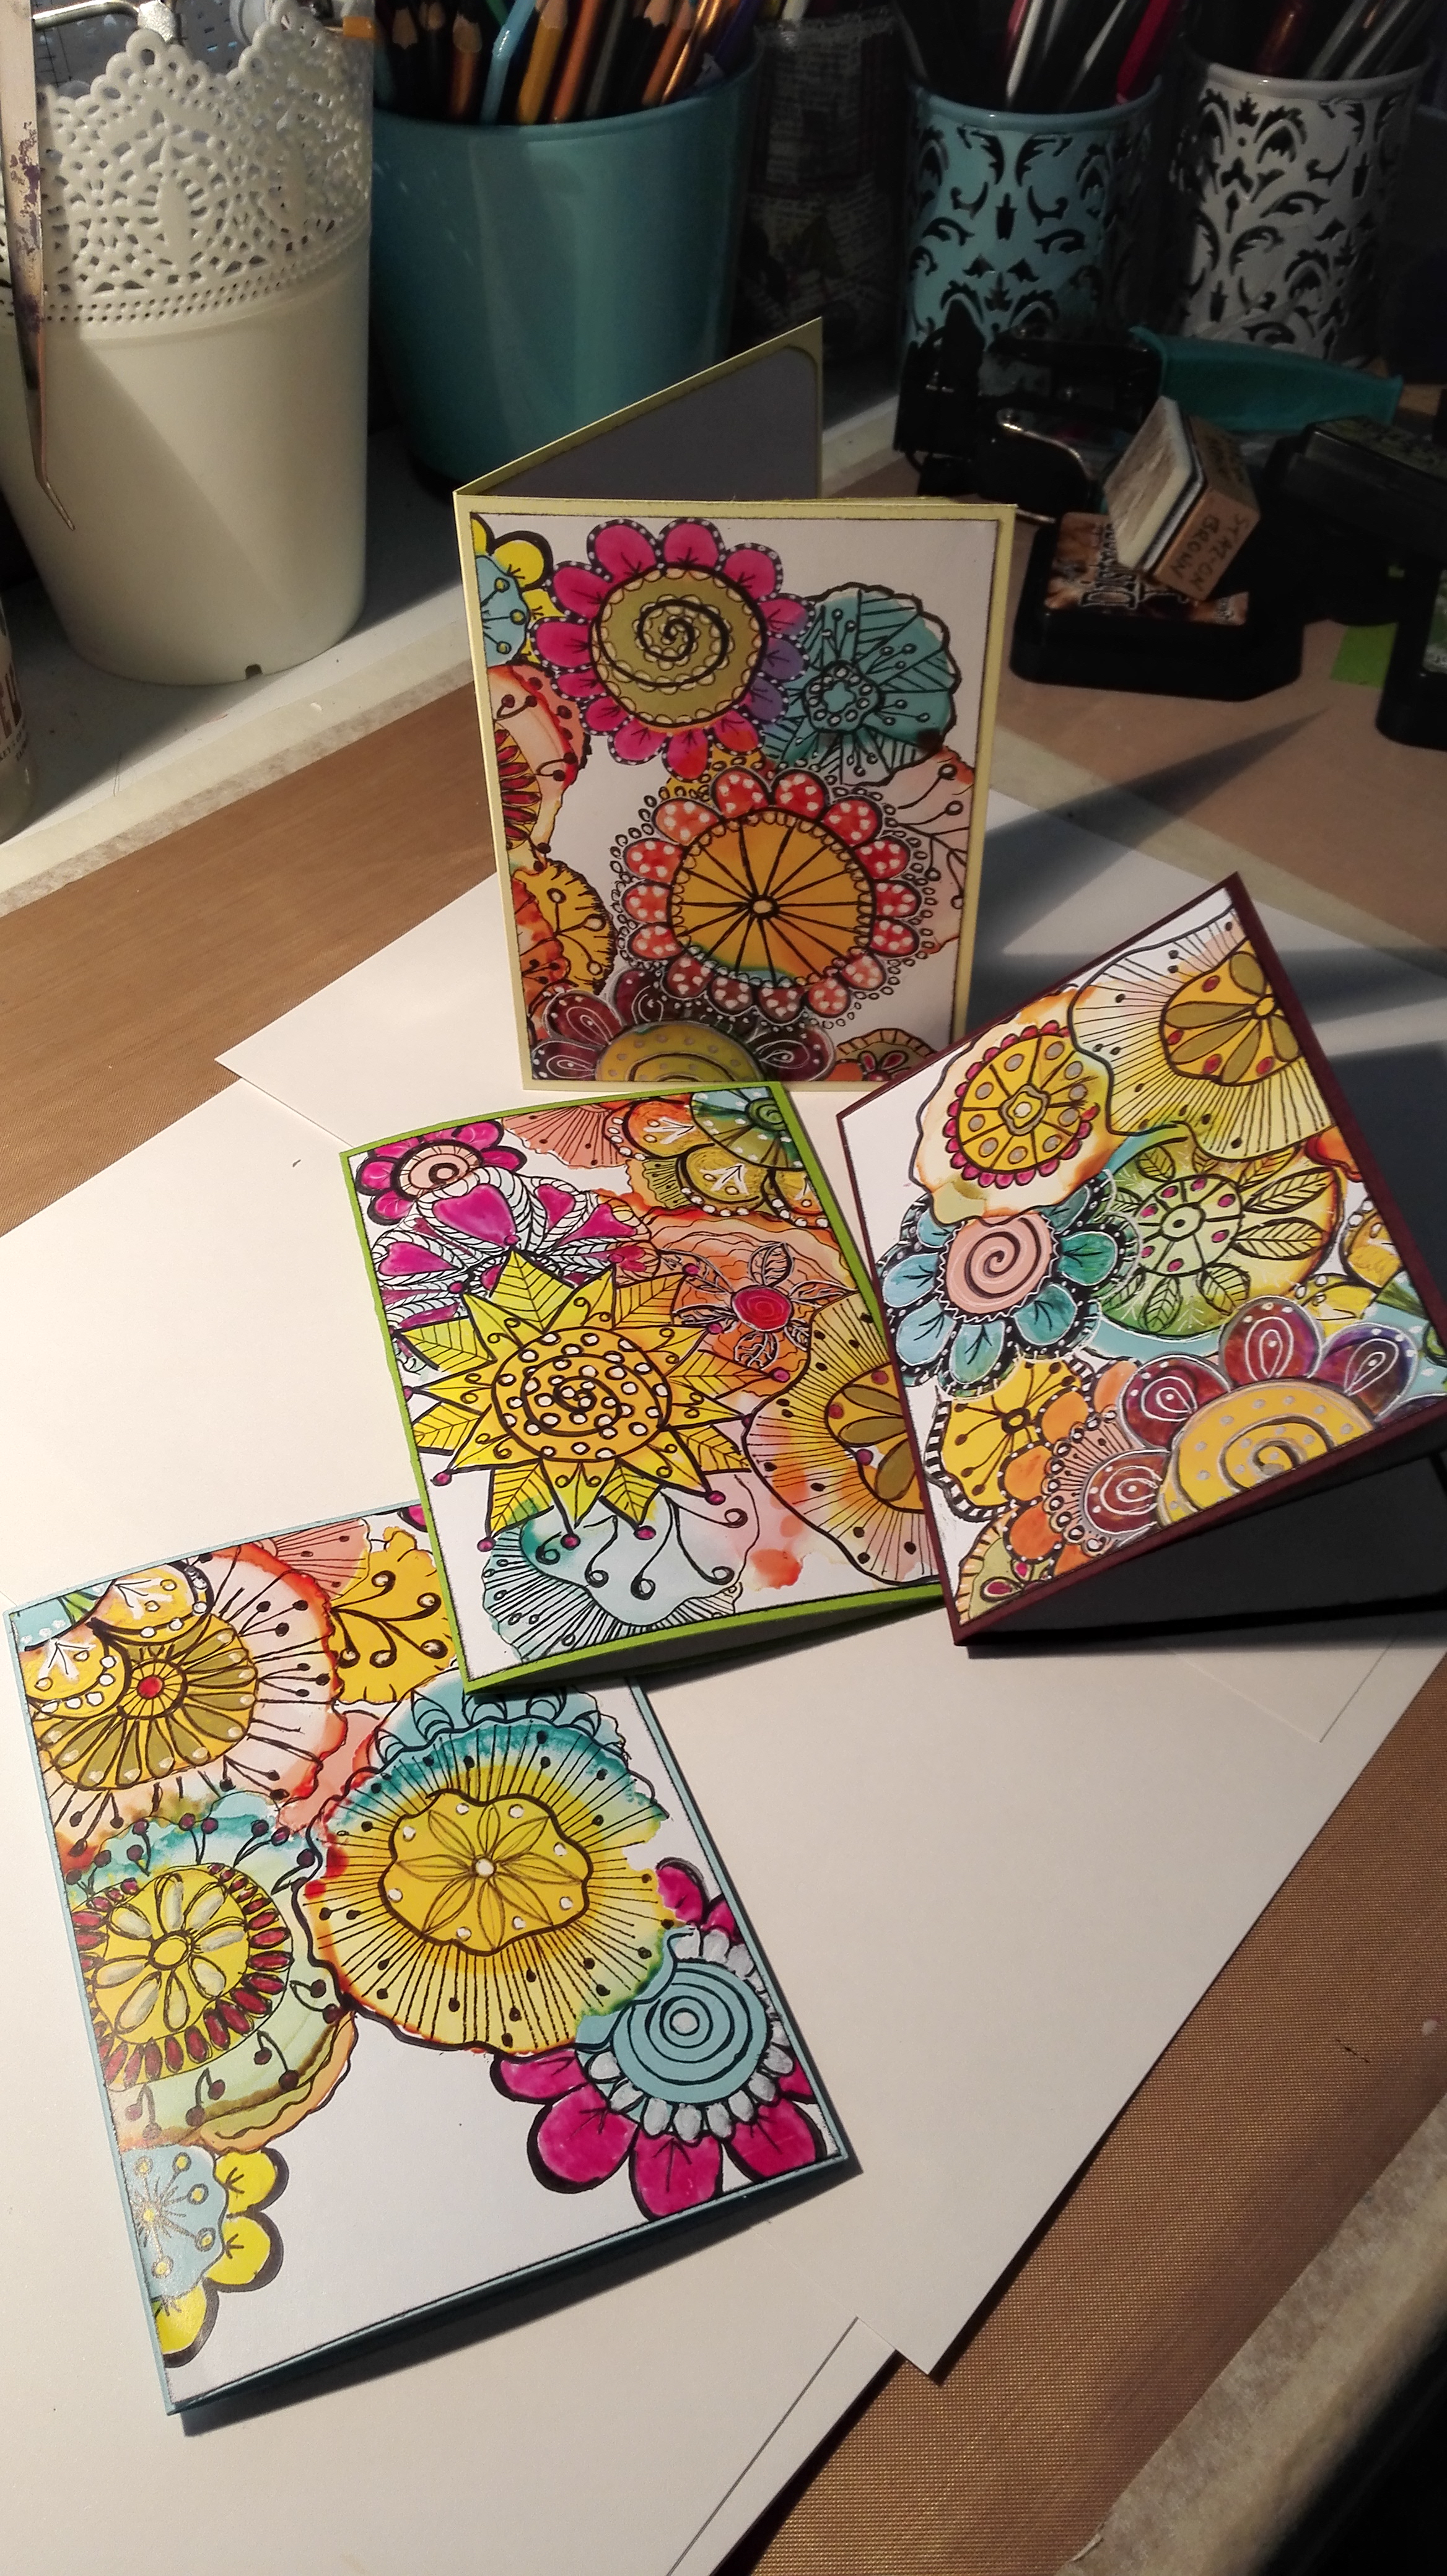
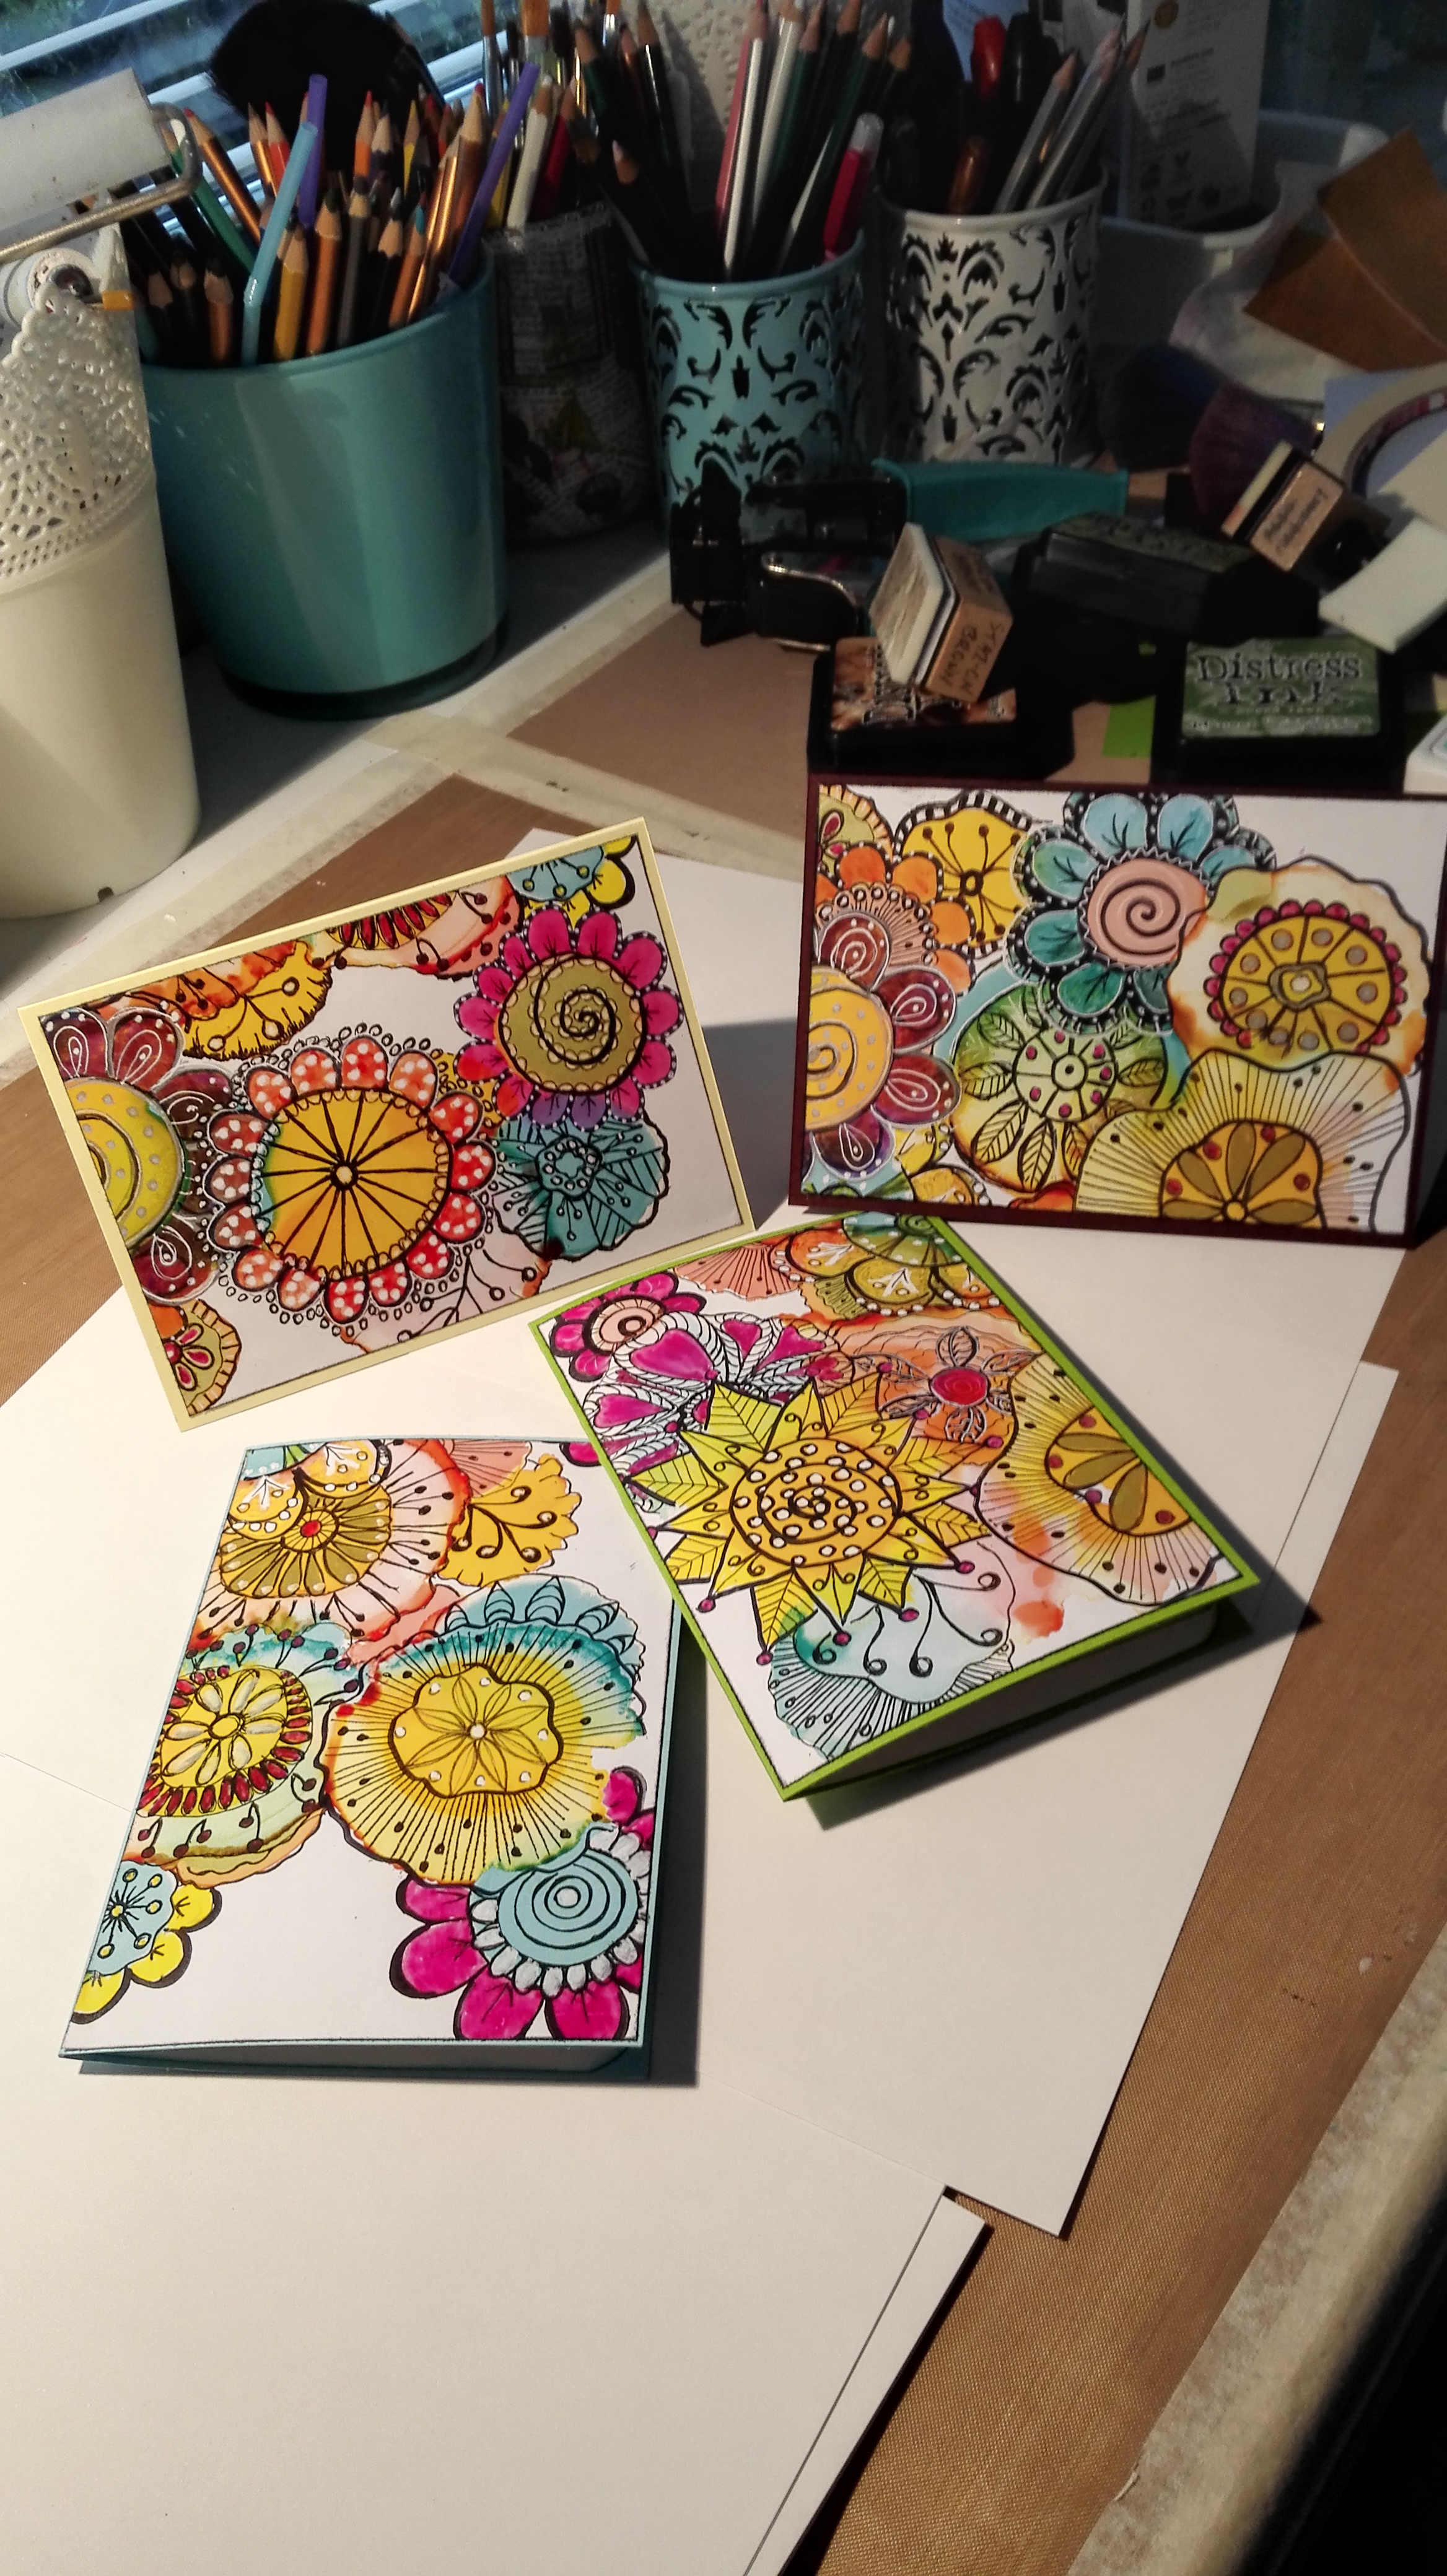
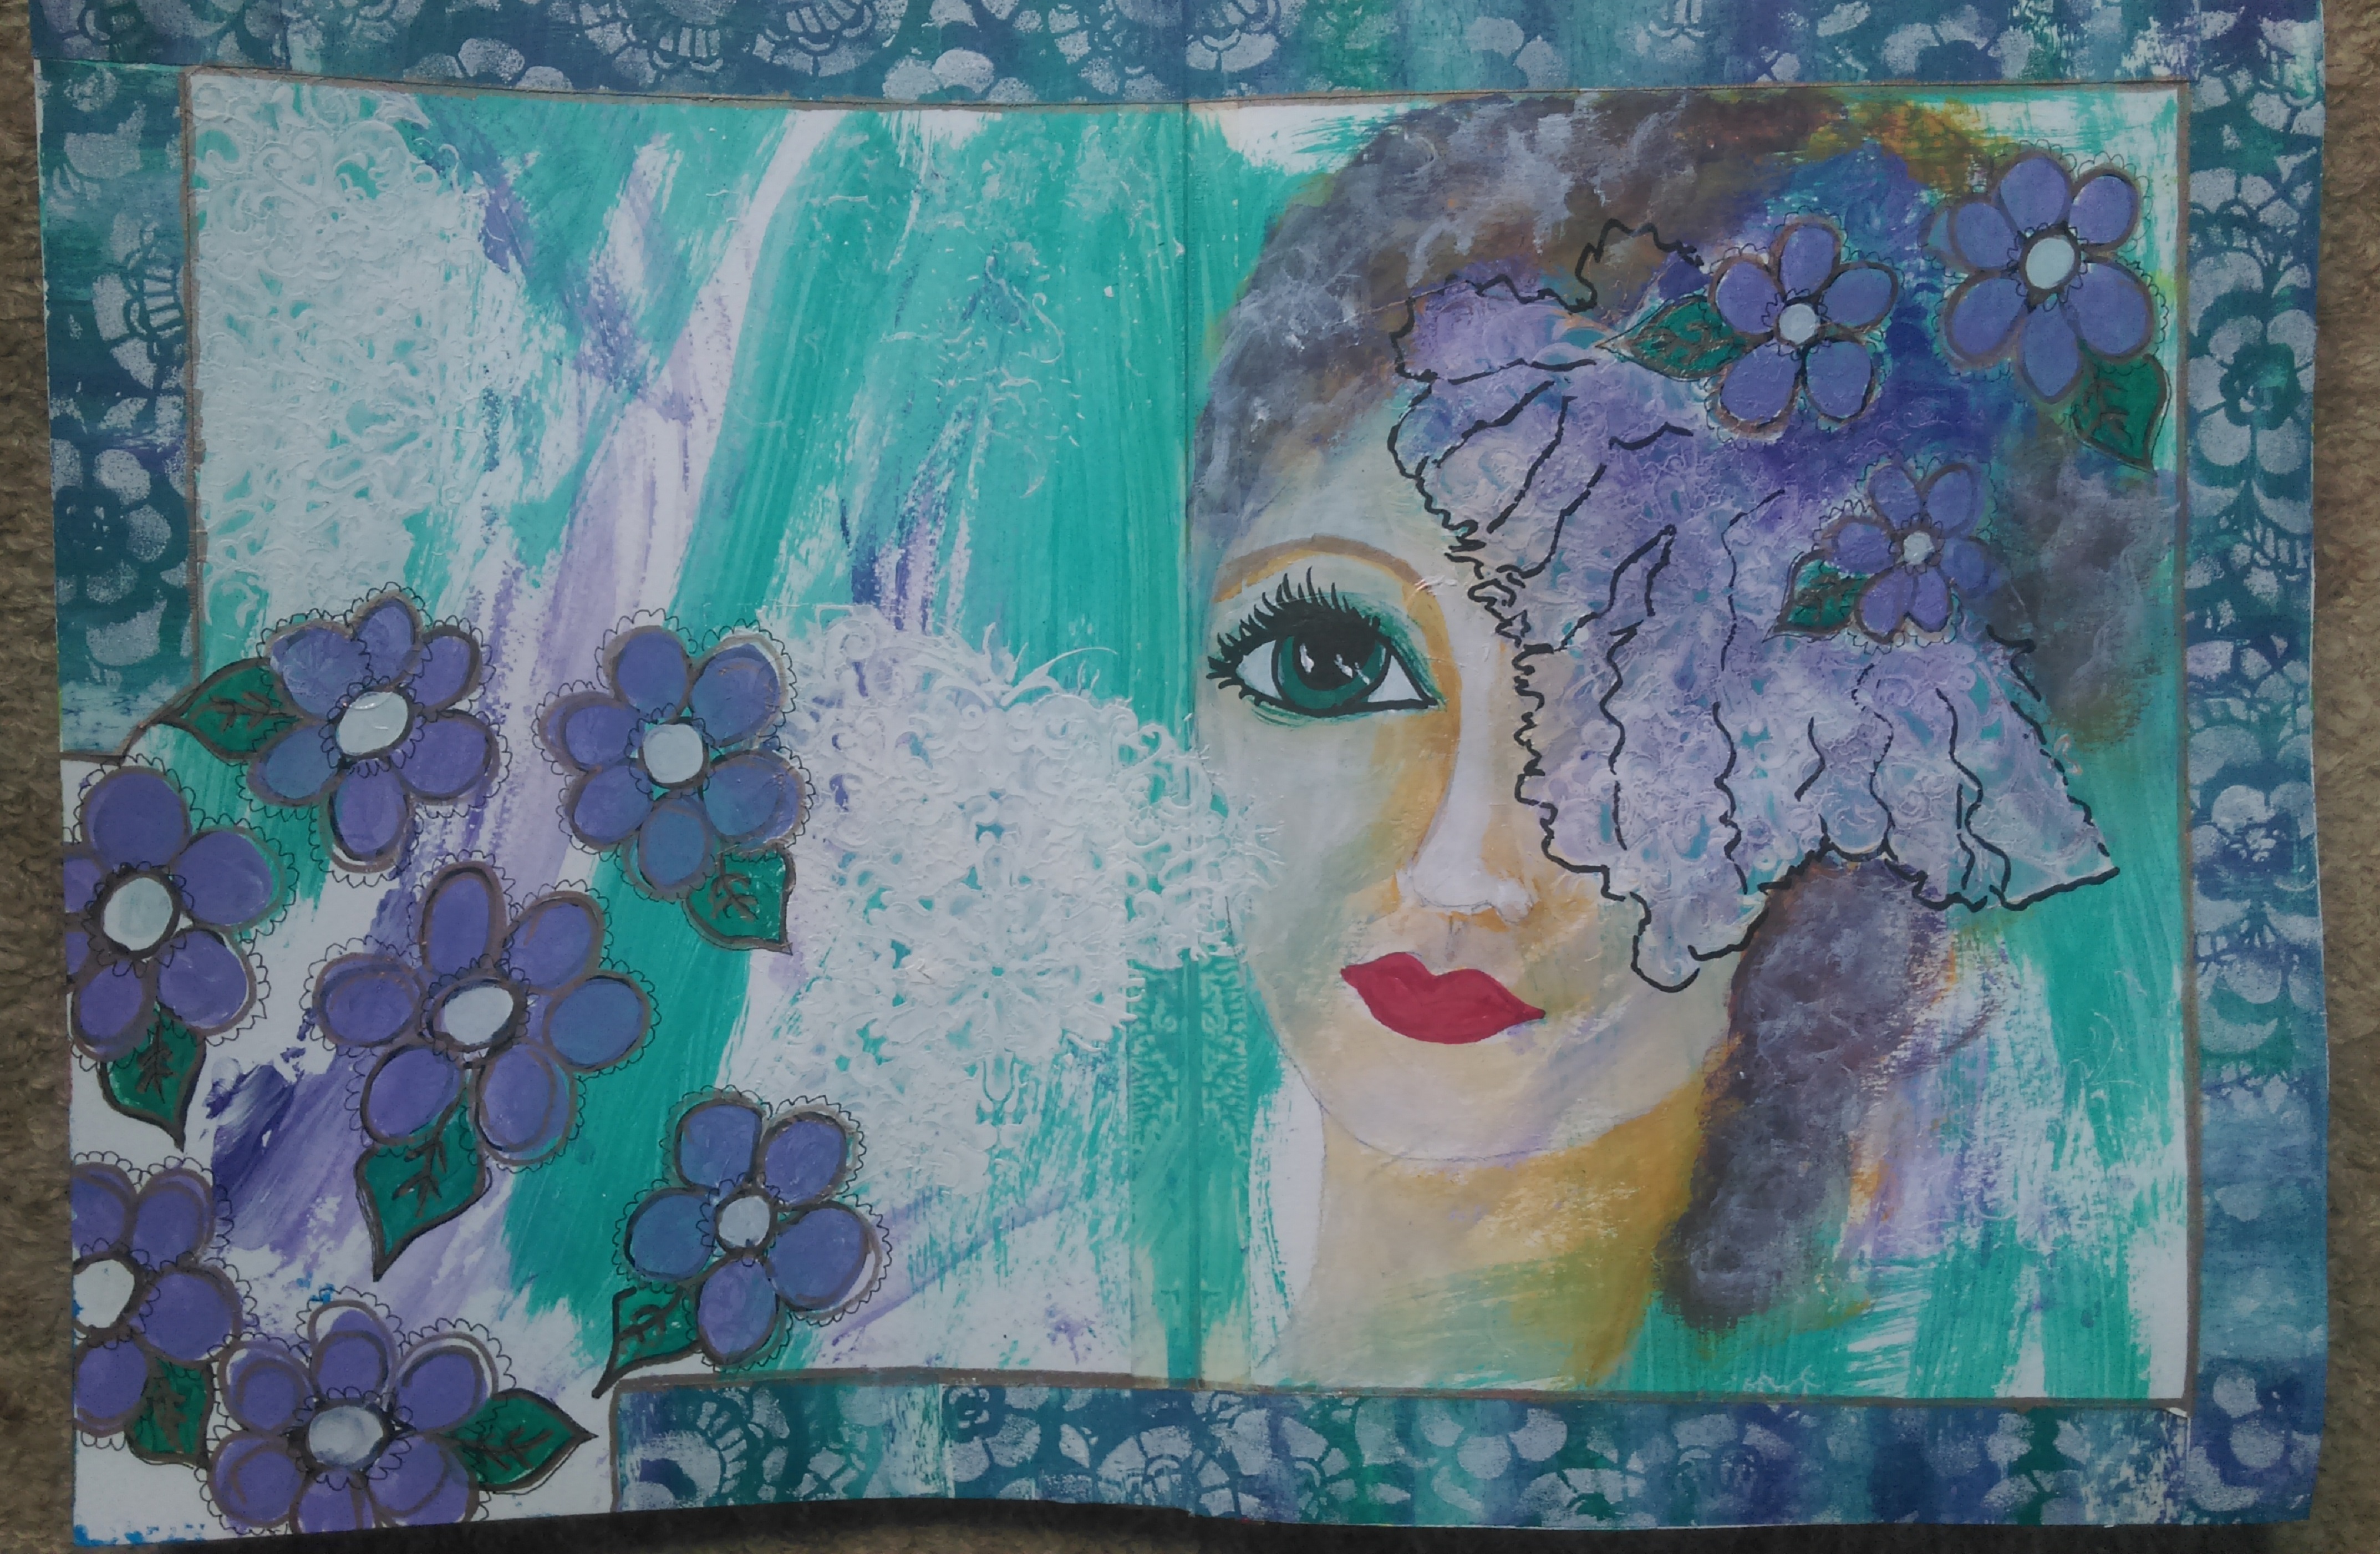
Below is an example of my Inky Doodles ‘Summer Garden’ transformed into a simple top.
Update 16th February 2017
After working with ShopVida for just two weeks I decided to delete and close my collection with them. Nothing that was stated as the support given to their artists was forth-coming. Help was not forth-coming even when asked for. The demands made on my time became ludicrous and there were multiple and contradictory emails sent to me by several different people, none of whom seemed to know what the other had said or done.
The final straw was broken when I received an email that stated that even though they did not have a high resolution file (they did) for an item that had been sold, if I did not supply one withing 48 hours the item would be made up and sent to the customer ‘so they would not have to wait any longer for your lovely art work.’
I blew my top and sent an email listing all the questions I had previously asked, all the assistance I had previously requested and ended by saying
If you got this far, my thanks for reading. I’d like to think the three items that have been sold can be sent to the people who purchased them as high quality products, otherwise I would hope you would refund them their money. And then I would like to remove my work from your site.
The reply to that email contained an apology: yes they had the files; an excuse: he had been sick and omitted to tell any one he had the files and a cajoling plea not to leave
We definitely value you and will work on to provide better support since we don’t want lose a talented and valuable artist as your self. Please let me know what I can do to alleviate your frustrations with the company that I caused and I’ll do my best to work it out.
I momentarily felt sorry for him, the poor bloke had been told to fall on his sword!
But, as I had, on several occasions, stated what I required from them to feel supported and reiterated it in the email to which he was responding, I didn’t feel like going through it all again and never replied. I deleted all my designs from the collection except for the three that had sold. And those will be deleted as soon as the orders are filled.
There’s more, the incompetencies continued even after that, but I won’t bore you with the details.
So that was an interesting little sojourn into a modern pyramid selling scheme, one where the artist gets to figure it all out by themselves, do all the work required in uploading their art, placing it on the ‘designer clothing’ advertise the company, market their own products, purchase their own samples and respond immediately to every demand the production team make of them. All this, while (I imagine) the entrepreneurial folk swan about in their airy and bright offices spending all their time searching Google on their iphones and ipads for uplifting and inspiring quotes, writing wonderful treatises on how the company values and supports their contributing artists and makers and having excited and voluble conversations about how they are changing the world over long and tastily trendy lunches paid for out of the gross income earned by the hard work of the artists and makers.
My plea – don’t buy from ShopVida or believe any of their beautifully worded and presented ethos. In my experience there is not a word of truth in it.
Gah!! I should have known better! My work will continue to sit in the little shop on my blog if you ever want to own any of it. Otherwise I will do as I have always done – make for the pleasure of making, tell you about it and give it away when I think it might bring a bit of light to someones life.
Thanks for coming by today, I love that you did!

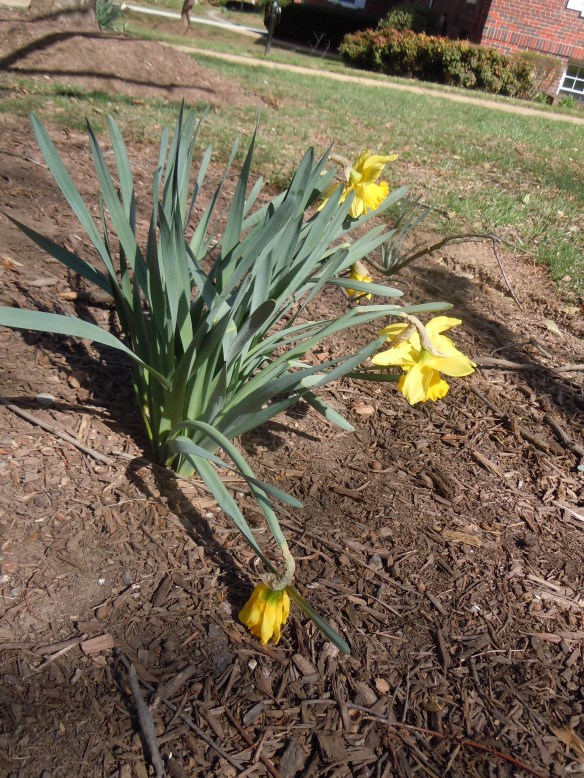 Ooooh Noooo. It was so nice a few days ago…
  Blossoms. Leaves too. Aaiiieee….