
Wow – Inky Doodle Note Cards are proving popular! Thank you, thank you to my loyal supporters who have purchased a set or two I am so thrilled you like them! And yes, it’s true, the no-envelopes choice has been the preferred way to go.
Today I’m showing how I make the promised custom fit envelopes without any special tools. I saw someone do this on YouTube two or three years ago and I’m sorry to say I don’t remember who it was. I already had an envelope template but found it restrictive in sizing. Since learning this method I never used my expensive envelope template again!
Let’s talk about paper first. It’s possible to use any kind of paper. Flimsy paper may need a security insert or to be doubled. You might wish to use matching paper or plain white copy paper. You might want to make your envelope out of deli paper, newspaper, a brown paper bag or fancy pre-printed crafting paper. I’ve used them all and then some.
My friend Alys likes to use her old calendar leaves as envelopes. I’m a bit given to using my paint wiping papers as envelopes. Newspaper is fun, especially if it has a special occasion announcement to accompany the card. If you use newspaper you will need to place a white ‘address label’ on the front of your envelope, as you will need to do with any dark or ornate paper. But anything is possible – we can be as creative as our imaginations will let us be!
So. let’s start.
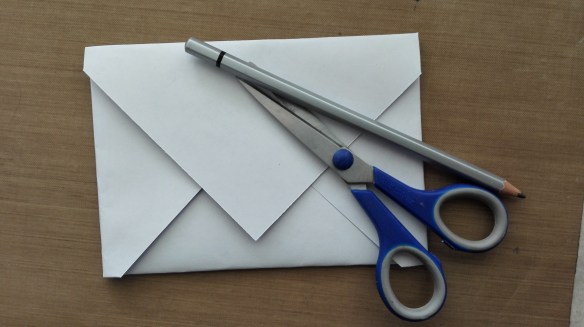
All you need is your paper of choice, a ruler, pencil, scissors and either glue or double sided tape. Plus the card you are making the envelope for. (I usually make an envelope out of a piece of copy paper to start, just while I remember the steps – then I use the fancy stuff.)
Today I decided to go with a plain mauve heavy weight paper for an inky doodle note card.
Work with the inside of the envelope facing up.

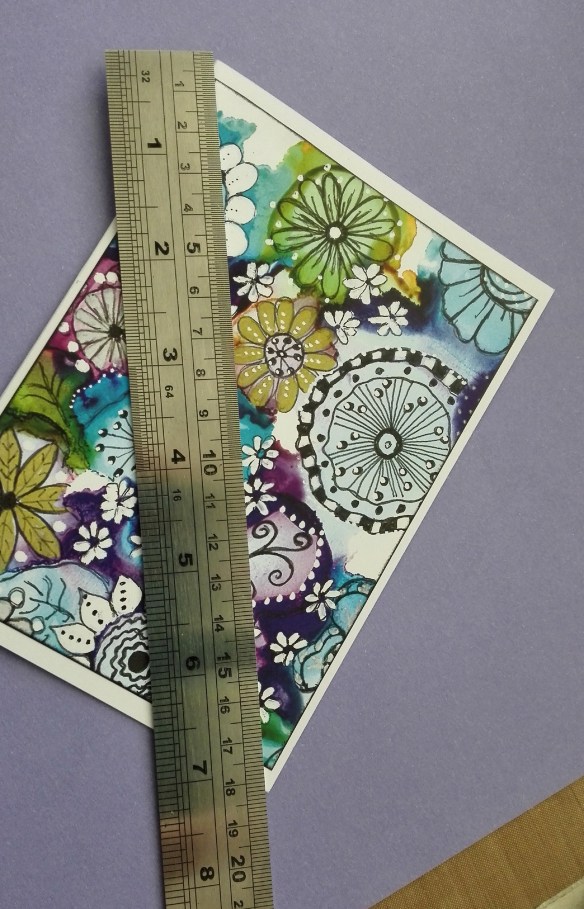
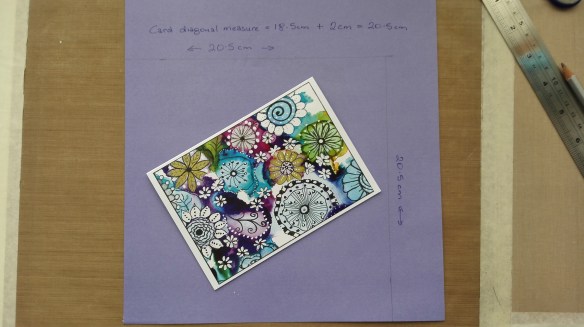
The first thing to do is measure your card diagonally, corner to corner and add 2cm/1″
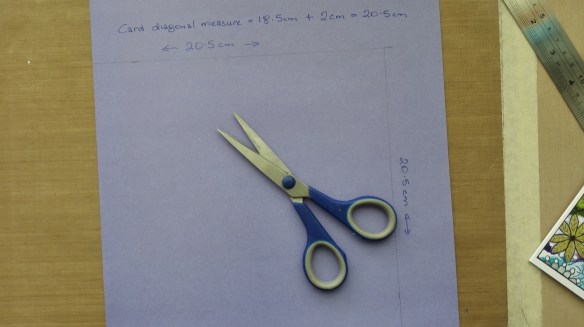
Cut along the ruled line
Lay the envelope as a diamond in front of you and lay the card long ways across it. The ruler is shown in the photo below to draw your eye to the need to move as accurately as possible the bottom point of the diamond into the same line as the top point as you fold up the bottom of the envelope.

Crease the bottom fold lightly then fold in the sides. Don’t fold in too tightly, you need to be able to slide your card in and out with some ease. But also don’t leave too much space or the envelope simply won’t work out. Crease lightly in case you have to adjust. Once you have made a couple of envelopes this won’t be an issue for you, I promise.

Trim the pointy end of the bottom of the diamond as shown.
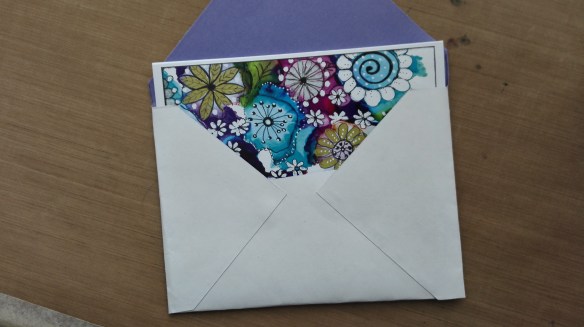
Fold the top over to fit the card. We haven’t glued anything into place yet. If you are happy with the fit
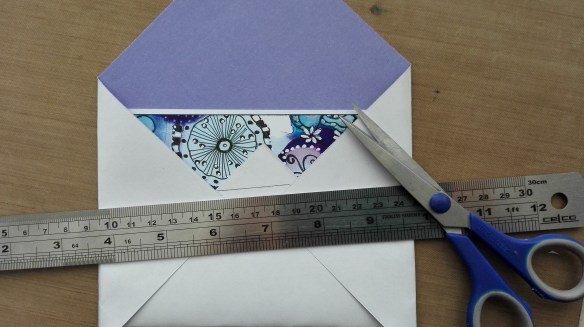
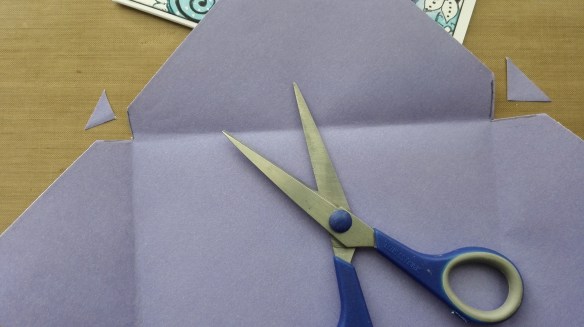
remove the card and open the envelope out. You will trim those little triangle areas as shown, just to make a neater finish to your envelope.

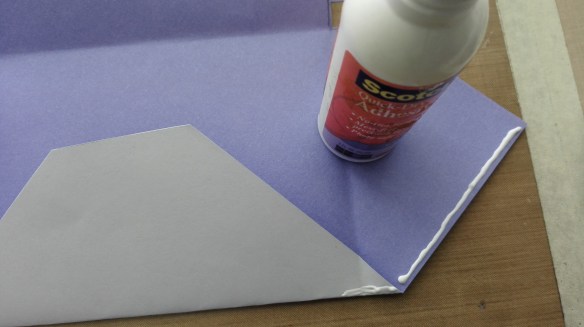
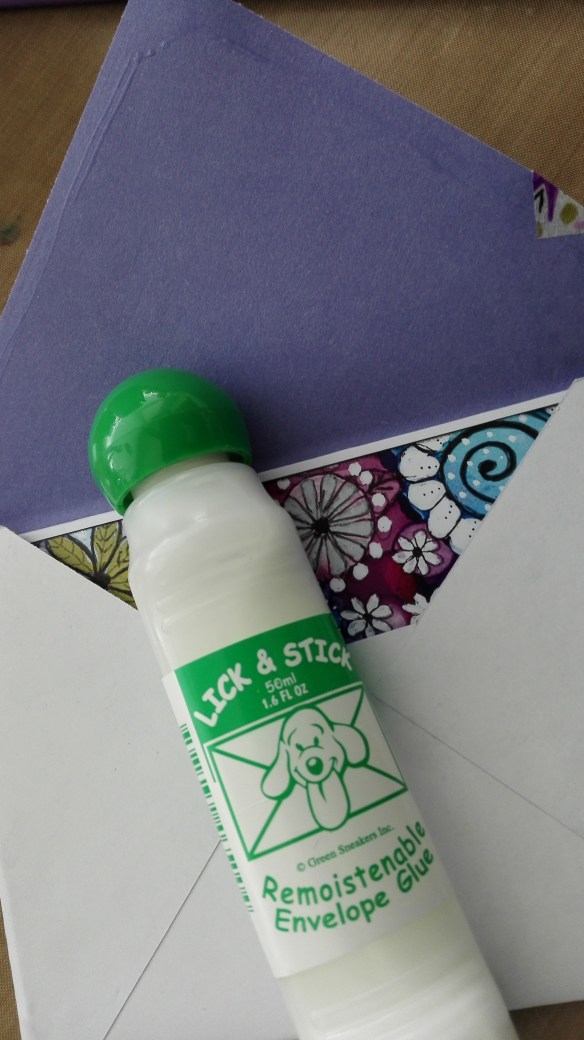
Now use your glue or double sided tape as shown

Give the glue a few minutes to dry, then check the card fits in nicely.
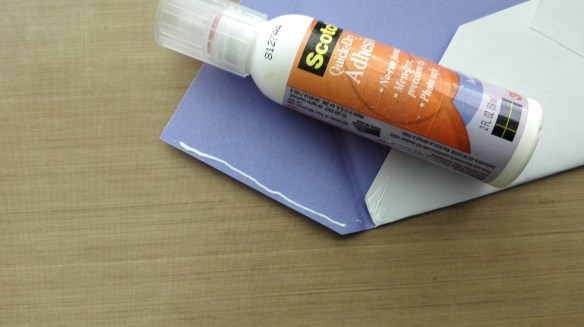
As a finishing touch you can use this stuff to put a proper sticky edge to your envelope – or just tape down with sellotape or a fancier decorative tape if you have that to hand.
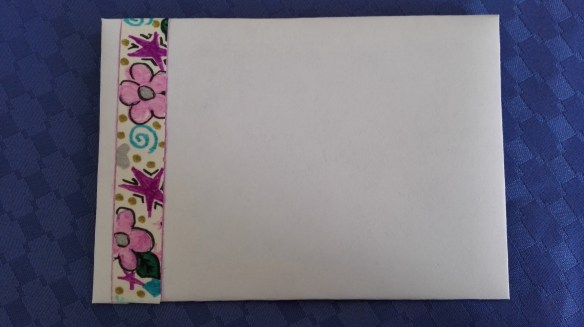
I added a strip of my own decorative tape to the front, left side of the envelope and voila!! One custom fit envelope that took me twenty minutes to make with posing and photographing but less than five in ordinary circumstances.
If you would like the opportunity to receive this card and envelope with a hand written letter from me please mention it in your comment and if there’s more than one I’ll do a draw and use that random choice thingy if I can find it. 🙂
Please do let me know if anything isn’t clear.
And if you make your own envelope, let me know how it turned out.
Thanks for coming by today, I love that you did!

