Mixed Media Canvas

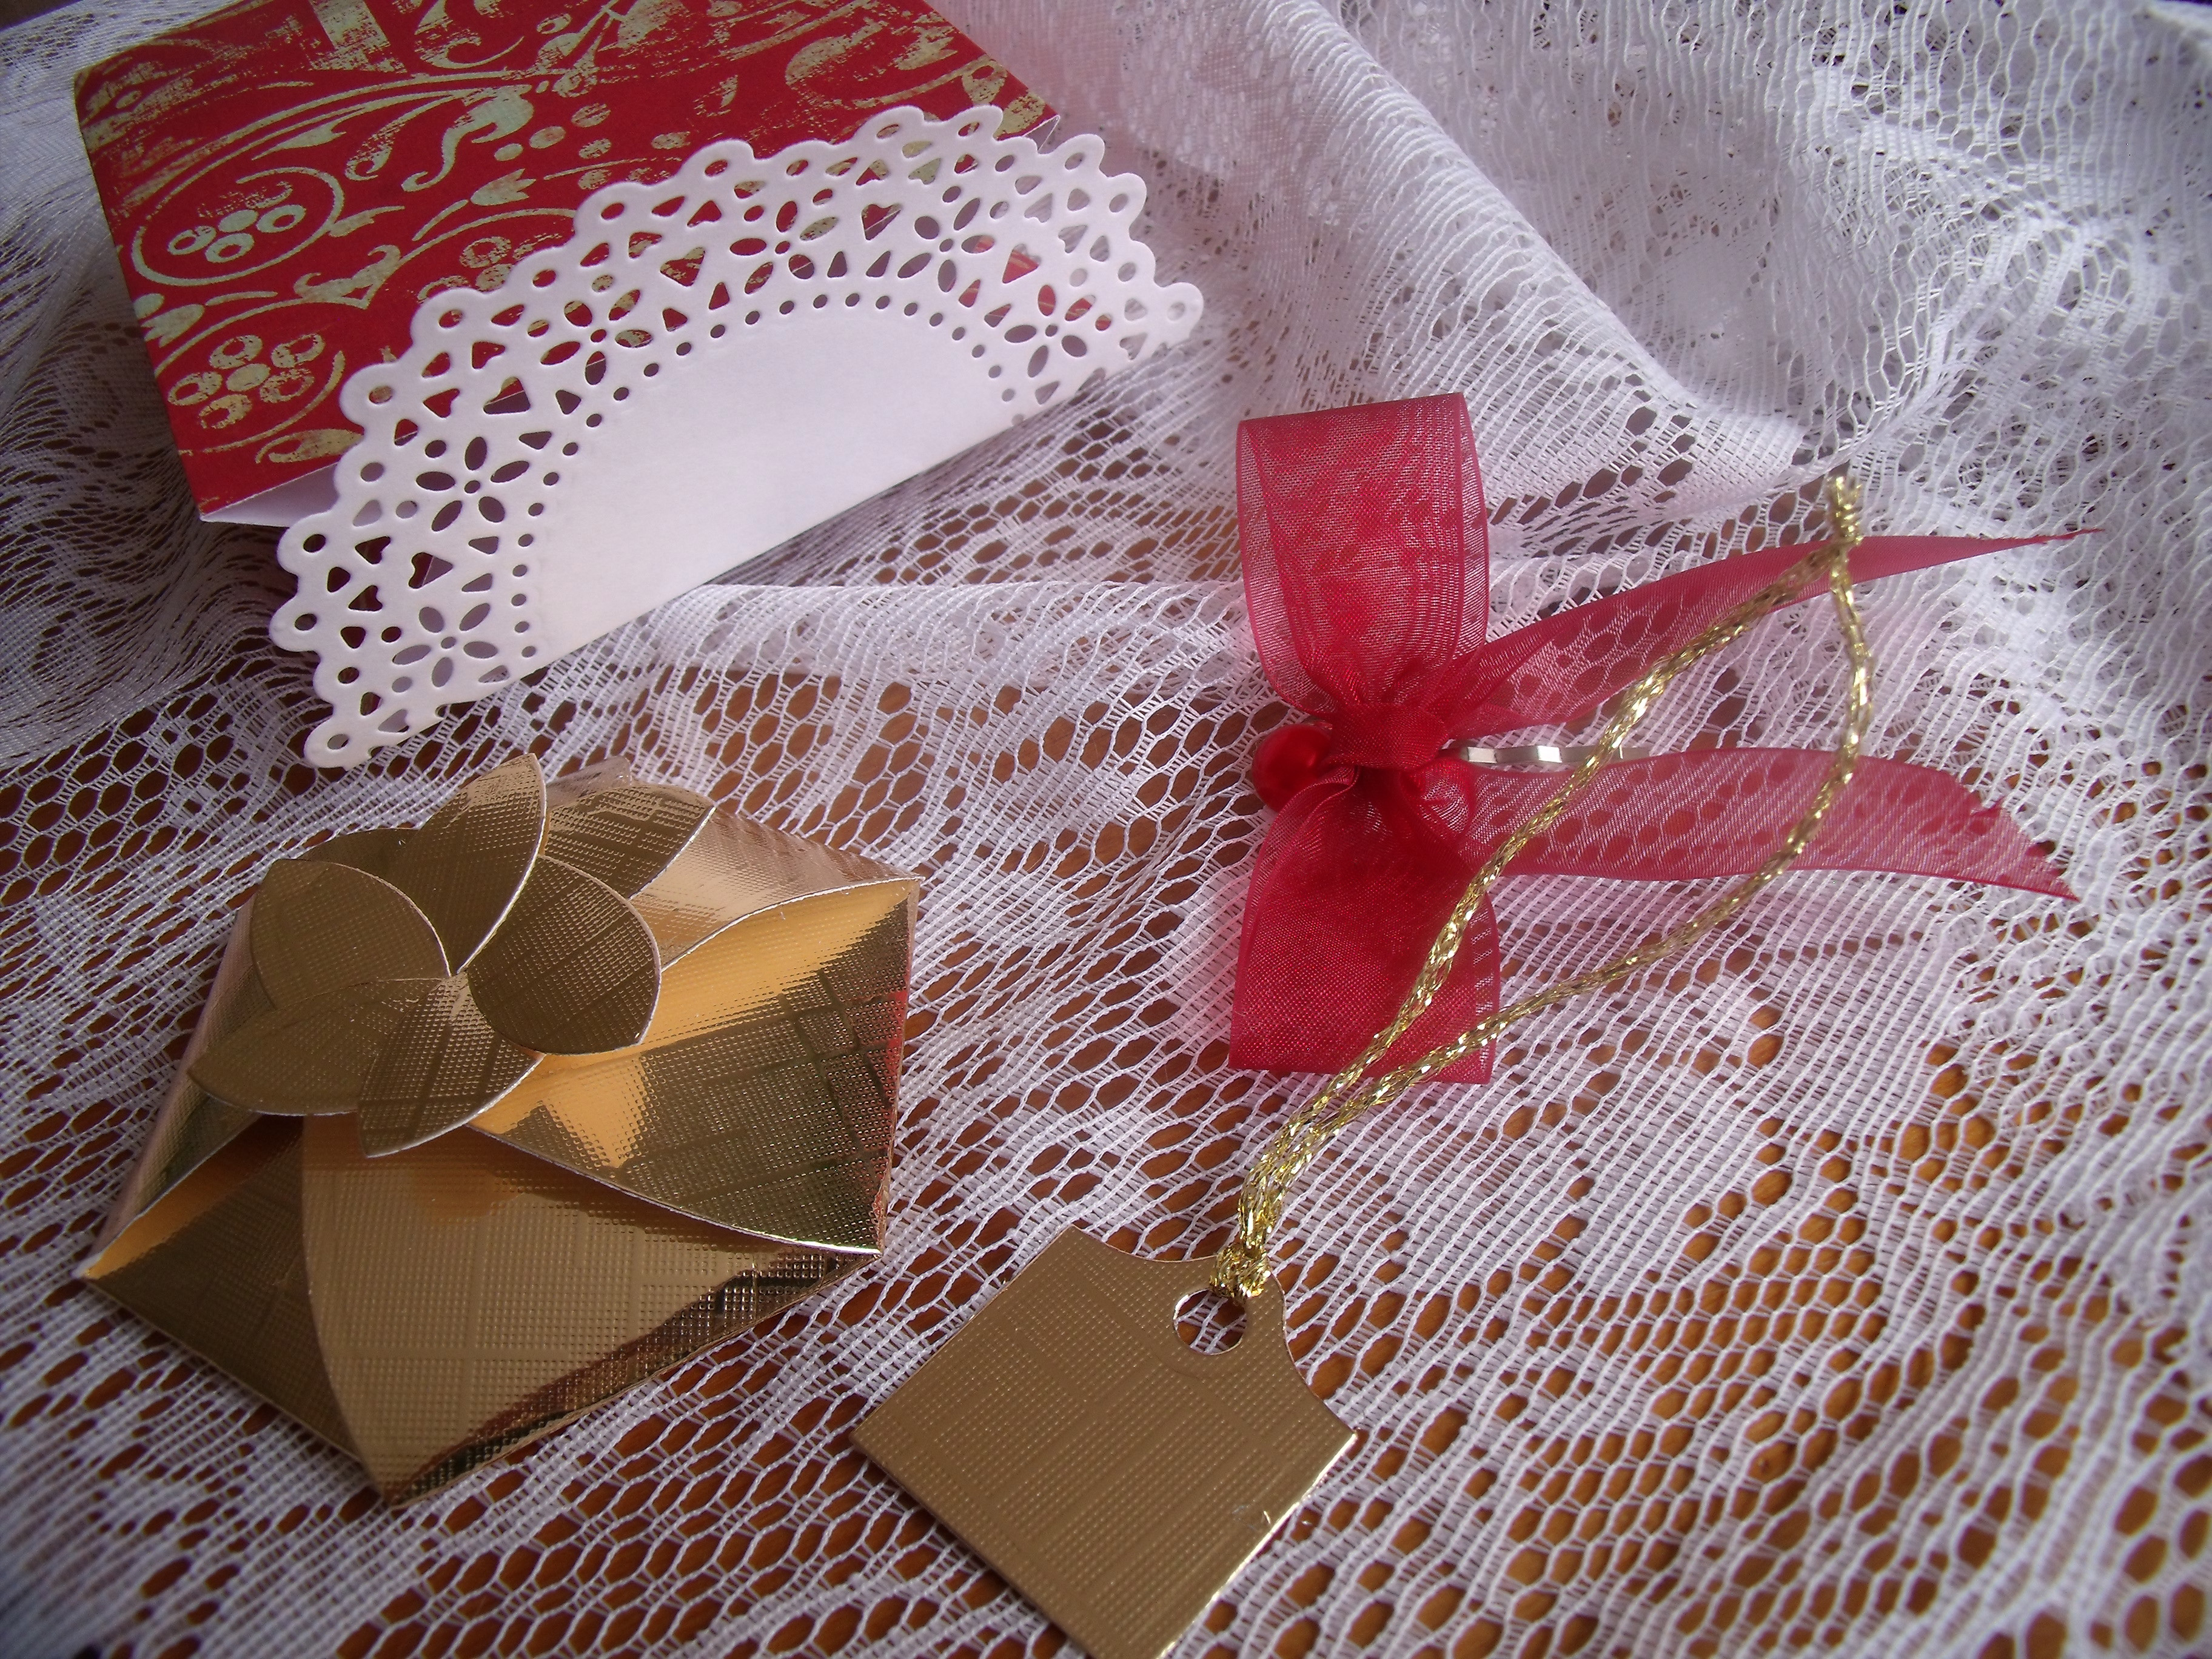
After two weeks of making flowers and cards and occasionally battling with my first canvas in over six years – WE HAVE LIFT OFF!

The first big breakthrough came when I could finally admit I had bitten off more than I could chew and that it actually was okay to walk away from it ……..  that took ten days to get to.

I had rashly committed to a canvas measuring 600 x 500 mm [23 1/2 x 19 1/2″]  – it seemed quite small at the time considering that I routinely painted on 1000 x 800 mm back in the day….

What I was not considering was that I had changed mediums and styles – I used to work with acrylics and the odd bit of charcoal and pen and create giant imaginary land and seascapes – this would be my first canvas as a ‘multi-medium artist’  [Oh, giggle – it makes me so happy to think I might be an ‘artist’….  🙂 ]  Up until now when mixing my mediums, I had worked in my journal and on card size pieces only.

Having purchased and read Kelly Rae Roberts marvalous book ‘Taking Flight‘ and having checked out Willowing [Tamara Laporte’s] work on You Tube, I felt ready to give this thing a proper go……

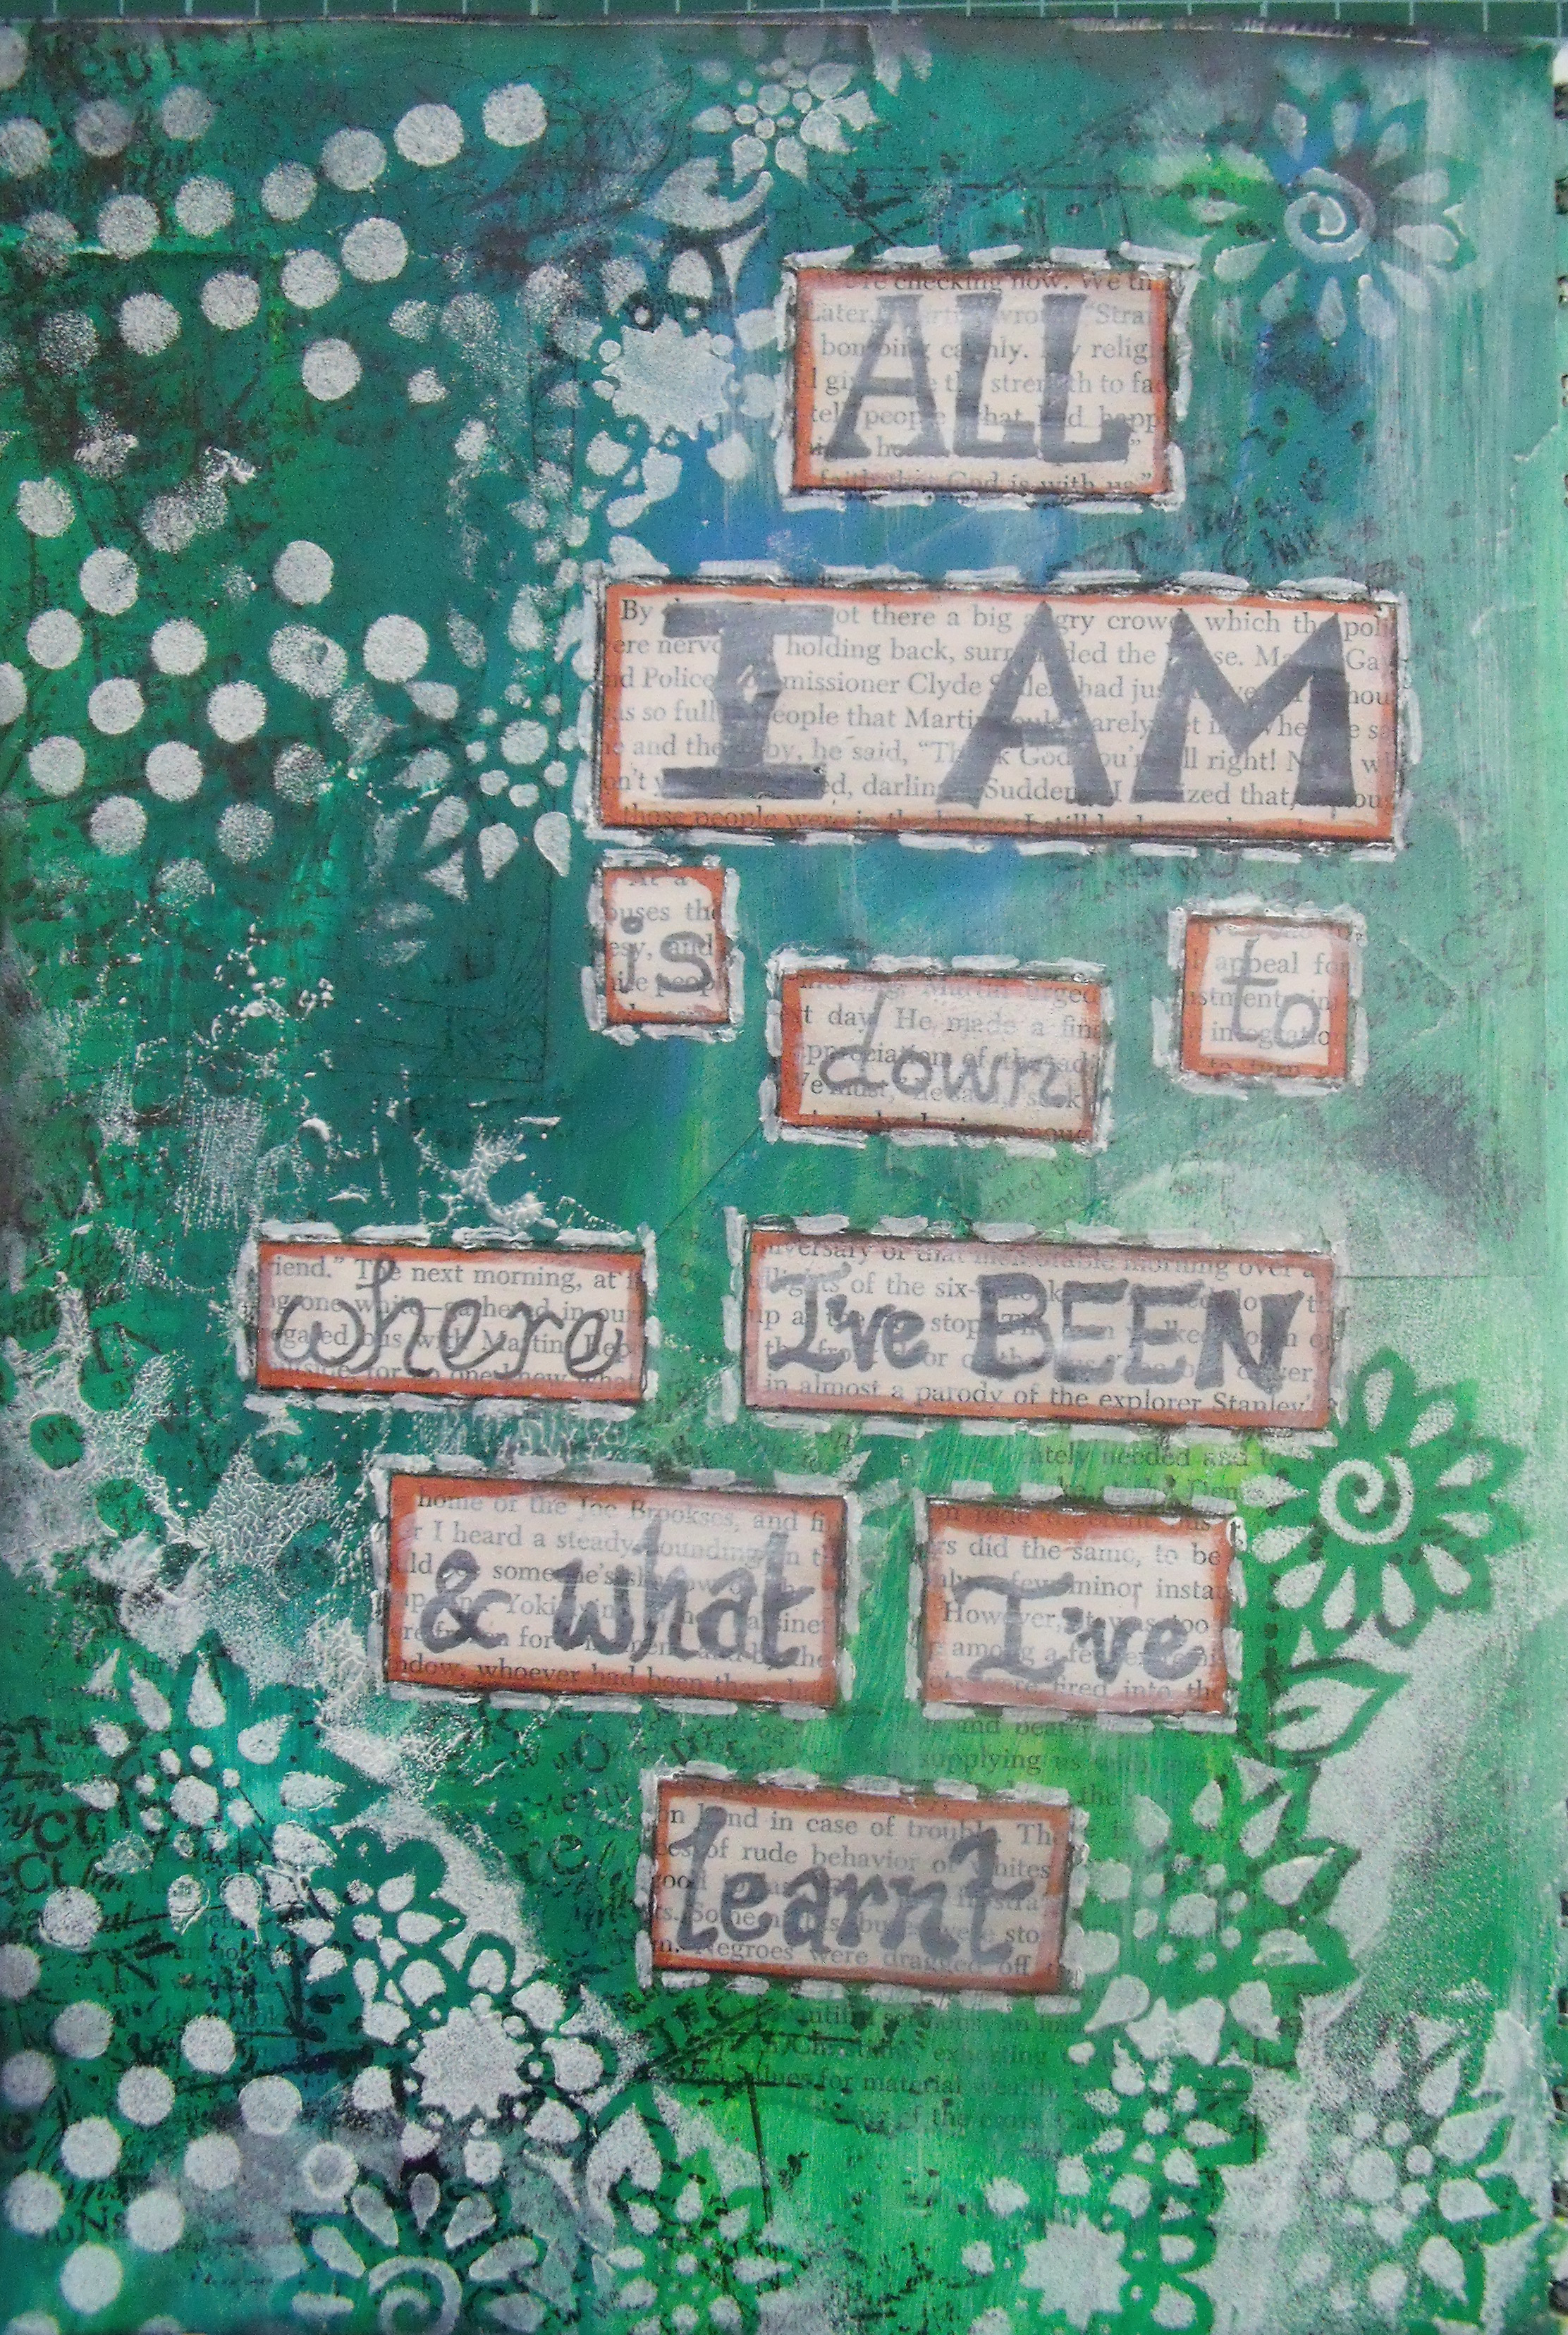
Yesterday I got out a small canvas 300mm sq [11 1/2″] and set about collaging in the background.  I used mostly ‘Websters Pages’ and added in some text from old books.

I painted over the whole thing with a brayer, removed some colour and added green distress inks around the edges of the torn pages and the edge of the canvas.

I sketched in the face and coloured it lightly with some distress inks:

Did you remember1

…..and went to bed.

This morning I worked on it some more:

Did you remember2

My confidence grew as I avoided all the idiotic pitfalls I could have fallen into and I didn’t screw up too badly….

So of course I kept at it- adding in Lumiere ‘True Gold’ around the sides of the canvas and pulling it into the front of the canvas as opportunity presented itself.  I highlighted raised bits and edges of torn paper too.  And if a little is good, more is better – right?  I added gold highlights to her hair so it glimmers in the light – too much?

Finally I edged and highlighted with black charcoal:

Do you remember3

Time to stop – so, of course, I kept going….

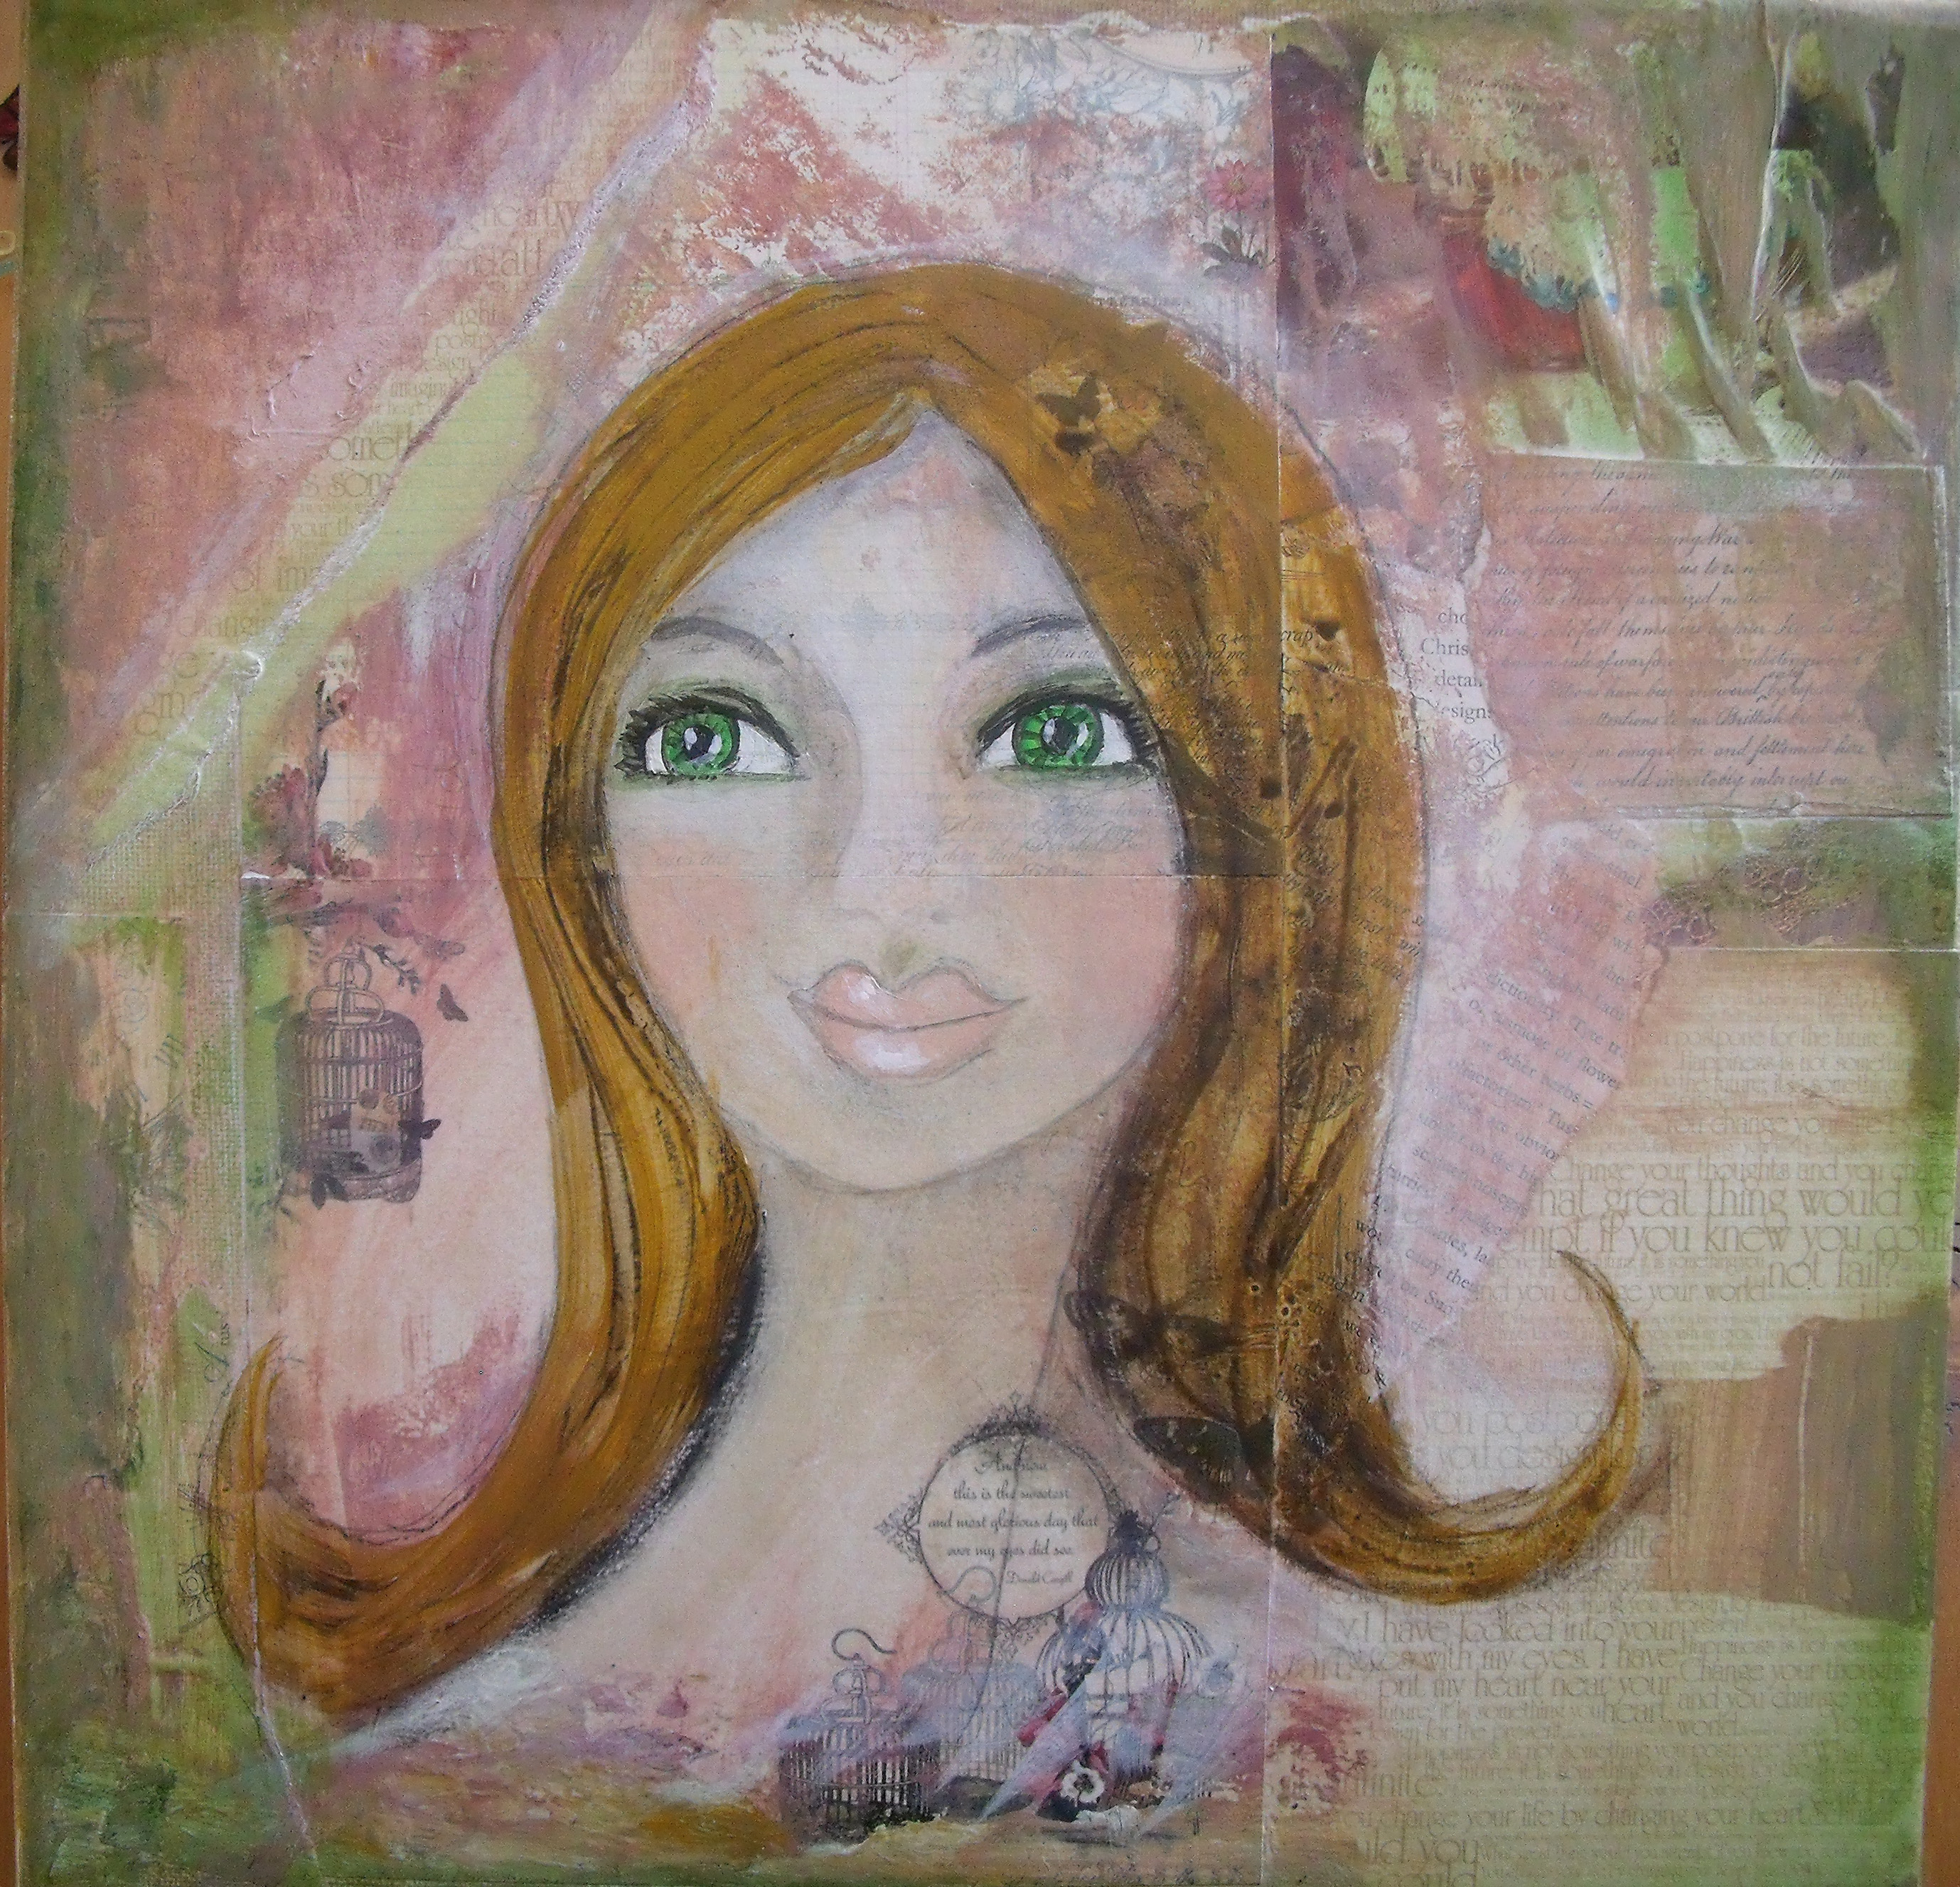
I added in the legend for that special someone and then the butterflies.

Here is the finished canvas:

Didyouremember4best

I’ve chopped 2 – 3 cm off the top of the canvas somehow when taking the photo….. but you get the idea.

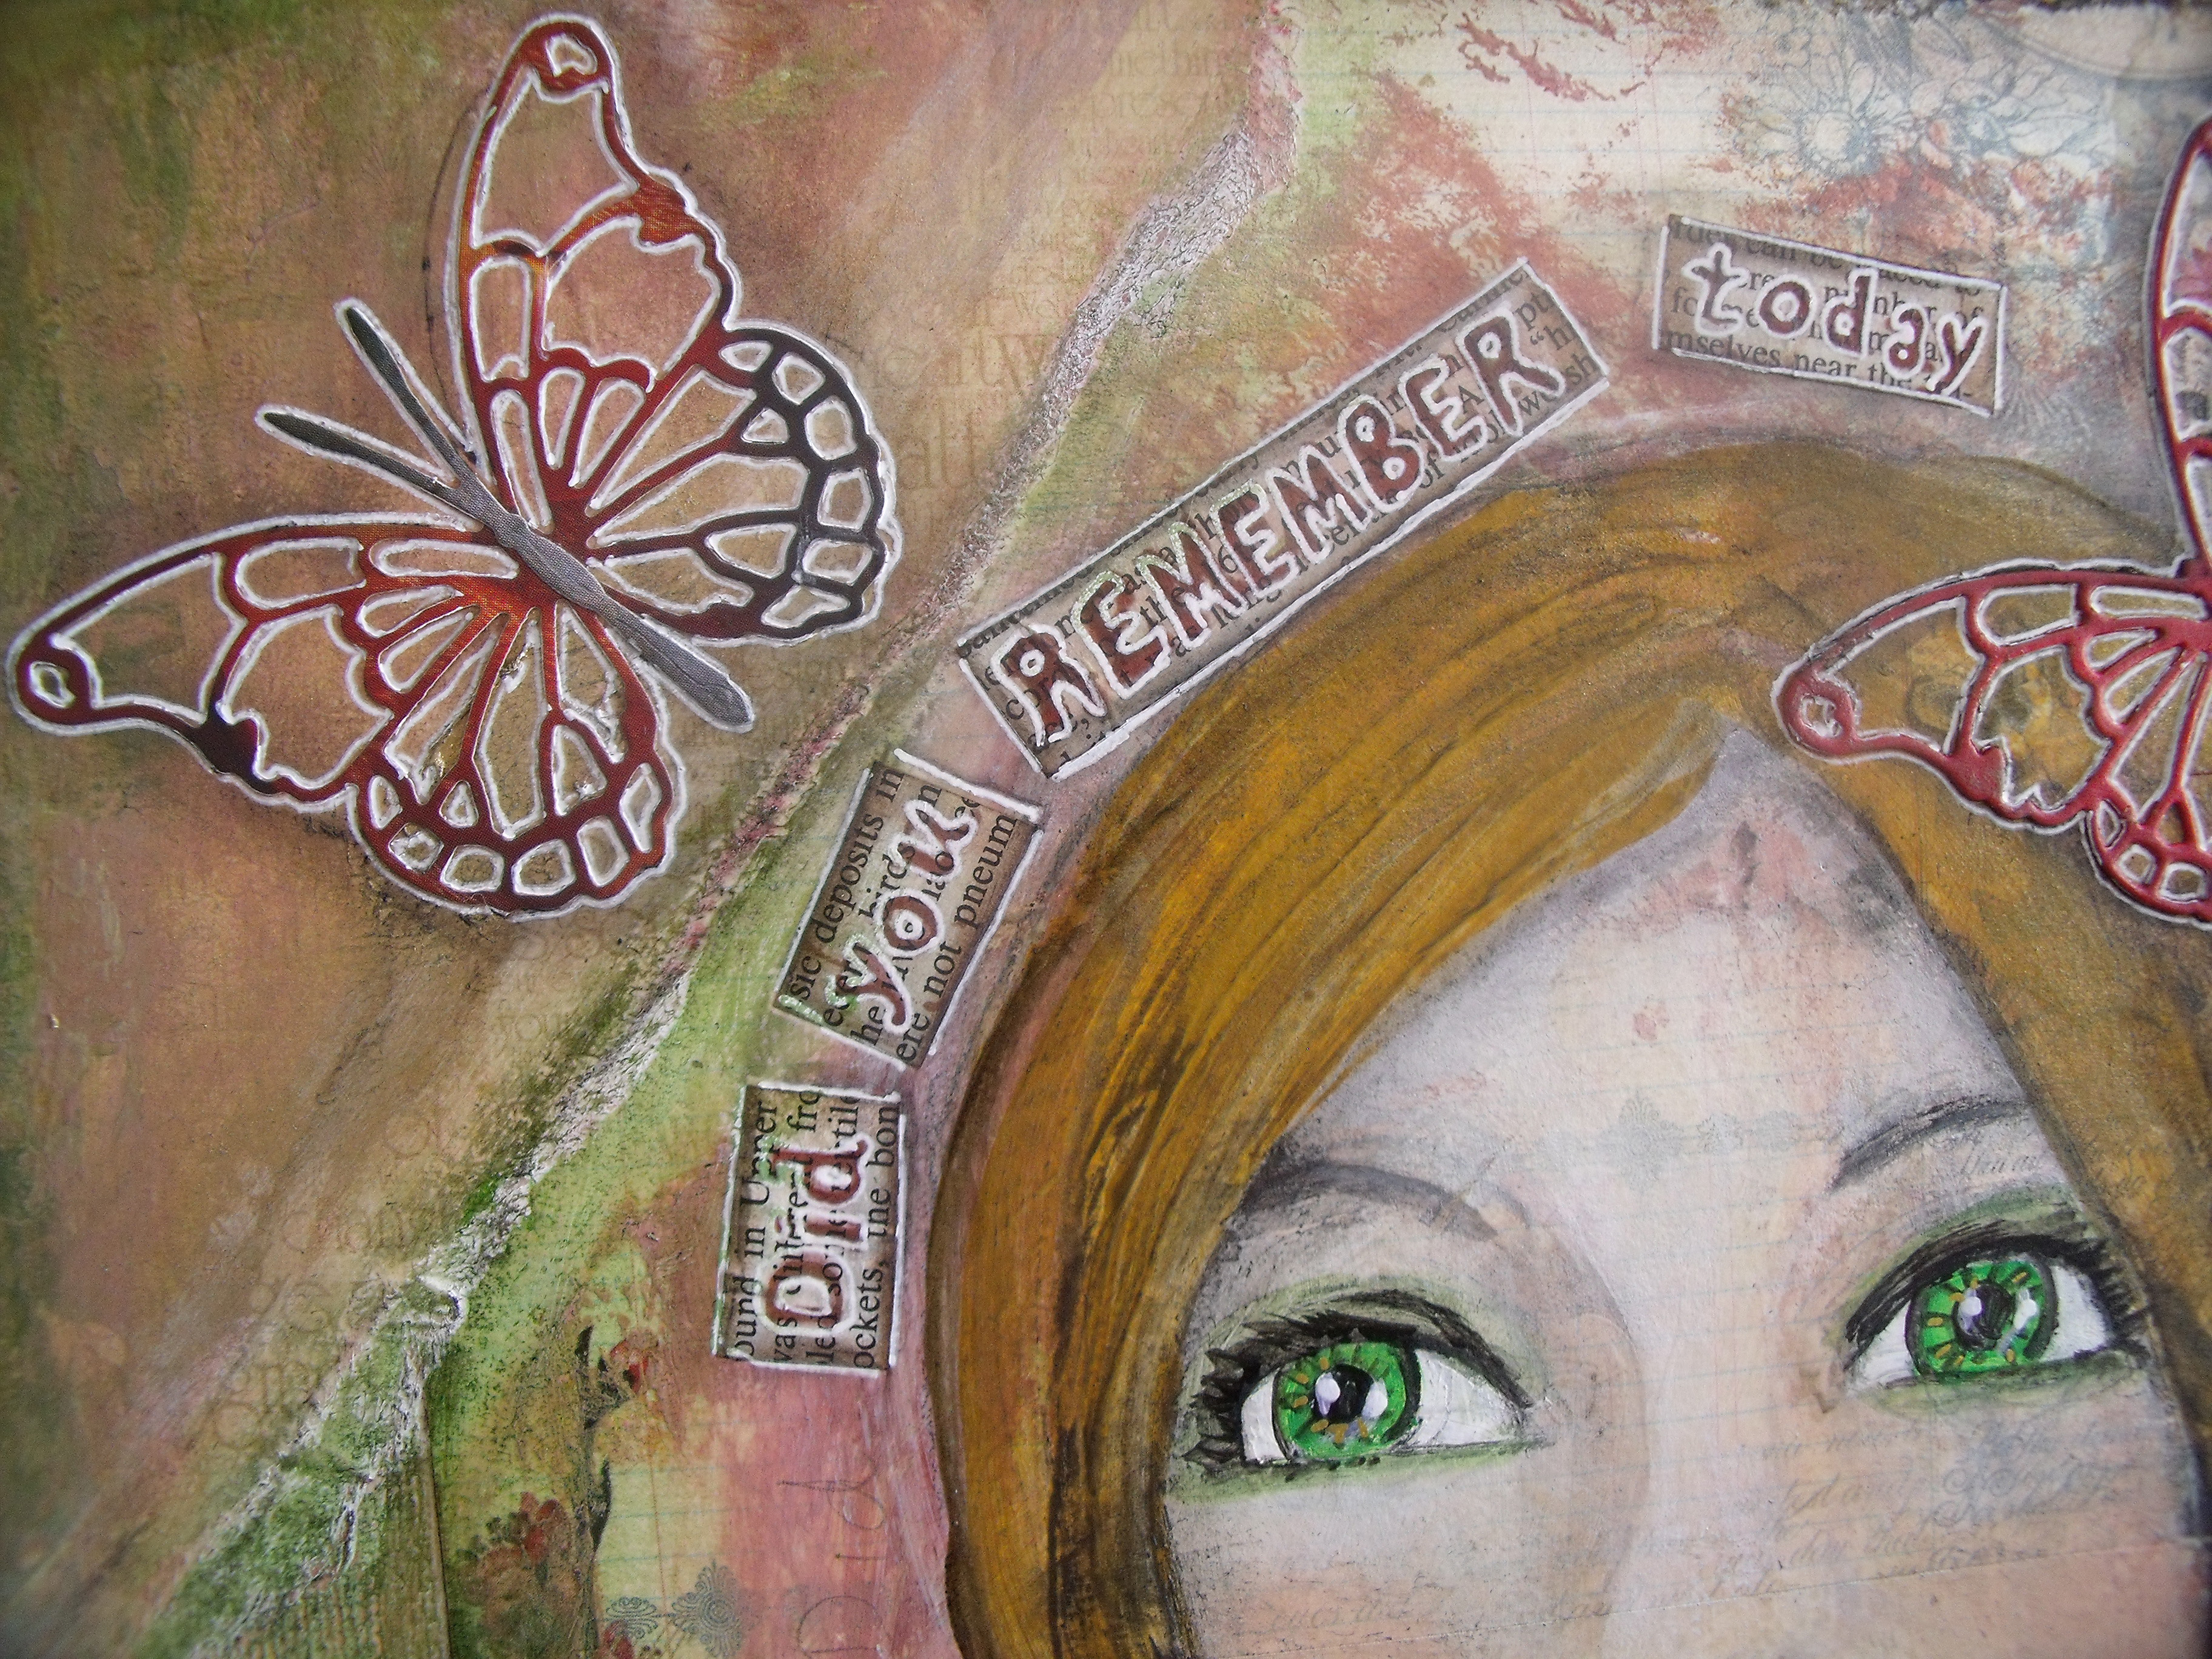
And some detail photos:

Didyourememberdetail5

Didyourememberdetail4

Did you remember detail2

That’s my first Christmas gift made and it is still October – well for another 24 hours anyway ….. onwards and upwards!

Thank you so much for coming by today – I love that you did!  🙂

Easy Christmas Cards

Here I am again with more cards – what can I say, I’m on a roll!

Before we get to the Christmas card design I thought you might like to see the blue card that was shown in the second photo of the previous post as it is now finished and I’m really excited – I made ‘who-would-know-they-aren’t-really-pewter’ flowers 🙂

Faux Metal Blue

What do you think – have I managed to capture it well enough in the photo?

While I was still in the playing around with embossing folders mode of a few days back I also made some Christmas cards – yay me, Christmas in hand already!

I picked up a couple of Tim Holtz Christmas themed embossing folders for a song in a sale early this year.  One is no good for me as it features snowflakes and icicles and that is not our Christmas experience – but I liked the old fashioned swirliness of this one:

Xmas1

All I did was matt up the embossed and inked cardstock and then I went over the raised letters with a water based pen.  Easy-peasy

Same process with this next one and then I filled in the centrre part with gold metallic pen:

Xmas2

The next two are created using Spellbinders ‘M-Bossibilities’ EL-014 [which gives a lovely deep emboss] on white cardstock.  I inked over the raised areas using old paper distress ink in the centre and two shades of green around the edges.  The embossed card is matted a total of three times – first to dark green cardstock.  The ribbon is attached at the back, the greeting strip is added and then the bow is attached with a brad.  When all those bits are in place the second matt was added, I used brown paper on both these cards.

The flowers are another Spellbinders die ‘Poinsettias’  the large leaves were cut from green cardstock and had a good coat of glossy accents spread over them and were left to dry overnight.  I dribbled a bit of glittery stuff over the petals when the flowers are made up and hot glued a half pearl in the centre of each one.

The greetings are stickers which are practically idiot proof.

And finally, as there are still dozens of tiny butterflies lying about all over the work table from my enthusiastic experimentation with faux metal I used three on each card as well.

Xmas3

Detail:

Xmas4

Xmas5

More detail:

Xmas6

This is all so easy to do – and makes for highly detailed cards whose only drawback is I can’t make envelopes big enough to contain them!  Drats – if you have a recipe I’d love to hear it!

The last two cards are  21 x 15 cm [81/2 x 6″].

Thanks for coming by and having a look, I love that you did 🙂

.

Cards with Faux Metal Flowers

The painting is not going well, the lap top is still temperamental and the weather is changeable – it being spring and all – and I have not posted for ten days!

The desk top is buried under a pile of papers and inks and paints and heavens only knows what and I end up working in that little 10 cm square empty spot in the middle:

Image

Now before continuing with my tale I must just fill you in a little more.   I am an enthusiastic fan of Vivian Keh, whose blog ‘Contadina K’ is peppered with beautiful and inspiring work and who often makes videos to share her talent.  [If you are a card maker and haven’t, you should check her out]

Vivian has been making gorgeous cards [check ’em out here] which kind of inspired me to get out my embossing folders and play around a bit with them – I can’t remember why precisely, but something was kicked off in me and I left her blog and wandered off to the play room and hauled ’em out ……….  I didn’t document the process, but all that work can be seen as the background to what comes next……….

On with the story.

If you are a long time reader of this blog you will know that when things are not going well in the arty-farty part of my life I make flowers.

So, I’ve also been making flowers.

This time I played with water soluble pastels and pastel gliders [which are similar to Faber Castell Gelatos] only with a more affordable price point  🙂   I randomly splotched colours all over some 160gms water colour paper and then spread them about with a very wet paintbrush.

See those chopped up bits of paper lower left of the photo, that’s all that is left of those lovely colourful papers I created.

I die cut as many flower and leaf dies as I could fit onto each piece of paper and got a wildly varied collection of colours and patterns – some look really interesting and pretty:

Image

Others not so much:

Image

Some colour ways just did not sit well with the cards I had already begun to prepare for them – using the embossed backgrounds remember – so I got out the ‘Twinking H20’s’ and started playing around to see what happened.

What happened was that as I layered the different colours I began to get a metallic look.

This was exciting and interesting so I forged ahead and made these:

Image

The card on the right is not finished – it is still waiting to be flowered up, but here you can see one of the embossed backgrounds I’ve been wittering on about.  The other two are already tucked away safely in their cellophane bags, maybe not so very clear, but you get the idea – yes?  And those beautiful backgrounds are really my favourites – more about how they were made a bit later.

Here is the latest card I made, not yet bagged up so let’s have a closer look at it:

Image

I make these cards as durable as I can.  They are made from A4 200gsm card and the inside back is given the same matting format as the front which makes it sturdier and able to support the weight of the card front.  Here is what the inside looks like:

FFCard12

Lots of space to write your message!

Closeups to show the faux metal look:

Image

FFCard11 Metal

I think the above photo shows best the metallic look – the leaves look weighty and see, even the tiny butterfly has a metallic look.

In real life they all  do really and truly look as if they are made from metal  – this morning I actually had a tinge of disappointment when I picked up a metal looking butterfly [made using the smallest Martha Stewart butterfly punch] and it had no weight to it – and I made the darn thing!

Here’s another flower with a copper look to it:

FFCard9

Once the H20’s have dried I run a darker ink around the edges and some raised parts of the flower and leaves, which gives a more finished look to each piece I think.

FFCard10

This card also has my favourite background – remember those first two cards, here is how they were made.  I used two Spellbinders ‘Impressabilities’ – this one called ‘Diamond and Stars’ and the one used at the top of this post called ‘Butterflies’ – as templates and inked through them with three to four different coloured chalk inks.  I think the colours are soft and pretty and they work well –   Yay, successful backgrounds.  🙂

So that’s what I’ve been up to the past week or so – just playing around to see what happens………………

What do you think?

Thanks for coming by today, I love that you did 🙂

Near The Sea – Art Journal Page

Hello there bloggie friends!

Twice in my life I have lived in a house right beside the sea.  Both times I have grown to be more of myself, fed and healed by the salt air, the sights and scents and vitality of the great Pacific Ocean.

There is a yearning in me to live within the sight and sound of the ocean again.

This page is my love song to my cottage by sea.

I started by laying down some serviettes with an ocean theme, then I started painting – the serviettes all but disappeared – leaving only slight texture and a few wrinkles 🙂

So basically this page is done with acrylic paints, charcoal and a Pitt pen or two.

Near the Sea1

Near the Sea2

Near the Sea 3

Thanks for coming by and taking a peek – I love that you did!  🙂

All I Am – Another Art Journal Page

Orlando the Marmalade Cat has been the star of the show for the last three posts, I decided it must be my turn again!  And today I decided to work in my art journal again – I haven’t since September 14th [Be the Change …….]  My how time flies!!

All I knew when I started was that I wanted to work with my new Monte Marte acrylics, which I’ve had since the end of August and still hadn’t opened.  They are beautiful – rich, thick and creamy and as you will see, with a fabulous depth of colour.

I started by laying down some old book pages, which I gessoed over and then I painted.

When the paint was dry I used a couple of acrylic stamps – one with scratchy marks on it and one with words – and randomly plonked them around the pages.  Finally a small Dyan Reavelly stencil came into play and I used a dry sponge with almost no gesso on it to dab out the spots and flowers.

With the background done I sketched the head outline in pencil then painted the area white.  Once that was dry I could settle in and let the features begin to reveal themselves.

I had three colours on my palette for the face and added in some metallic bronze for the hair – in real life when the light hits the page the hair sparkles 🙂

By the time I had finished painting her the words were clearly in my mind, so I wrote them out onto book paper, cut them out and stuck them in before I could change my mind.

AllIAm1a

Close-ups for you:

AllIAm2

AllIAm3

Couple of detail shots:

AllIAm4

AllIAm6

I love my new paints!

Thanks for coming by today, I love that you did!  🙂

Orlando Enjoys A Snack

Hello there 🙂

If you saw the previous post you saw my first attempt at a gif.

It is really just a fast and jerky series of shots with no real sense of continuation – so of course I had another go – I couldn’t possibly let all Boomdee’s good advice go to waste!

This afternoon Orlando was enjoying third breakfast and having a wee chat to me while I cleaned the bench, so I grabbed the camera and clicked away as fast as I could.

Of course he did not play ball and kept looking up to say “Whaddya doing Mama?”

So this is what I got:

Orlando Enjoys A Snack

What do you think?

Thanks for popping by today – I love that you did!

Well, Who Knew – Making A Gif is Just So Easy

My blogging pal the ever helpful and really talented  Boomdeeadda read the post ‘You’ve Got Mail’ and asked if I’d ever thought of turning Orlando’s photos into a gif.  I hadn’t, but as she gave me a link and said it was really easy, I thought I’d have a go.

What we have is just a really fast animation of some of the photos you saw in the previous post – but it has taught me what is required….. so next time the feline Brad Pitt [read the comments in the last post] feels camera ready we’ll give it a shot!

Thanks Boomdee – who knew it was so straight forward!

free gif maker

gif creator: The Contented Crafter

Thanks must also go to markingourterritory.wordpress.com where delightful gifs and how-to instructions are clearly given.  Thanks to Boomdee for passing this info on.

You’ve Got Mail!

I wasn’t going to write a post today – I’m still nursing this lap top gently along – but this was all too funny and cute for words and I just had to share it.

A wee packet arrived with the courier this morning and as I cut open the plastic delivery bag a scattering and tinkling windfall ran across the table …. in their careful handling of our post the deliverers had inadvertently caused the tissue paper wrap to tear and all the little extras my fabulous supplier had put into my parcel were released……

YGM1

which caused this to happen:

YGM5a

“Hullo Mama – whatja got there then?”

I’ve got this:

YGM2

This pretty package contains my ordered supplies – those gorgeous flowers and the beaded ribbon and the pile of pretties on the table are all the little extras that Louise from Retail Girl  – my supplier also found on the kiwi website Trademe –  puts in.  This is my third order from her and every time her parcel arrives it is like Christmas morning!

These are the goodies I ordered – mostly coloured half pearls and blingy ribbon sliders [the pearls fit in the sliders] for all the gift bags and other secret things I am making for Christmas presents.  🙂

YGM3

I was sitting admiring all my little extras – those pretty flowers have clips attached so you can wear them in your hair………..

YGM4

….when I heard a thunk, which sounded to my finely tuned ears suspiciously like a cat arriving on a table top.

“Ooops, really I don’t know what happened – I was there  …..”

YGM7

“…..and now I’m here …..”

YGM6

“But now I’m here, I’ll just have a wee look shall I?”

YGM8

“Very interesting….”

YGM9

“But what’s this?”

YGM10

“I’ve got it ……..”

YGM11

“Ooops!”

YGM12

“Did I kill it?”

YGM6

“I’ll just sit here and look out the window for a bit…..”

YGM14 Best

“……….and you can admire your pretties ………”

YGM13

“……….and admire how very handsome I am too!”

YGM14c

Ain’t he though!

Thanks for stopping by today, I love that you did!

PS If you hit the link to retail Girl and get an error message, just hit the ‘home’ button and that will take you to Louise’s site.

More Gift Bags

When my lap top started playing up I retaliated by leaving it alone to sulk and put all the extra time I found I suddenly had into solving the mystery of making gift bags.

The original batch were posted about here

Once the mystery is solved you can get creative – but not without inspiration from others!

I remembered having seen a picture on Pinterest of some newsprint bags with doilies, and I set about making my own version.  Here they are all waiting about on the other work bench for whatever happens to them next:

Gift Bags 5

They are so pretty!

The doilies are cut from the die that you can see in one of the open storage cases in my previous post on storing dies.

You know how I love to re-purpose items?  In solving the problem of how to keep the bags closed I came up with the somewhat ingenious idea of using bobby pins – decorated and be-ribboned ………. which, of course, then becomes an added extra for the gift inside.  [Smiles smugly to self!]

With the trials all completed I set about making up the original order [remember YD asked for some for her Christmas packaging]

Here they are

Gift BagsD1

Close-up – so pretty!

GiftBagsD3

I imagine that when I get my gift on Christmas morning it will maybe look like this:

GiftBagsD5

By then I will have forgotten about them and may well say something like – ‘Oooh, that’s a pretty bag!’  [Don’t judge – it will probably happen just like that!]

And when I look inside the bag I will find this:

GiftBagsD6

Oooh, so excited!  I wonder what will be inside that tiny box……..?

🙂

Well, that’s the gift bag saga done and dusted – now I really must get back to the art journal!

Thanks for dropping by today – love that you did!