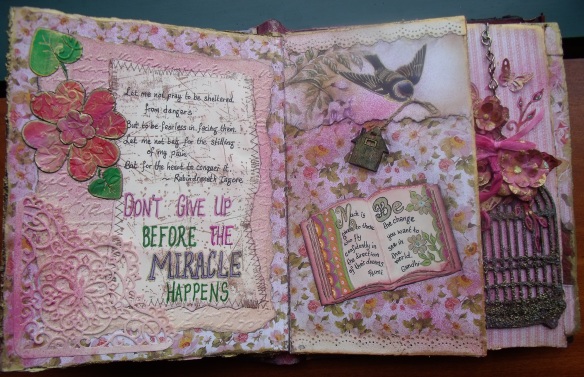
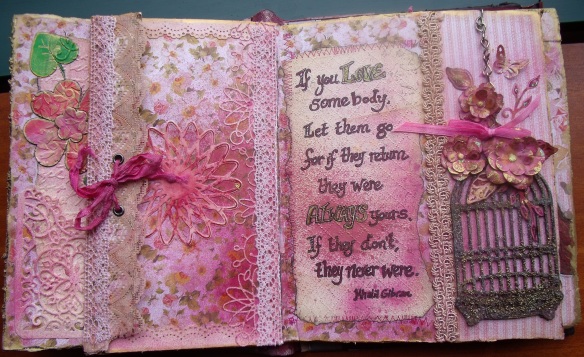
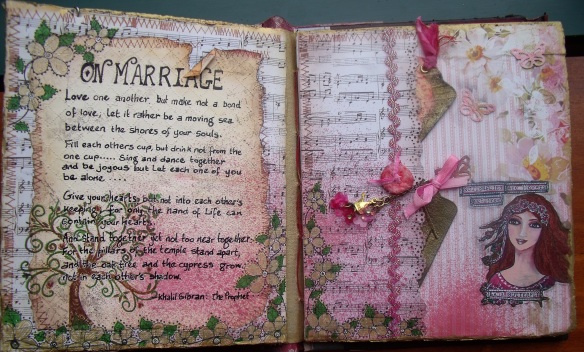
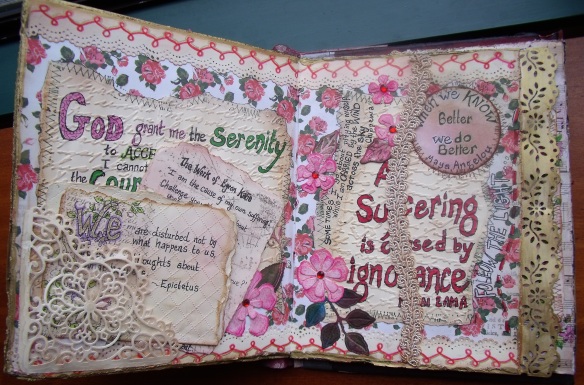
Box to Book – Finished and Given, At Last!

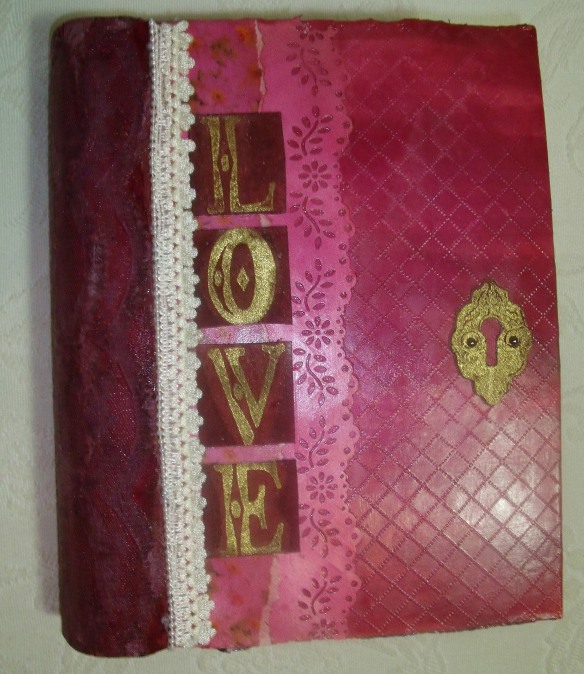
Cover finished 1 a

It took the better part of a year – but I got there and I am so happy and relieved to report to those of you who have so faithfully and patiently waded through posts and photos that it was well received.

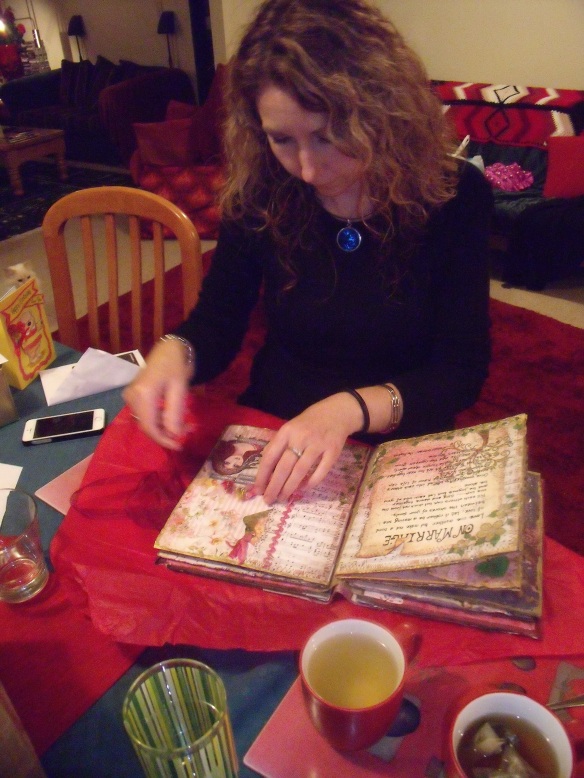
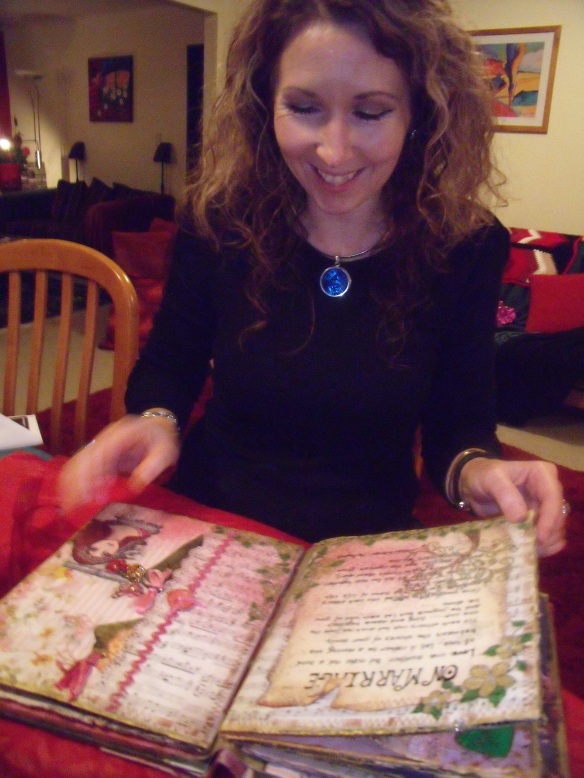
These photos were taken late at night on my ED’s birthday after a long and full day of zooming halfway up the Island and back again and a rather scrumptious dinner of mussels and Belgian Beer at The Leuven in Wellington City………. On the phone to her right is YD, partaking long distance in the present opening and without the benefits of mussels and Belgian Beer!

present1

present3

Here once more is the history of the Book of Love to refresh memories.

For Christmas 2012 I received a Spellbinders die cutting machine from my lovely Eldest Daughter.  The box was a biggish, strong, brightly coloured affair that sat in my craft room for a couple of months with me looking at it and wondering what it could be used for.

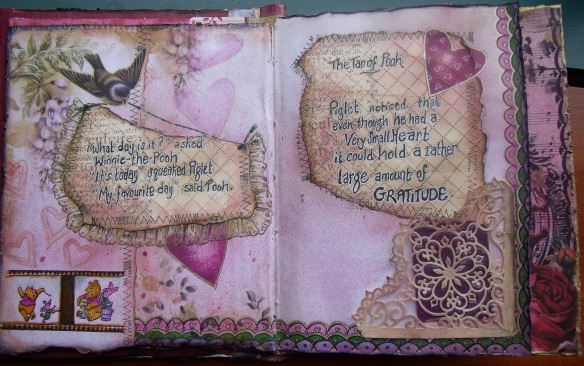
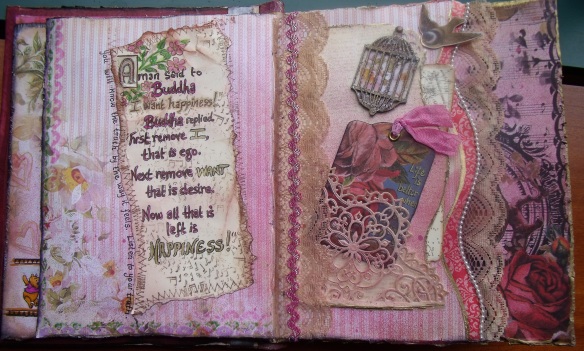
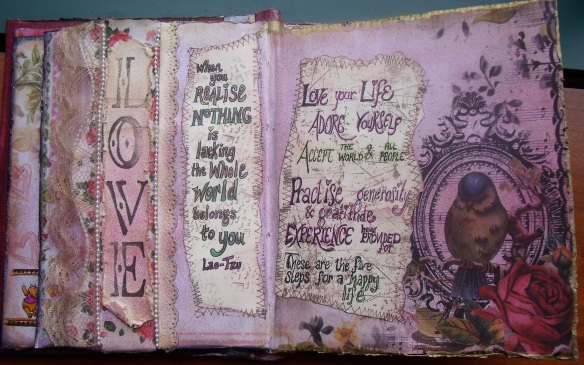
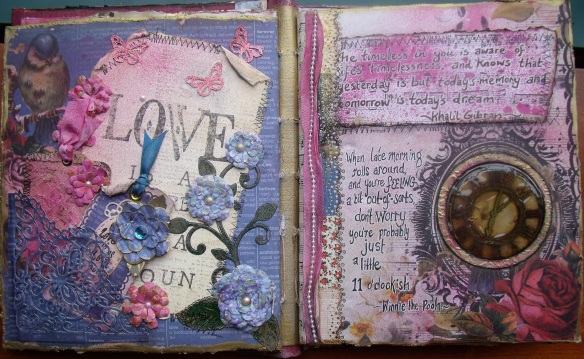
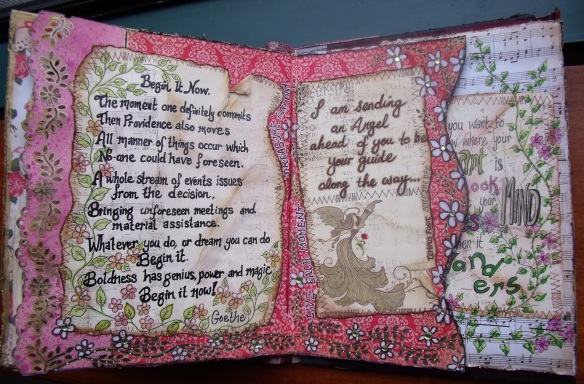
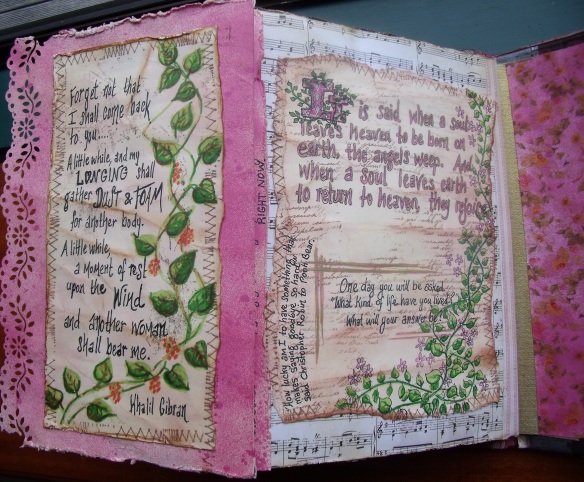
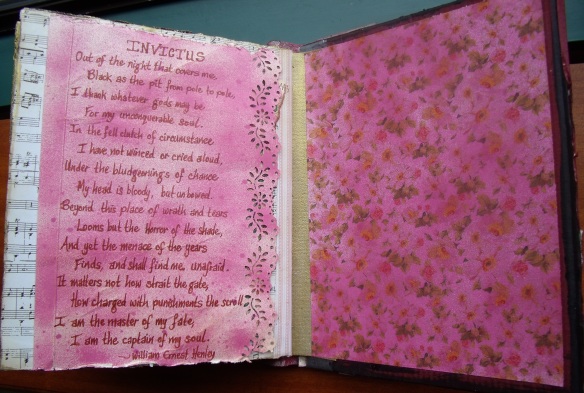
At some point I had the bright idea it could and should be recycled into a book and given back to the giver of the gift the following Christmas.  I was inspired by a beautiful project I had seen on You Tube and also by thoughts of creating something that looked as if it was really old and well loved from ordinary crafting items.

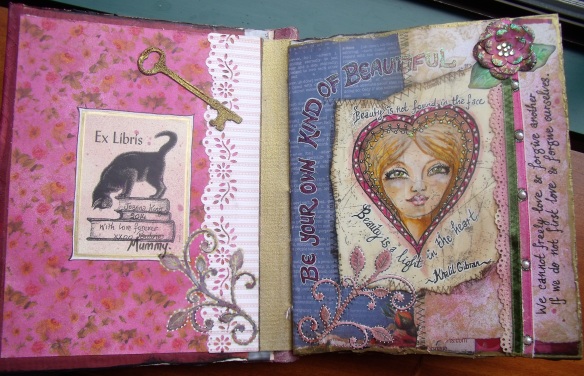
I wanted to give my daughter something that featured my handwriting and lettering, something that could be opened at random and would hold an uplifting message or thought and something that could reveal, or unveil, more layers every time she looked at it.

I ended up deciding to make all my pages and inserts look like palimpsests and consequently spent many happy hours taking ordinary cream coloured card stock and wrinkling, ripping, stamping, dirtying, writing and shaping it to my requirements.  Whilst not strictly meeting the requirements of old parchment that has been recycled and written over many times, it made me feel happy and added depth and interest to the pages that appeared.

The box was roughly cut up into pieces the same size and covered with papers.  Little pieces of the original box however can be seen here and there so the provenance is not altogether lost. I wonder if you spy any of those odd edges and corners as you go through?

The project took longer to complete than expected – mainly due to me getting back into mixed media painting and opening an Etsy Shop and wasn’t ready for last Christmas – but I was determined to get it completed for ED’s birthday last Saturday.  I made it by the skin of my teeth!

We made a little video of the book before I left to come home with my rattly little camera – it is a bit shaky and ends rather abruptly due to me not knowing how to do fade-outs and such like – but may show some aspects that are harder to see in the photos.  Please forgive the quality.

Here we go – I hope you enjoy  🙂

bday1


bday2 bday3 bday4 bday5 bday6 bday7 bday8 bday9 bday10

The eagle eyed amongst you may notice that I’ve somehow lost a photo here – a page is missing.


bday13

bday11


I had a wonderful week away, we were so busy and so happy and it went by in  flash – and I took almost no photos – completely hopeless!

But here is a photo of Wellington Airport for you Lord of The Rings and Hobbit fans:

Middle-Earth-Airport-Wellington

Thanks for coming by today – I’m so happy that you did!   🙂

Orlando Gets A Friend

We got Happy Mail today

AHM1

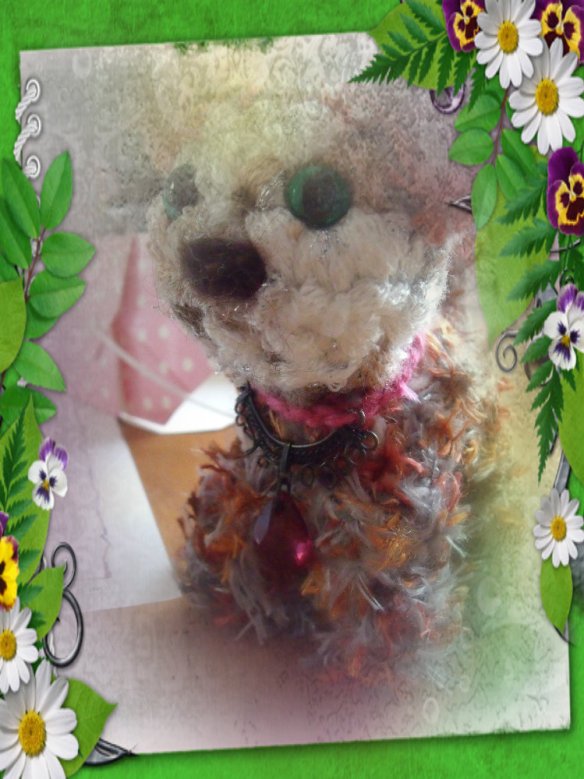
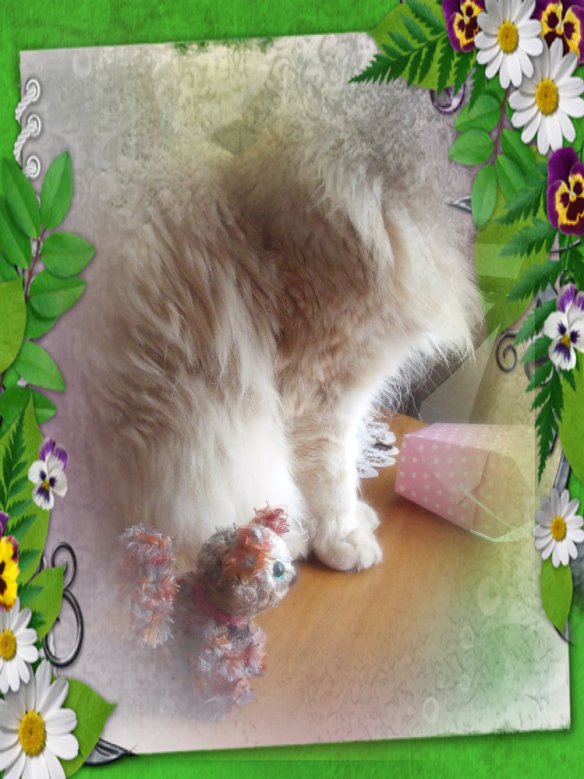
Oh! Big broad smile as we discovered a new ‘Mini Orlando’ a tiny crocheted kitty, especially made for us….

AHM2

Isn’t he gorgeous?

AHM3

Our friend gentlestitches and I did a swap – and we got the better deal 🙂

The detail is amazing – he even wears a collar and identity tag like the real Orlando used to until he lost it  couple of weeks ago….

AHM4

This is the most amazing little hand made animal I have ever seen!  Sharon’s pictures of her work are always quite mouth watering, but when you actually get to hold one in your hands – it is quite spectacular!  The colour, the detail, the character – it is quite wonderful and words are failing me!!

Orlando was also quite impressed, Mini Orlando was given the seal of approval, a gentle head bump – which is, I believe, the feline version of a high five!  I get one every morning at breakfast time 🙂

AHM7

The two friends then commenced to sit and stare out the window at the Saturday morning activity …..

AHM9

….while I wrote a blog post!

Thank you Sharon – if you haven’t gone by her blog yet, it really is worth a visit!

Thanks for coming by today, I’m so happy that you did 🙂

The Paper Bag Book

Bag & Book

I decided to make the little book for several reasons –

1) it was originally meant to be included in the ‘Box to Book’ project, but just wanted to be too big for its intended slot – so it became a stand alone piece.

2)  I wanted to experiment with more aged and tattered looks, I wanted to make a little book that looked as if it had been well loved for a long time.

3) I’d been reading about the importance of leaving behind examples of your own writing for your loved ones – and remembering how touched I had been when I discovered words handwritten by beloved old relatives, now gone.   I thought I should make something that was written in my own hand.   I started it in the ‘Box to Book’ project, and continued it here.

4) My recycling bug needed to make use of some cardboard and paper bags and used dryer sheets that were lying about on the desk getting in my way…

So, here we go.  The first pic depicts some of the items used in the process of turning a bit of cardboard and a brown paper bag into a faux leather book cover, assembled around the almost finished book:

Booklet 1

I cut the cardboard into two pieces.  The brown paper was cut to size, crumpled up and generally mistreated.  Then it was hit with swipes of ink straight from the ink pad in two colours – my favourites at the moment, Aged Mahogany and Old Paper.  The two pieces of card were then joined with binding tape, leaving a small gap so that the signatures could be sewn in

Booklet 2

The inside of the cover recycled a used dryer sheet, which has a really nice texture, like old hand made paper –  liberally sprayed with a glimmer mist concoction of colours:

Booklet 3

The almost finished cover – before the tweaking process:

Cover

The pages were made from ordinary white paper, cut to size, tattered along the edges to look like the hand cut paper you used to see in old books and generally mistreated to achieve that well worn look……. I wanted to get something of the look of a palimpsest* to the thing [don’t ask me why, it was just another crazy idea….] so I stamped every page with an illegible handwritten stamp from La Blanche in Old Paper, coloured over it with a coat of Aged Mahogany and then  splattered drops of Old Paper in liquid form about, made a coffee cup sized stain on some pages and dog-eared others.  I then hand copied a poem or a quote on every page.Booklet 5

The pages looked too plain for my taste, so now the flower stamp you saw in the first photo was utilised on every page and I spent a couple of happy hours colouring in and producing ‘water colours’ .  Still not satisfied I hit every page with a good spray of gold glimmer mist for a bit of sparkle.

Cover Inside 1

Page 2

Page 1

Detail

Detail

Byron & Yeats

The little book looks suitably well worn, with coffee stains, age spots and the glimmer of worn gold still visible on some pages.  It’s tatty and dog eared pages contain a wide variety of quotes and poems – from Winnie the Pooh to Khalil Gibran; Rumi to Leonard Cohen and includes Elizabeth Barrett Browning, Shakespeare, Yeats, Byron and more.  It’s all about LOVE!

With the book all but finished [tweaking!] I turned my mind to the bag.  I opened up another brown paper bag and cut it into two, then stuck it back together again.  I crumpled it up and mistreated it in a similar fashion to the paper that made the cover of the book.  I glued down the medallion and gave it a good coat of multi medium gel for shine and strength and [hopefully] durability

Bag w gel

At this point I realised I’d stuck the medallion on the wrong side of the bag and would have to disguise the rather prominent hem, which you can see at the top of the picture ….. so out came the lace and the ribbon and pearls and hot glue gun…… and we ended up with this.

Bag 4 finished

And did you spot the button?  It is one from the set that was made a few weeks back which I posted about as ‘Antique Buttons’.

I had fun making this and learned a lot in the process!

Thanks for dropping by, hope you enjoyed it – do say Hi – it’s nice to meet the visitors!  🙂

*Palimpsest literally means ‘scraped clean and used again’ 

Back in ye olde dayes when few knew how to write and paper/parchment was hard to come by it was common practise to scrape away previous script and use the paper again.  It was still common practise in the early medieval period for monks [who did most of the beautiful script work that survives today] to re-use even older manuscripts considered of no importance to produce their work on.  A recent discovery is the Archimedes Palimpsest.  It has caused great interest when it was found that the original writing was a 10th Century copy of a previously unknown treatise  by the renown philosopher.  Scientists and scholars are still working together to try and decode it.