A while back I was wandering around in You Tube and came across a beautiful altered book video by a talented young woman called Paveena whose channel is called ‘myautumnsunset’. The book she is showing is absolutely stunning – and I was inspired!
One of the things I really liked was the thickness of the pages – she had been able to burrow into them and inlay some found pieces. I didn’t have such a book to hand, nor was I likely to find one. So the idea sat for a while somewhere in the dark recesses of my creative mind.
Last Christmas Eldest Daughter had completely surprised me with a wonderful gift – a new ‘Grand Calibur’ die cutting machine. It came in a lovely big, strong box which was sitting under a table in my play room, getting in the way, but with it bound to be handy for something one day, I had refrained from sending it to the recycling station.
So that lovely ‘Aha!’ moment arrived – and although I did not cry ‘Eureka!’ and leap from the bath – metaphorically you may say I did!
You know where I’m going with this – ‘The box’, I said to Orlando, ‘will perfectly transform into a book….’.
So that idea sat for a bit – which is my usual way of working. When I get a new idea I let it sit around, I move it about a bit, imagine the end product – which gives me a kind of over view of how I might get there – sometimes I even jot down a note or two, but nothing much outwardly happens. Then one day I’ll go into the play room and lose busy myself in the creative process. Most often the finished product bears little resemblance to the initial idea – hence the ‘hit or miss’ label I give myself. But something interesting usually transpires.
But this task is different. This is everything from a box, I only have one box so can’t muck it up – well not too much anyhow – I have to have a plan, a process, a recipe. I have to think before I leap – or cut – I have to know how it is all going to go together……..
Now this is the part where you get to be very pleased, proud and happy for me – I did it!
And not only did I do it, I also remembered to photograph each step along the way – or nearly every step – nobody’s that perfect are they? I didn’t actually take a photo of the box before it began its transition ……
So here we go:
Day 1: Dismantle and cut up the box into page size pieces. Paint all edges black. Tape two ‘pages’ together to make a double page with a slight gap between the two for ease of folding and the later step of sewing the signatures together. Do this three times.

The ‘pages’ painted and taped
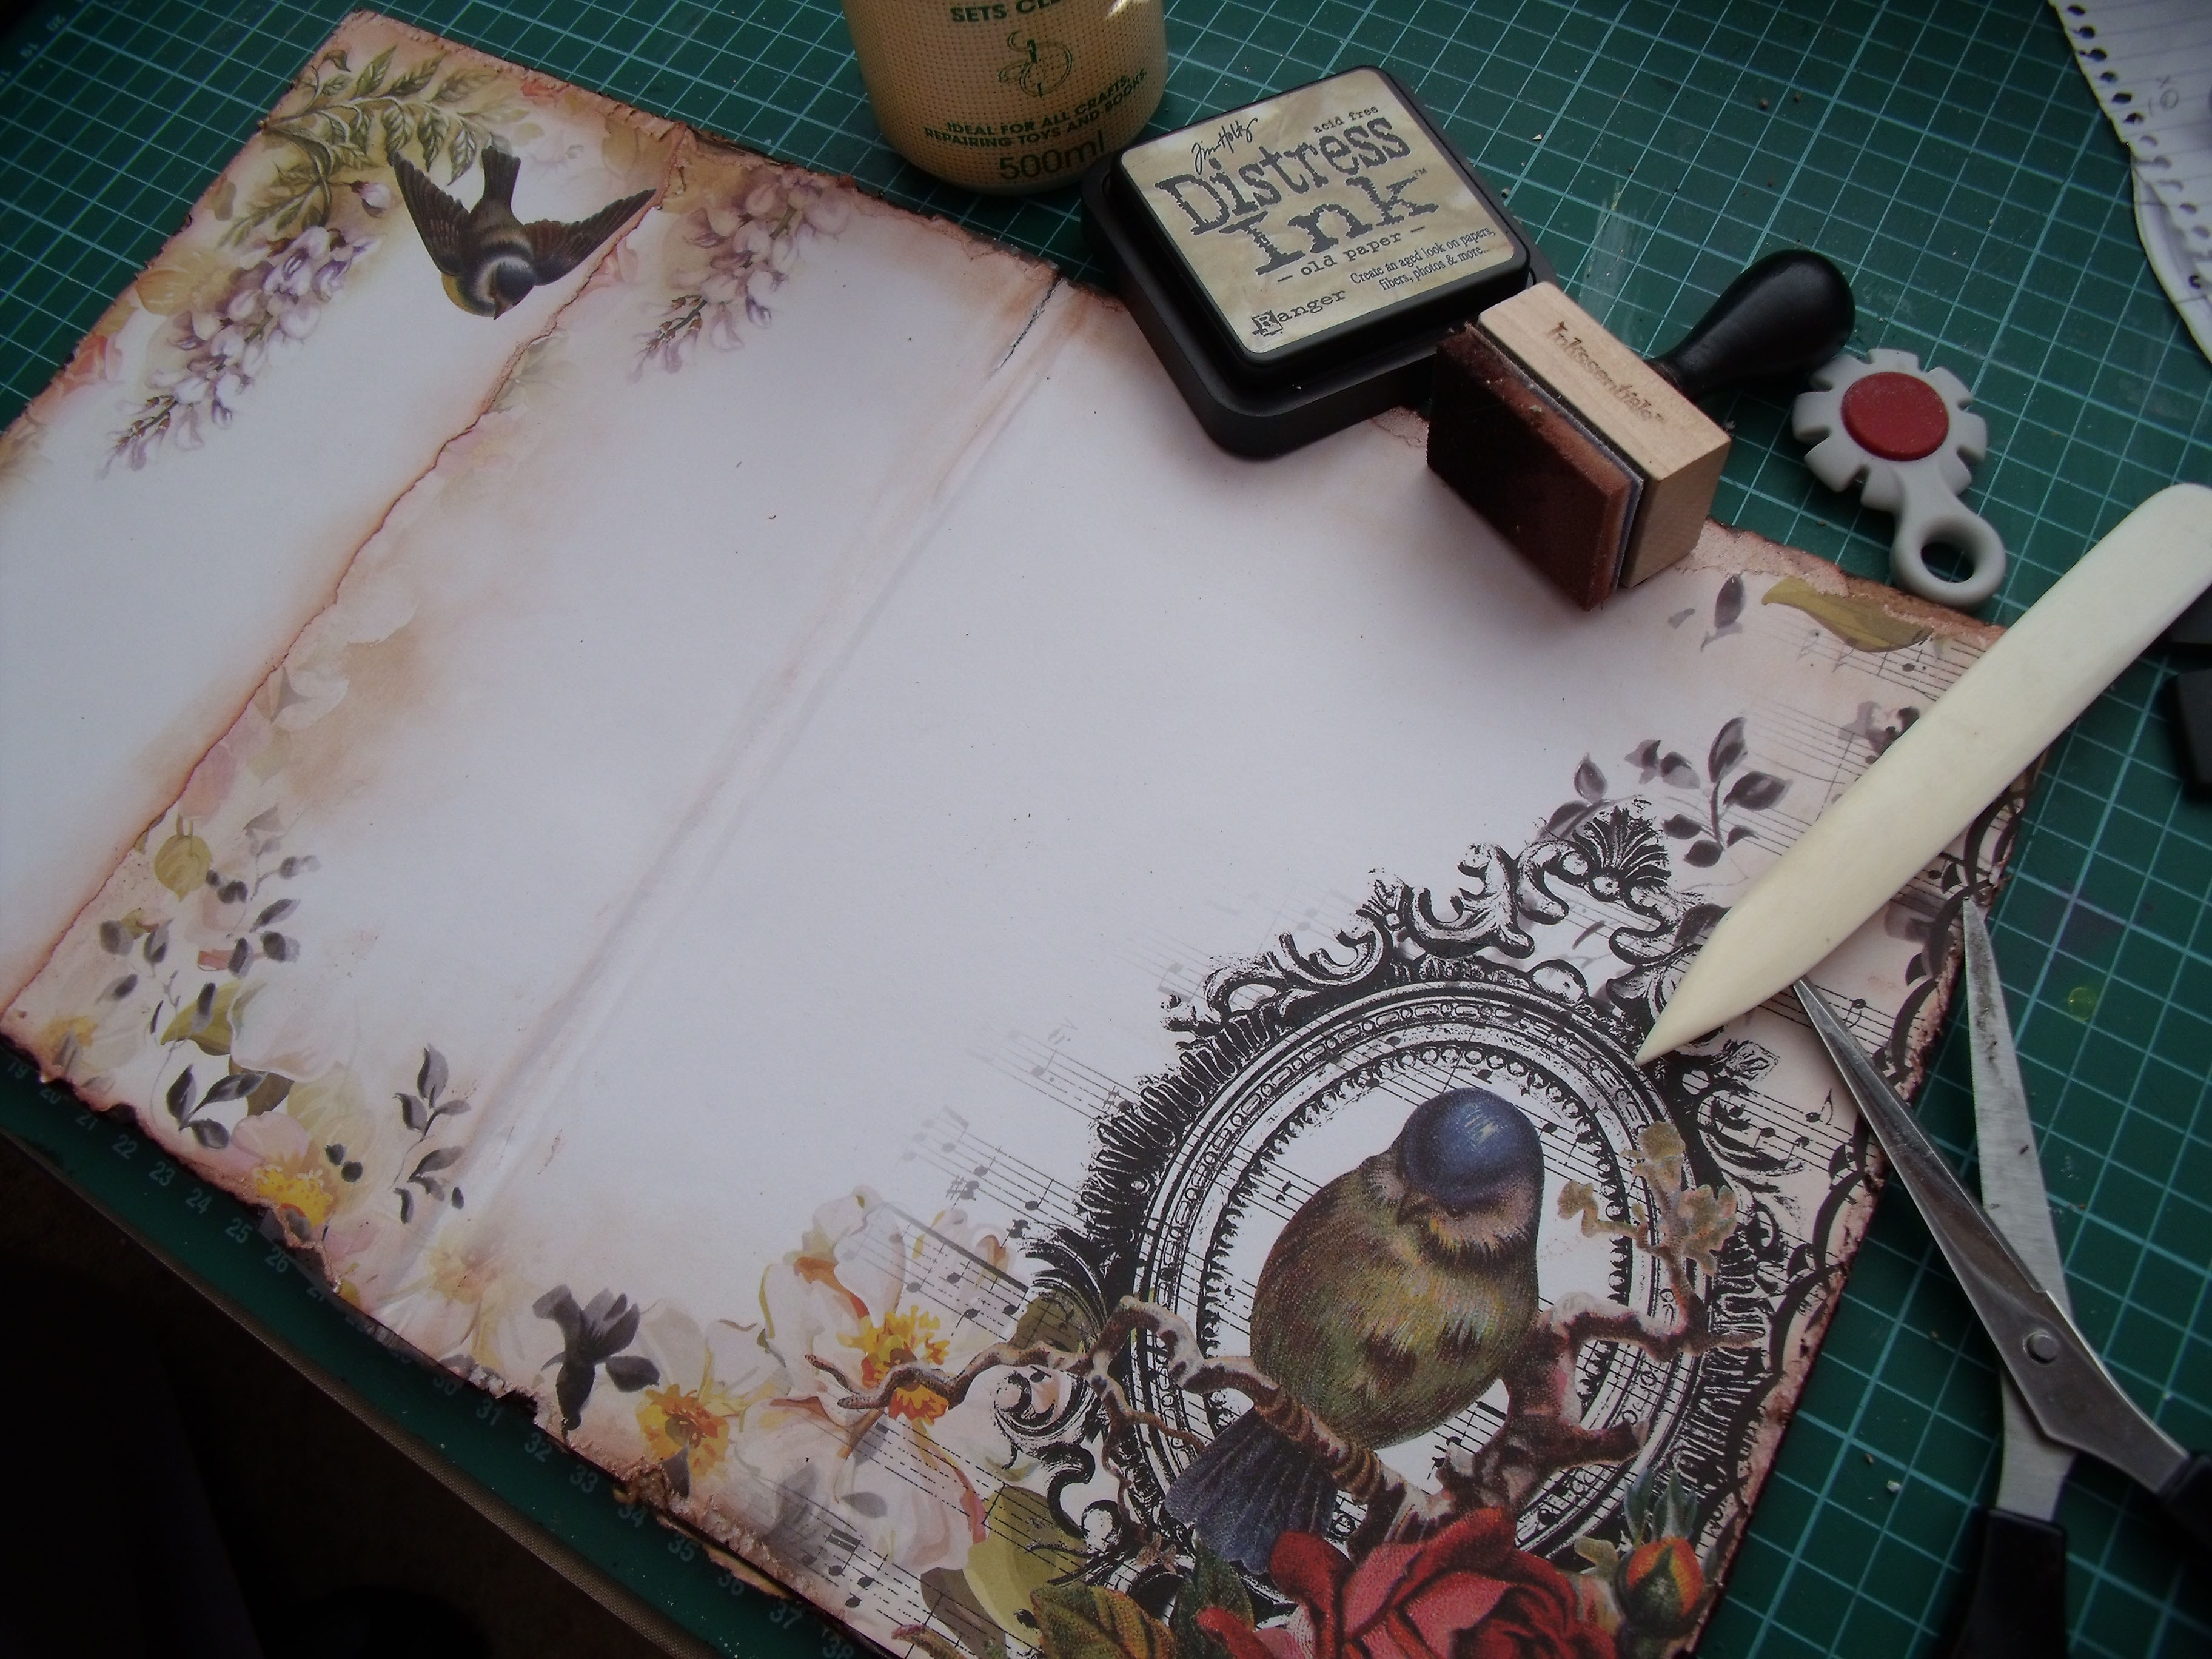
Day 2: Choose paper and cut to size. Distress all edges by tearing, razoring [?] and applying ‘Old Paper’ Distress Ink. Using tacky glue liberally adhere paper to cardboard pages.

Goodbye box, hello page!

A small corner is left to remember it’s provenance!

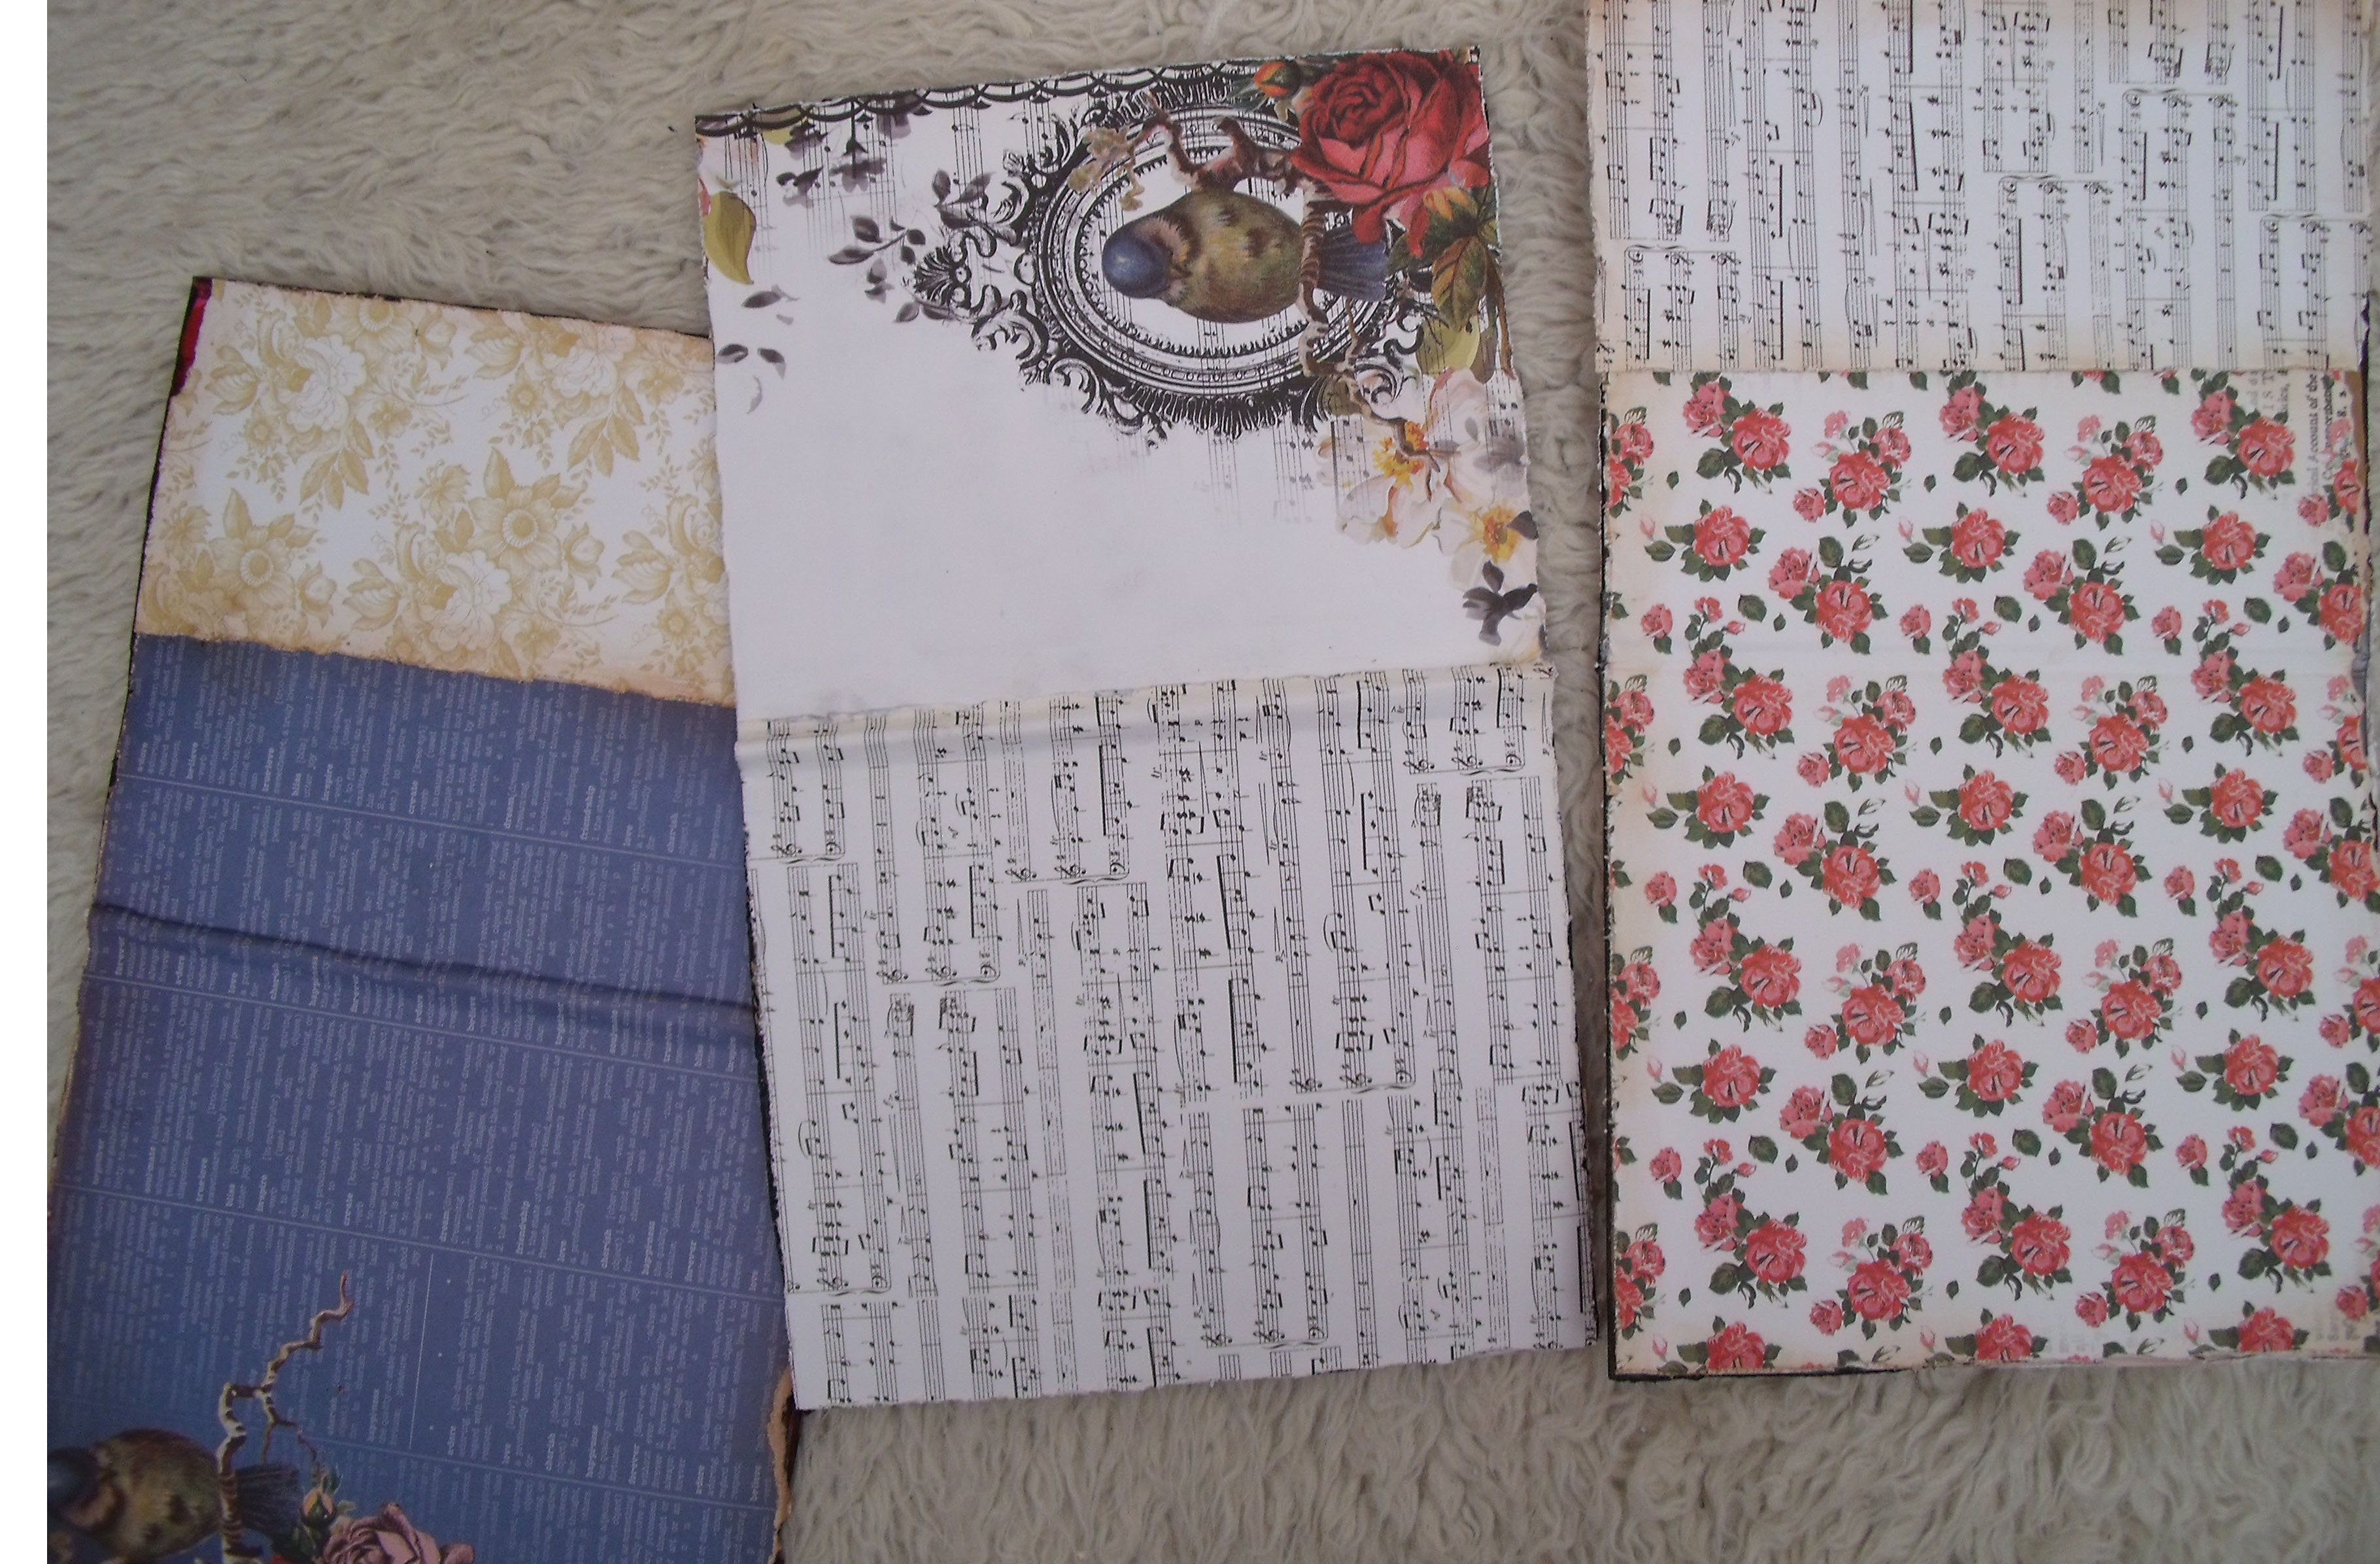
The three cardboard signatures ready for the next step
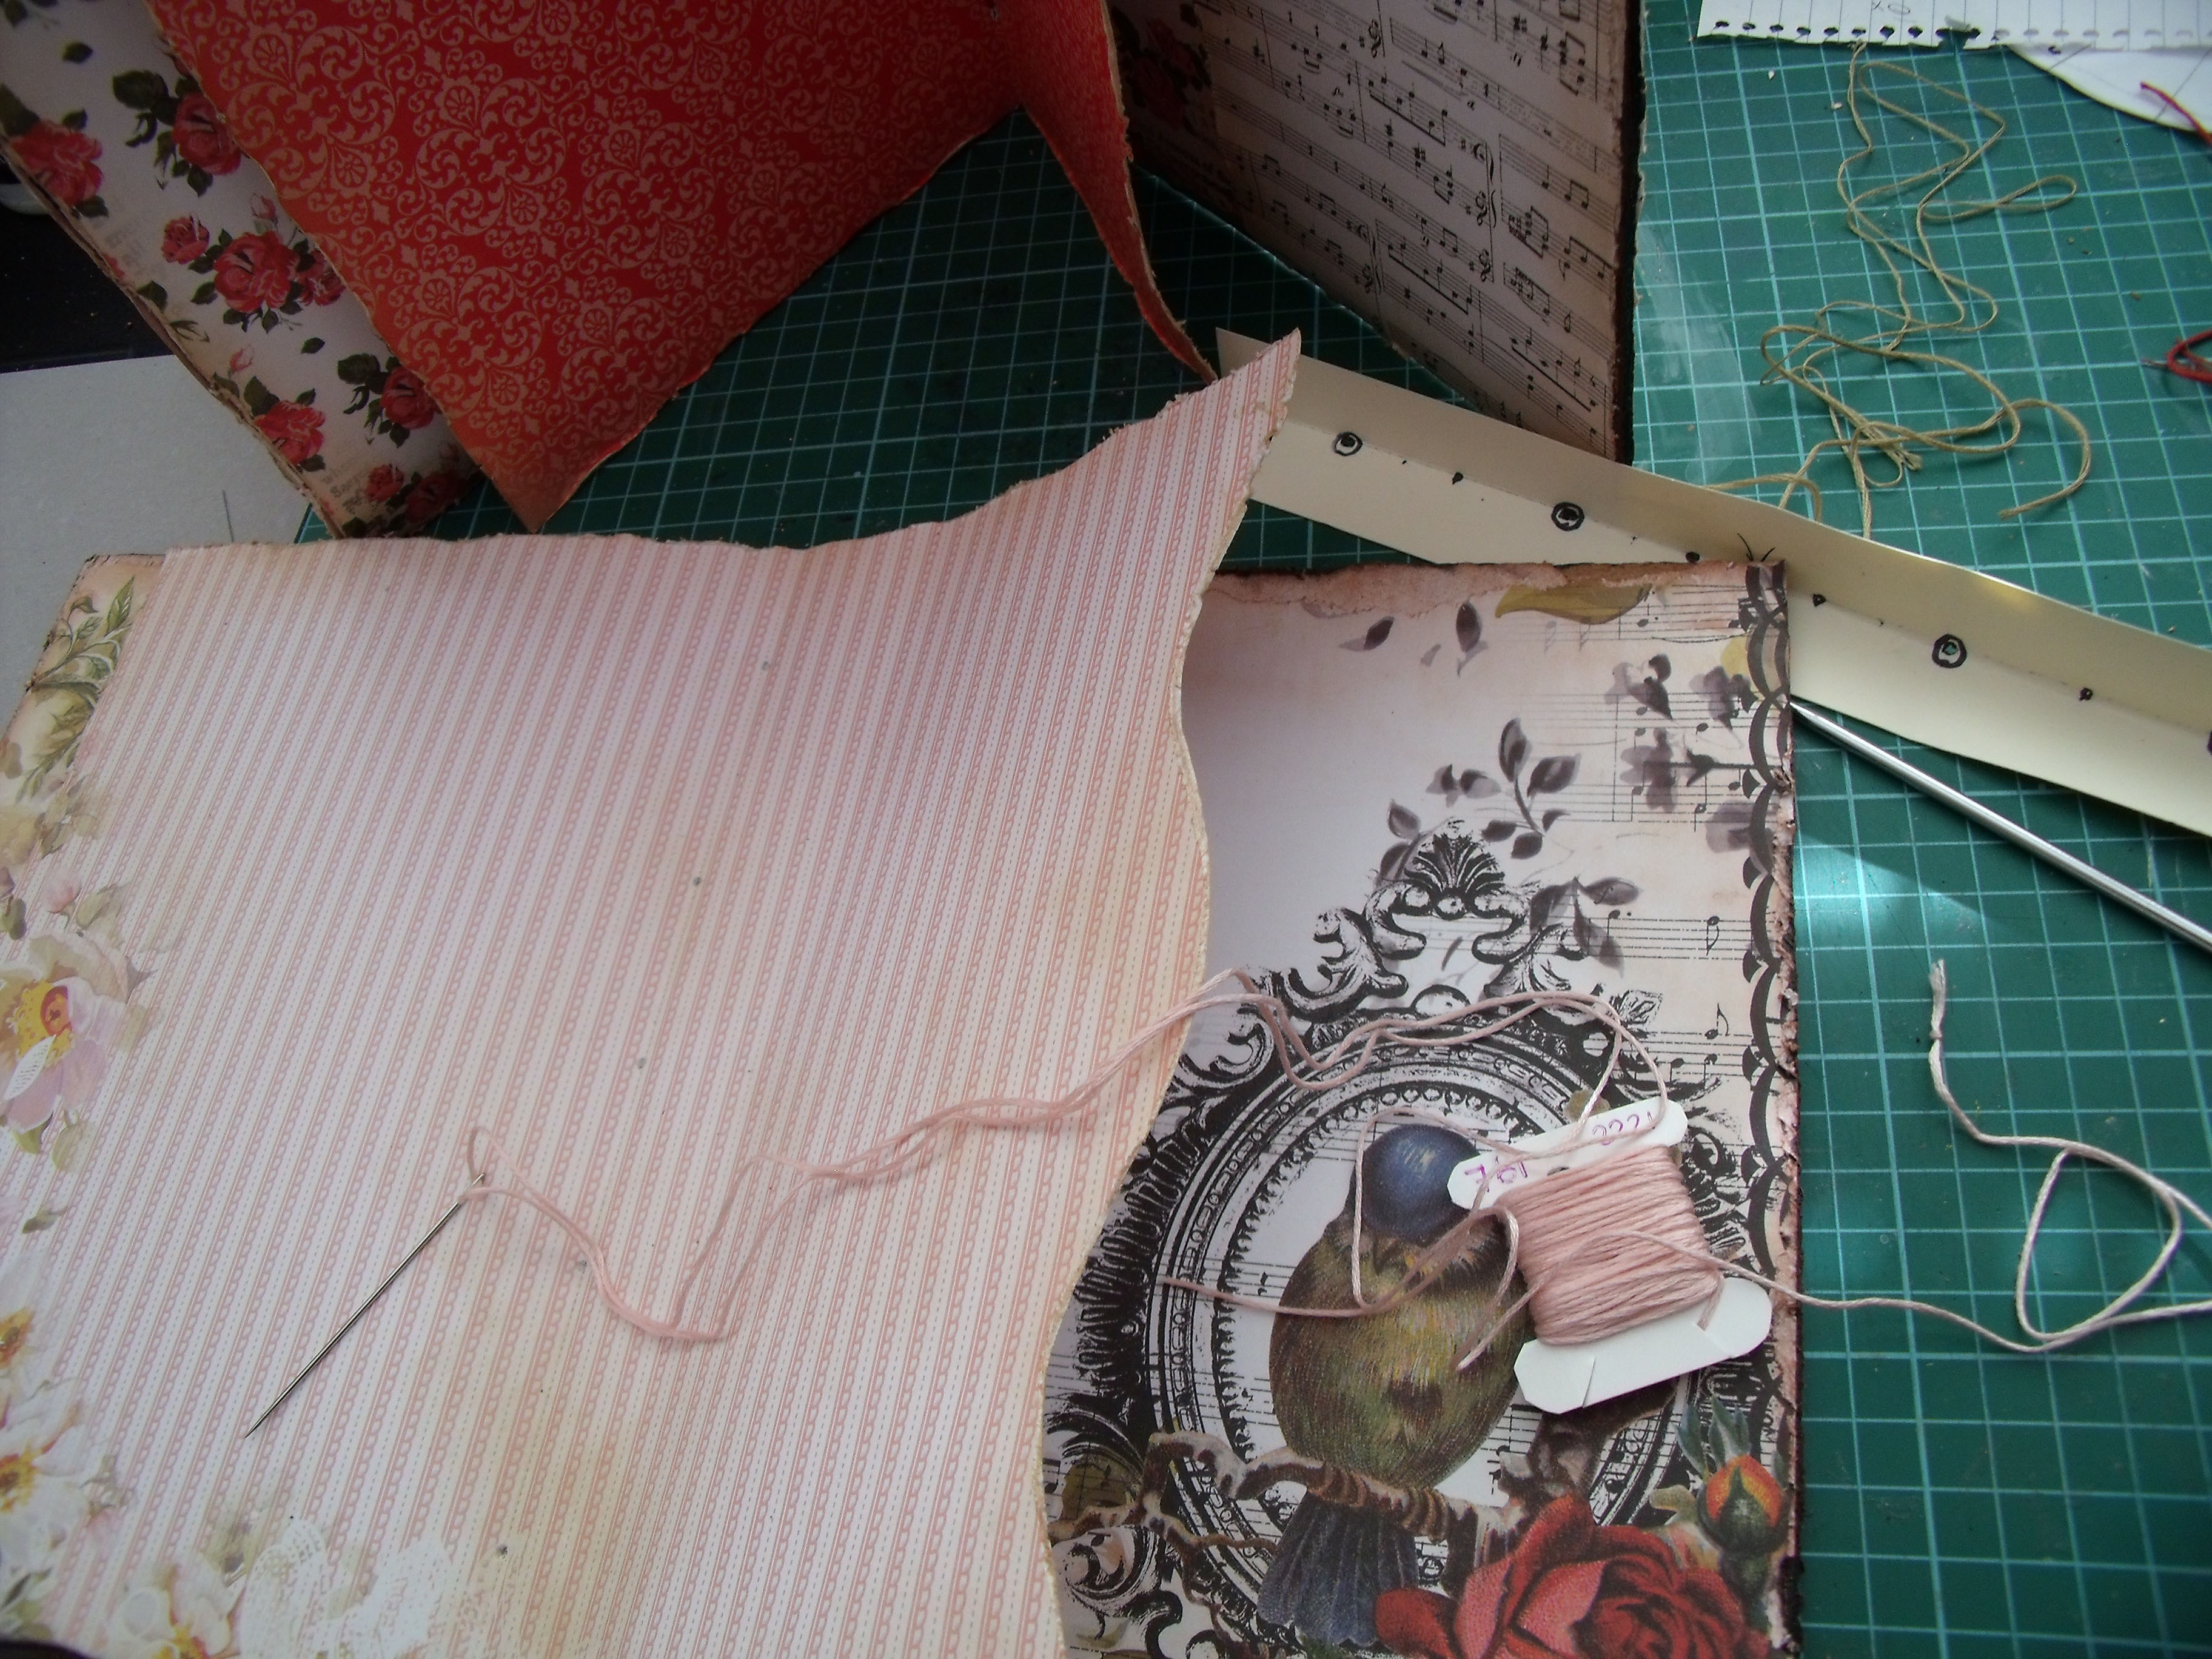
Day 3: Now that the cardboard signatures are ready I made a paper insert for the centre of each one using paper from the same line. These were shaped and the edges were distressed in a similar manner to the cardboard. Then each signature was individually stitched to a pre-measured and pre-spiked length of grunge paper which is to be the inner spine. [Grunge is perfect for this due to its strength and flexibility] I used embroidery floss to sew each signature to ensure the colour matched the paper .

The signature ready for sewing to the spine inner

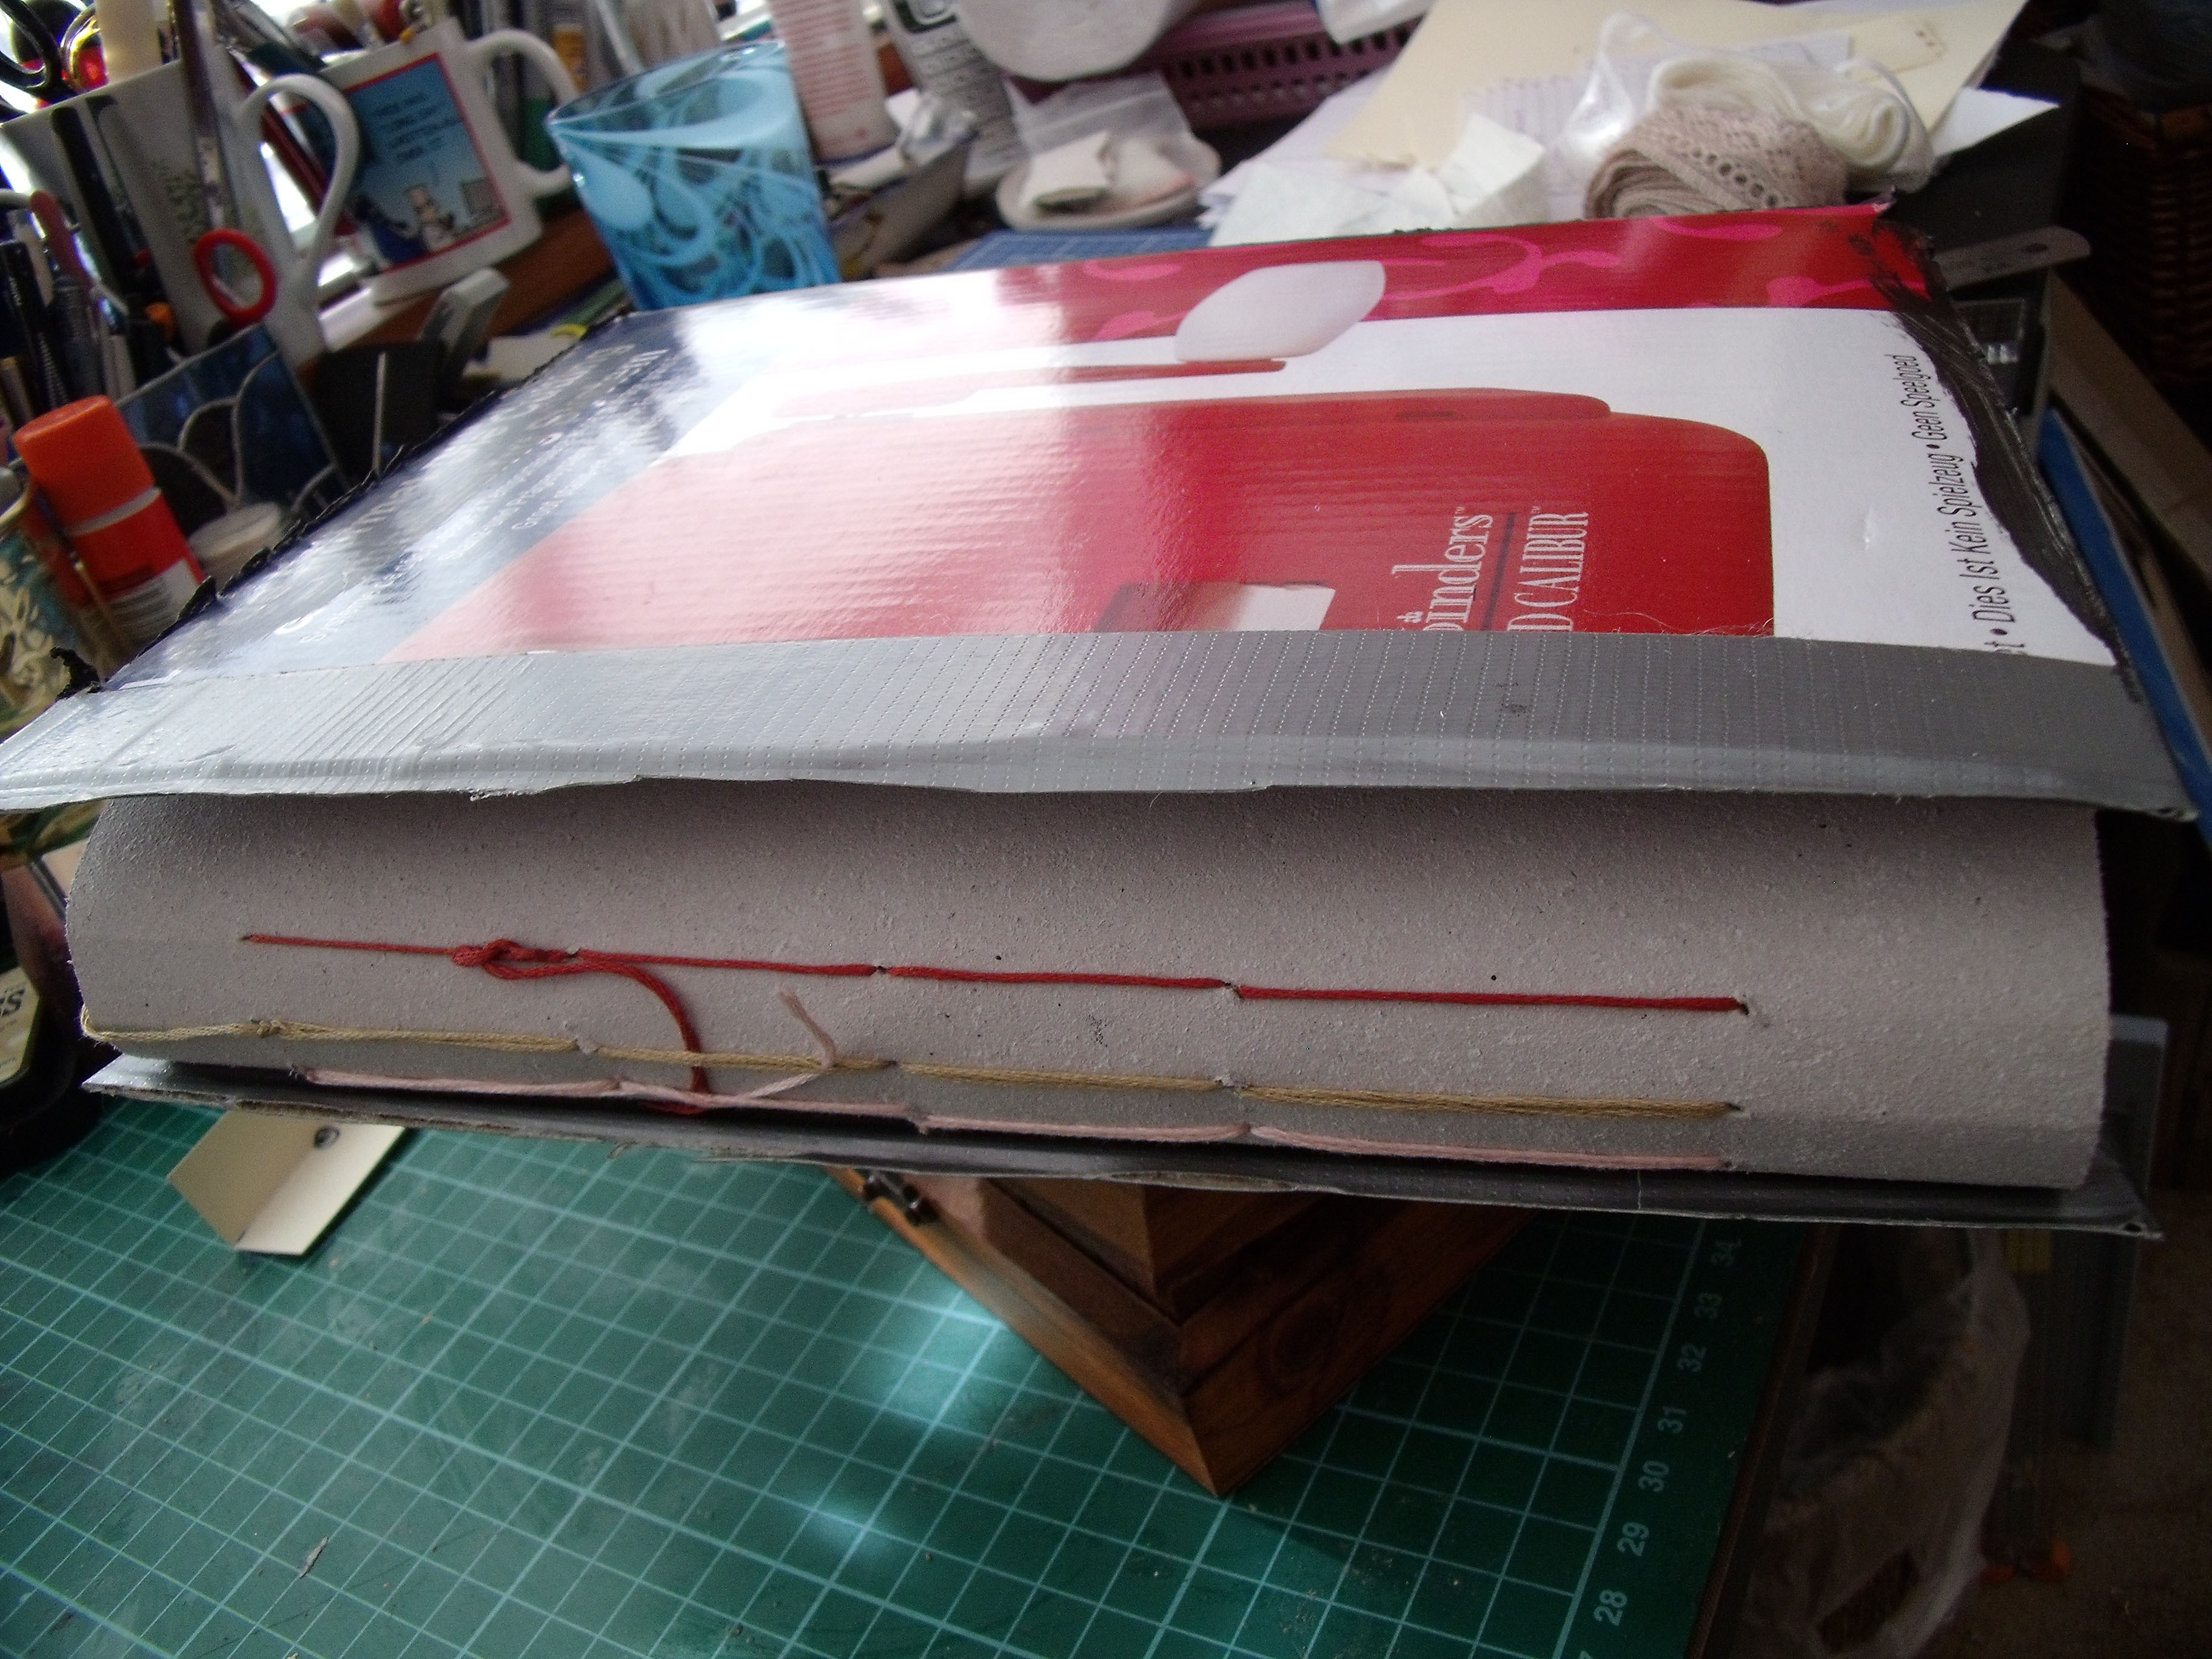
The three signatures sewn to the spine inner with the cardboard cover balanced precariously on top – so you get the idea!
Tomorrow I am having a day out with Youngest Daughter which will give me lots of time to brew an answer to the question do I put the cover on next or start decorating the pages?
Do I leave the cover til last?
What would you do?
Thanks for reading this far, I love that you took the time to pop in.
Have a great day and come back soon! 🙂