
I had a crazy notion about two weeks ago that it would be a good idea – instead of having five different notebooks of varying shapes and sizes plus one note pad scattered over my coffee table, and side table in the lounge and two more large exercise books and various bits of paper with random notes, quotes and ideas on scattered about the creative room – wouldn’t it be a good idea to have it all in one place…..
Mmmm – I set my mind to it – I first had the idea for a cover but was a bit woolly about how to actually do the rest when by serendipitous good fortune down the email arrived a link to a You Tube Video, made by a country-woman of pretty darn good creative ability:
All was made clear. I had about seven notebooks still sitting in a drawer from the summer before last when they were on sale for five cents each – I bought twenty of them, just because they were five cents each!

I took the covers off and painted them. I painted them with my two favourite colours cerulean blue and viridian green. There’s a wee touch of white in there too…..
I poured glossy mod podge over to stop the paint scratching off and when that was dry gave each cover a good coating of car polish and buffed them up. Mod podge is not the best sealer around. When dry it still has a sticky tack and a bad habit of making things stick together when you don’t want them to. The car polish puts a sleek shiny sealed surface over the mod podge and solves that problem.
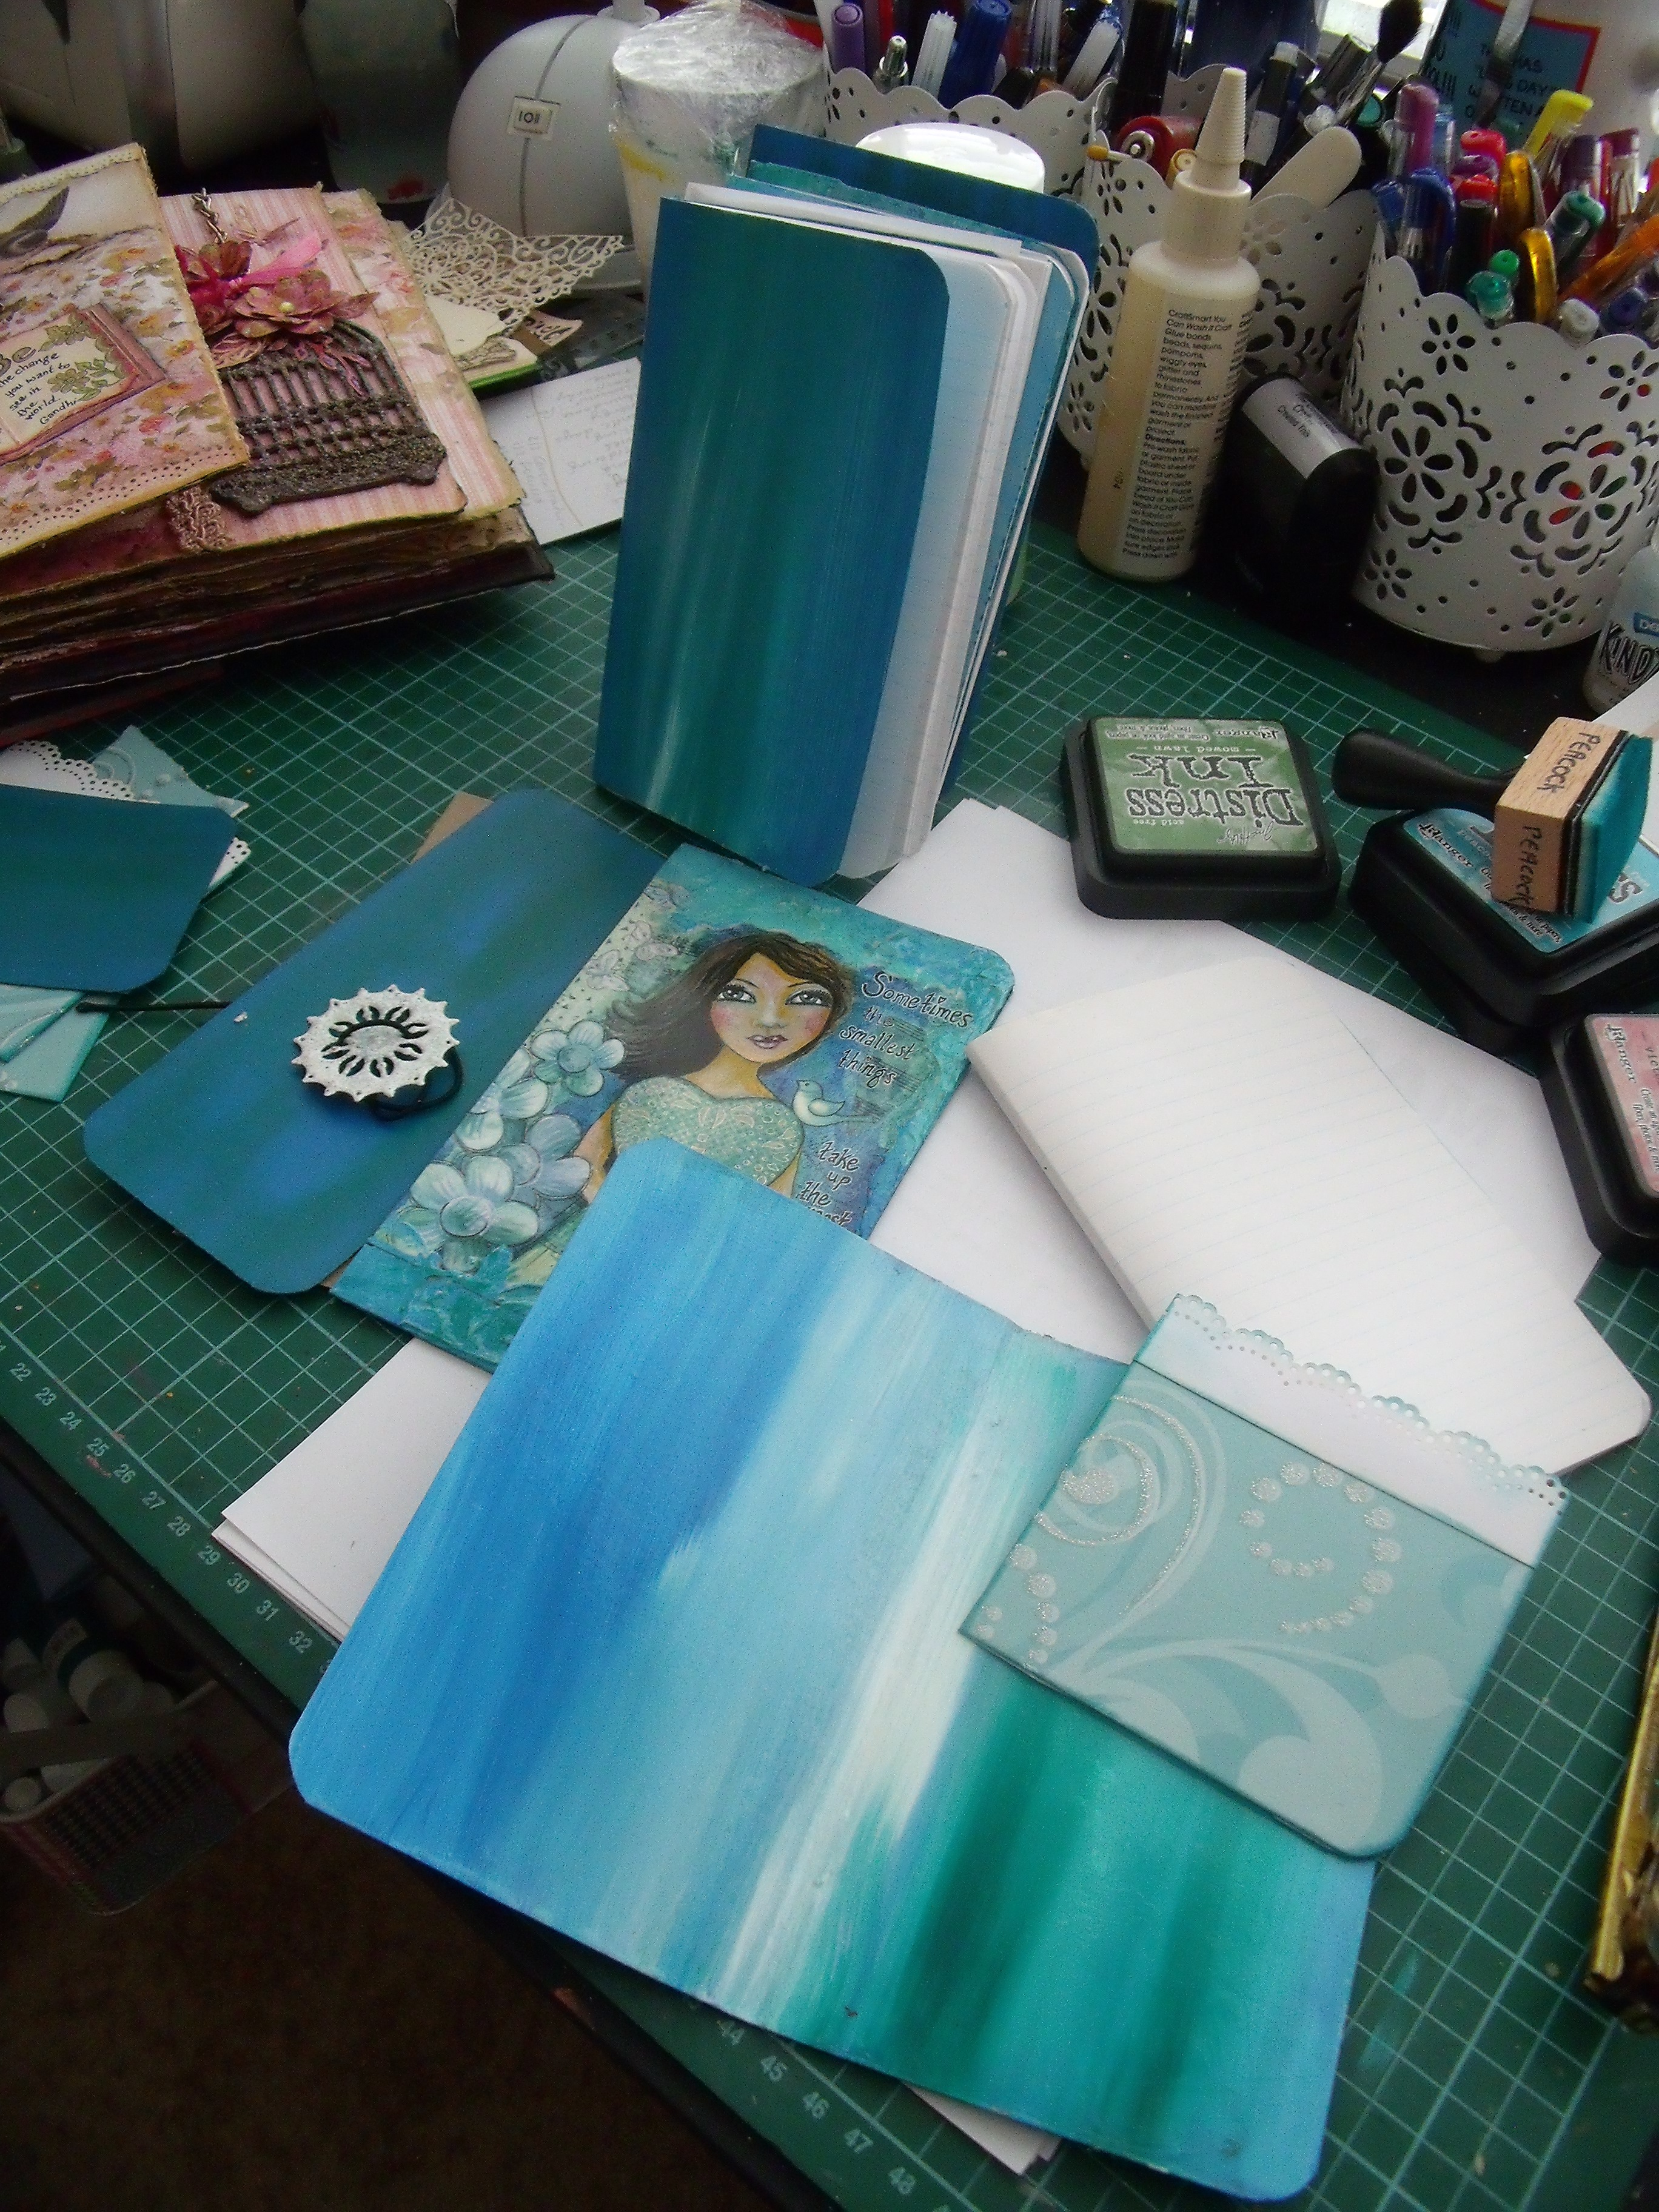
I made the cover – and I just love how it has turned out! I used one of my postcards made from the original painting and embedded it onto the hardboard cover with texture paste which I then painted with the cerulean and viridian paints.

The rest was pretty straight forward. I made some little pockets to hold the odd bits and pieces that might come floating by. Fiddled about a bit with the spine to ensure it was strong and sturdy and could do what I wanted it to do. Bought some hat elastic and wrapped it around the spine inner, which was then glued to the spine outer – meaning no-ones going nowhere baby! slipped the notebooks into place and voila – one artists organiser complete with the obligatory spot of bling…..

I forgot to say earlier I made the little medallion thingy from a metal embellishment. I dunked it into embossing ink then into white embossing powder and heated it. Twice. Then I finished it with a dunk into some sparkly clear embossing powder and got the look I was after. I coloured the elastic with ‘Peacock’ Distress Ink. Here’s a spine view:

Adding tabs ensured there is, amongst other things, a place for notes, a place to list things I want, a place to list gift ideas, a place to keep track of giveaways and winners of giveaways, a place for ideas, a place for quotes, a place for tracking expenditure and another for tracking earnings [giggle!] and a spare place for something else that might pop up.

If you peer closely into the centre of the book you will see the hat elastic doing its job and holding the notebook into the spine quite snugly.

And here is one of the little pockets which have been scattered throughout to hold the odd random bit of paper that may need holding onto….. and there is the blingy page marker at work too 🙂

And that my friends, is my version of an organiser – now to find out if it holds up and actually works….. she should do everything but make my morning coffee!

If I missed anything and you really, really want to know what I did or how I did it ask away 🙂
Thanks for coming by today, I love that you did!

