When I showed off some of my latest light catchers in the last post there was a small amount of interest in seeing how I made them. Not having a video camera capable of recording the process I did my best with my point and shoot and, with a bit of help from our Official Photographer when I ran out of hands, there now exists an as-good-as-it can-get photographic record of the process.
So, here we go:
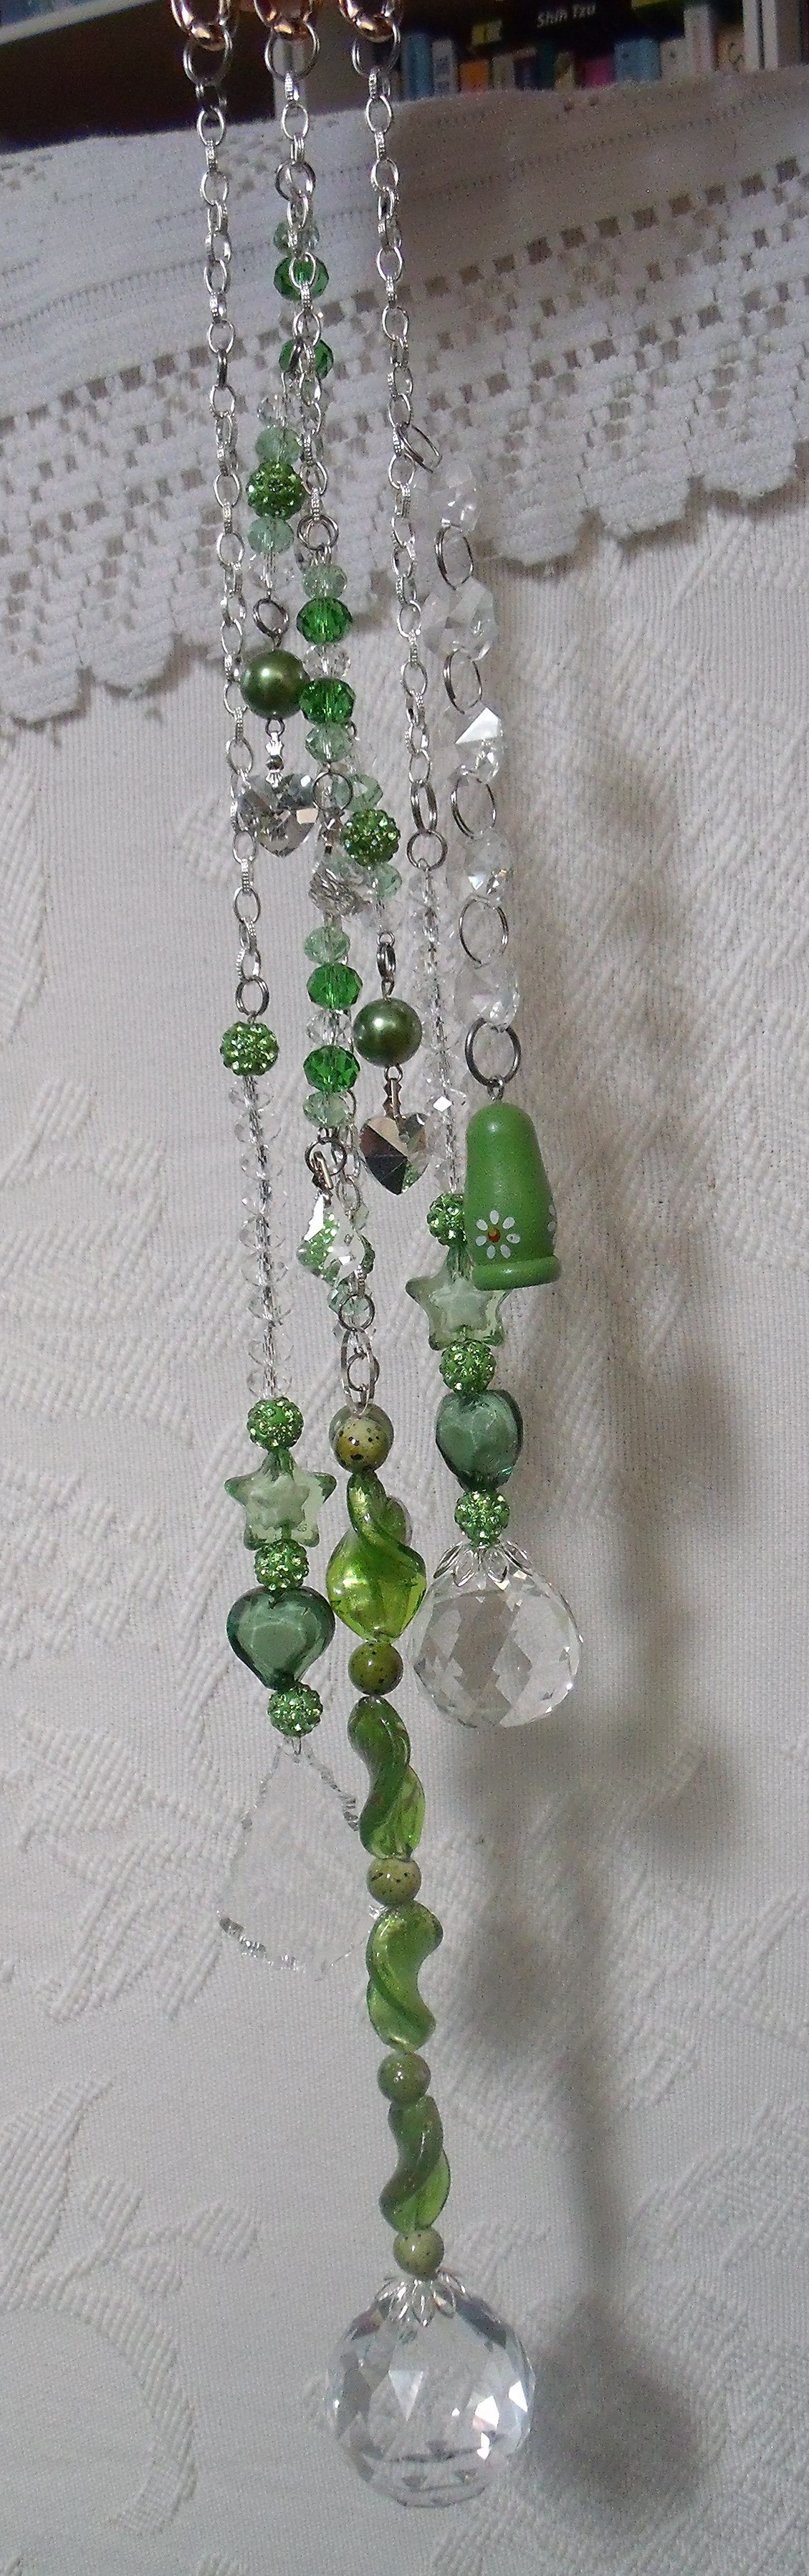
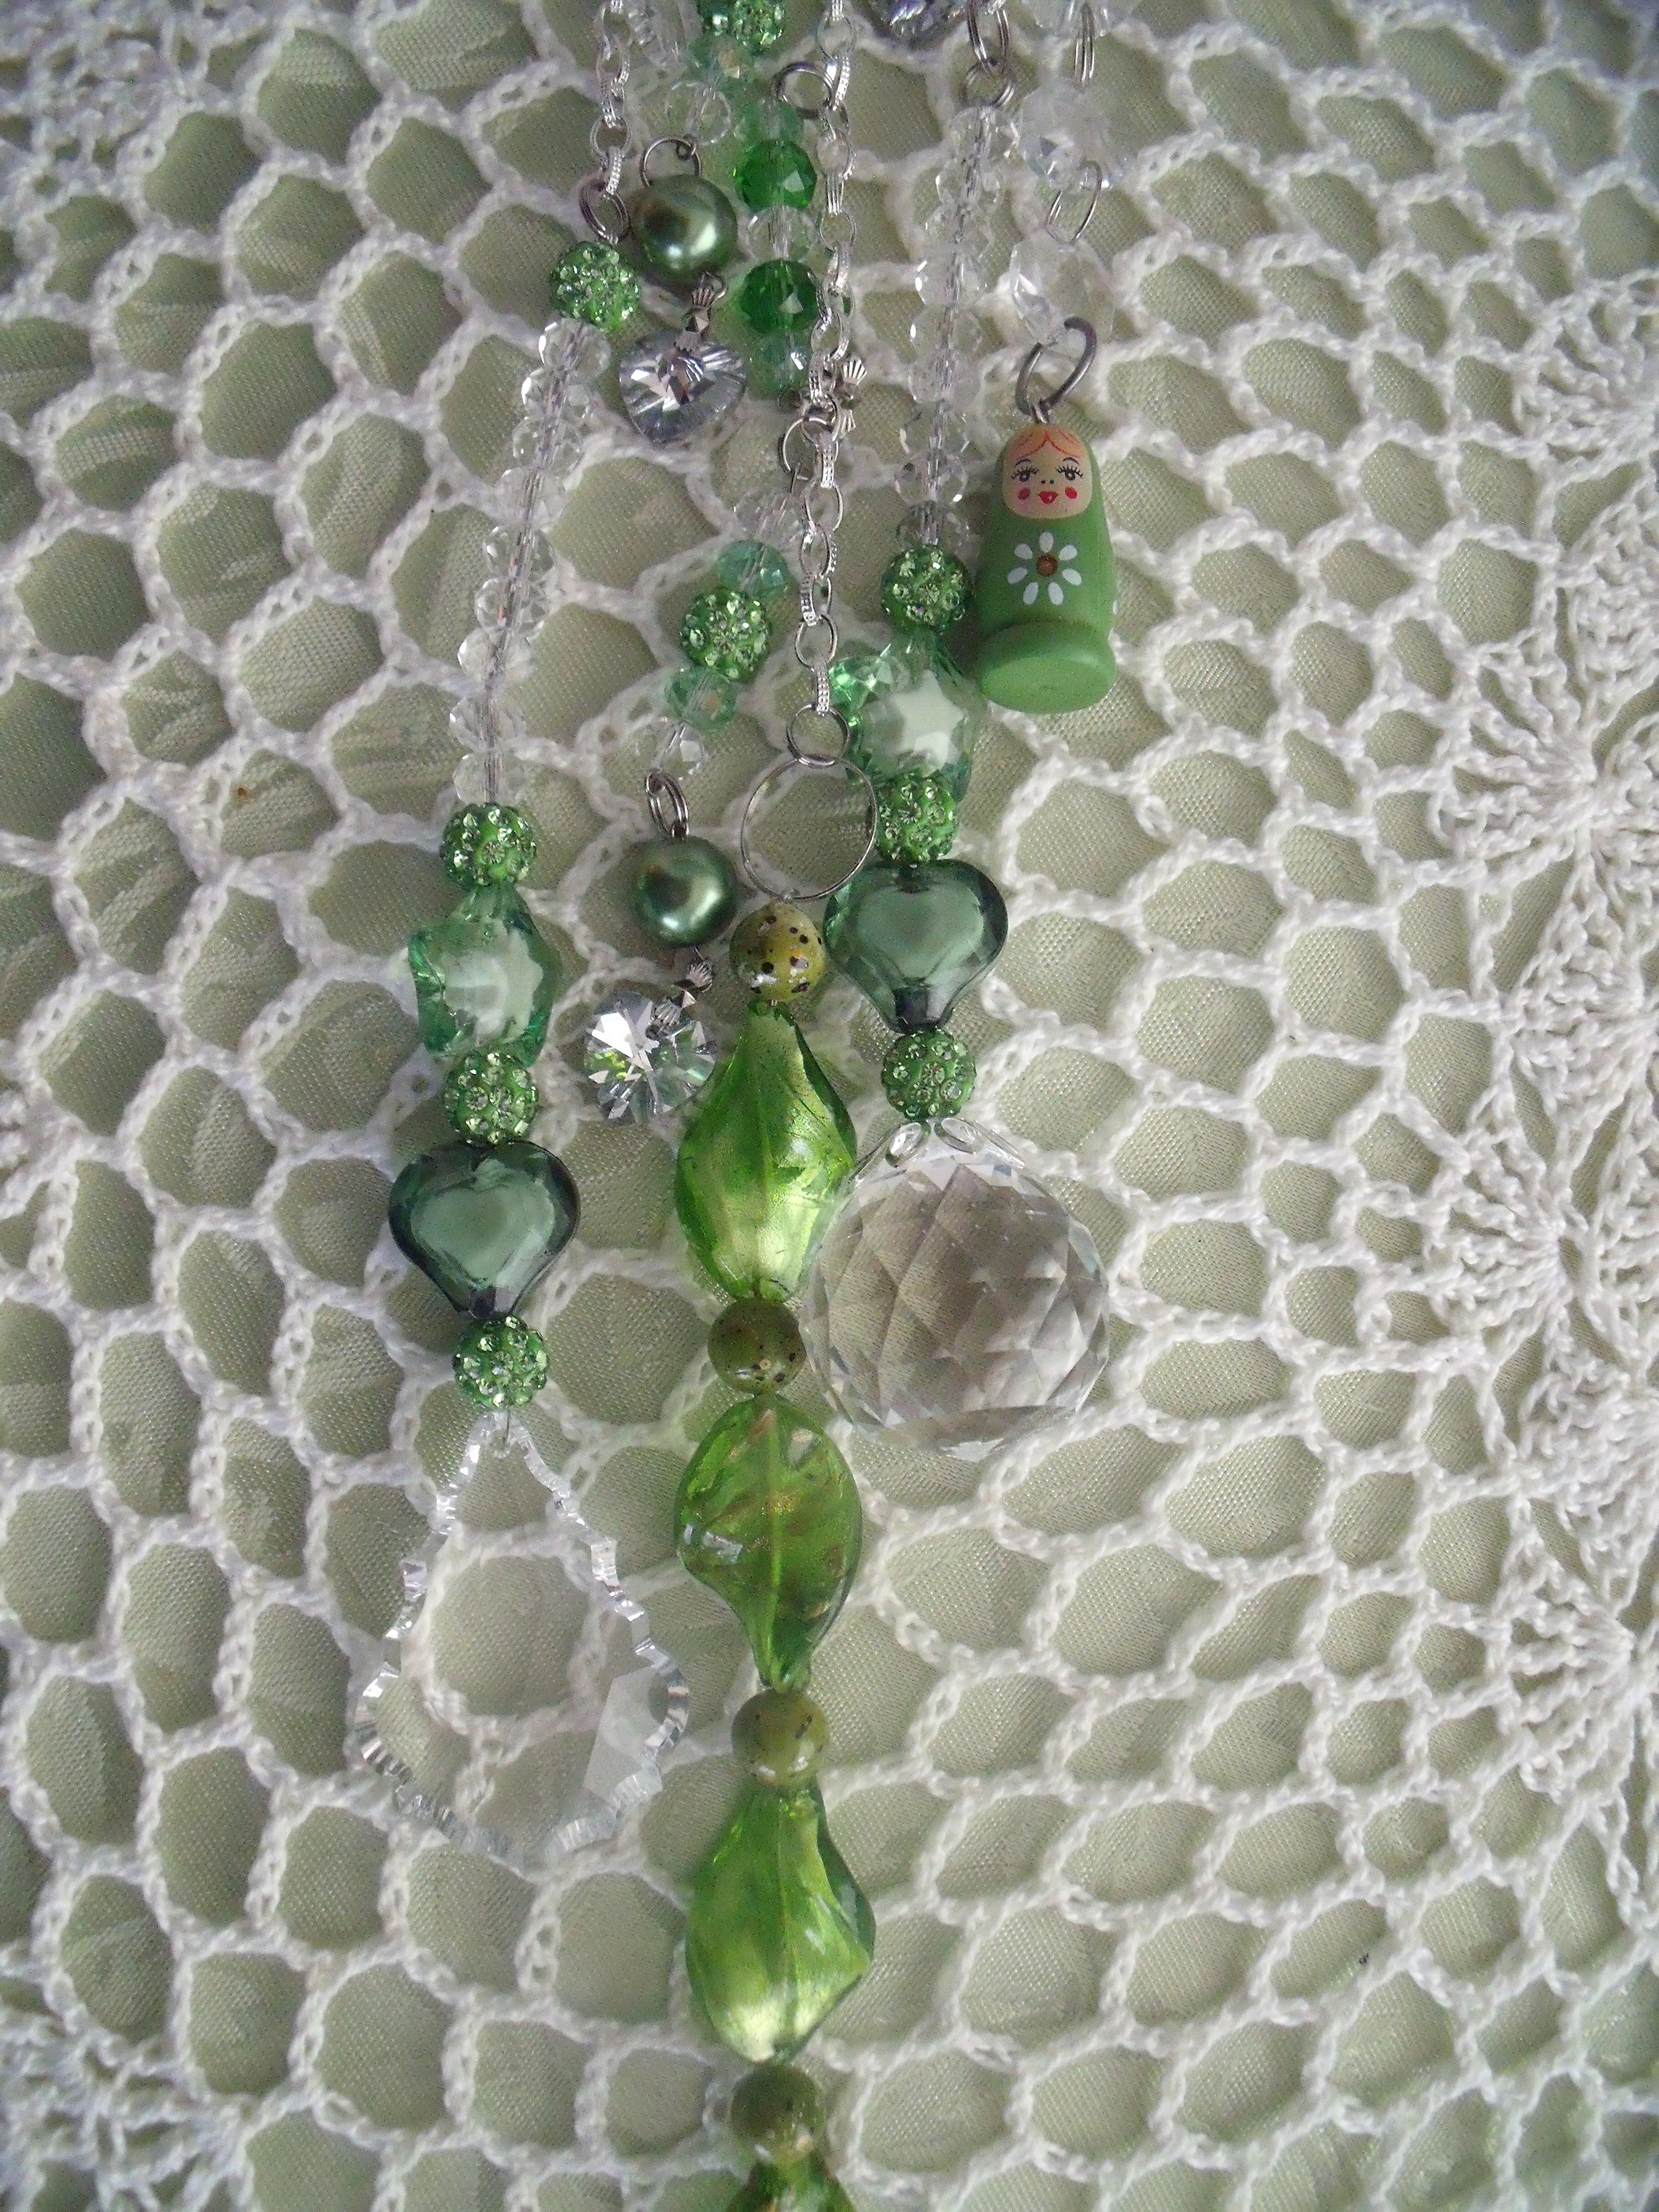
First I rifle through my stash and gather together a pile of beads in my chosen colour. I was feeling ‘green’
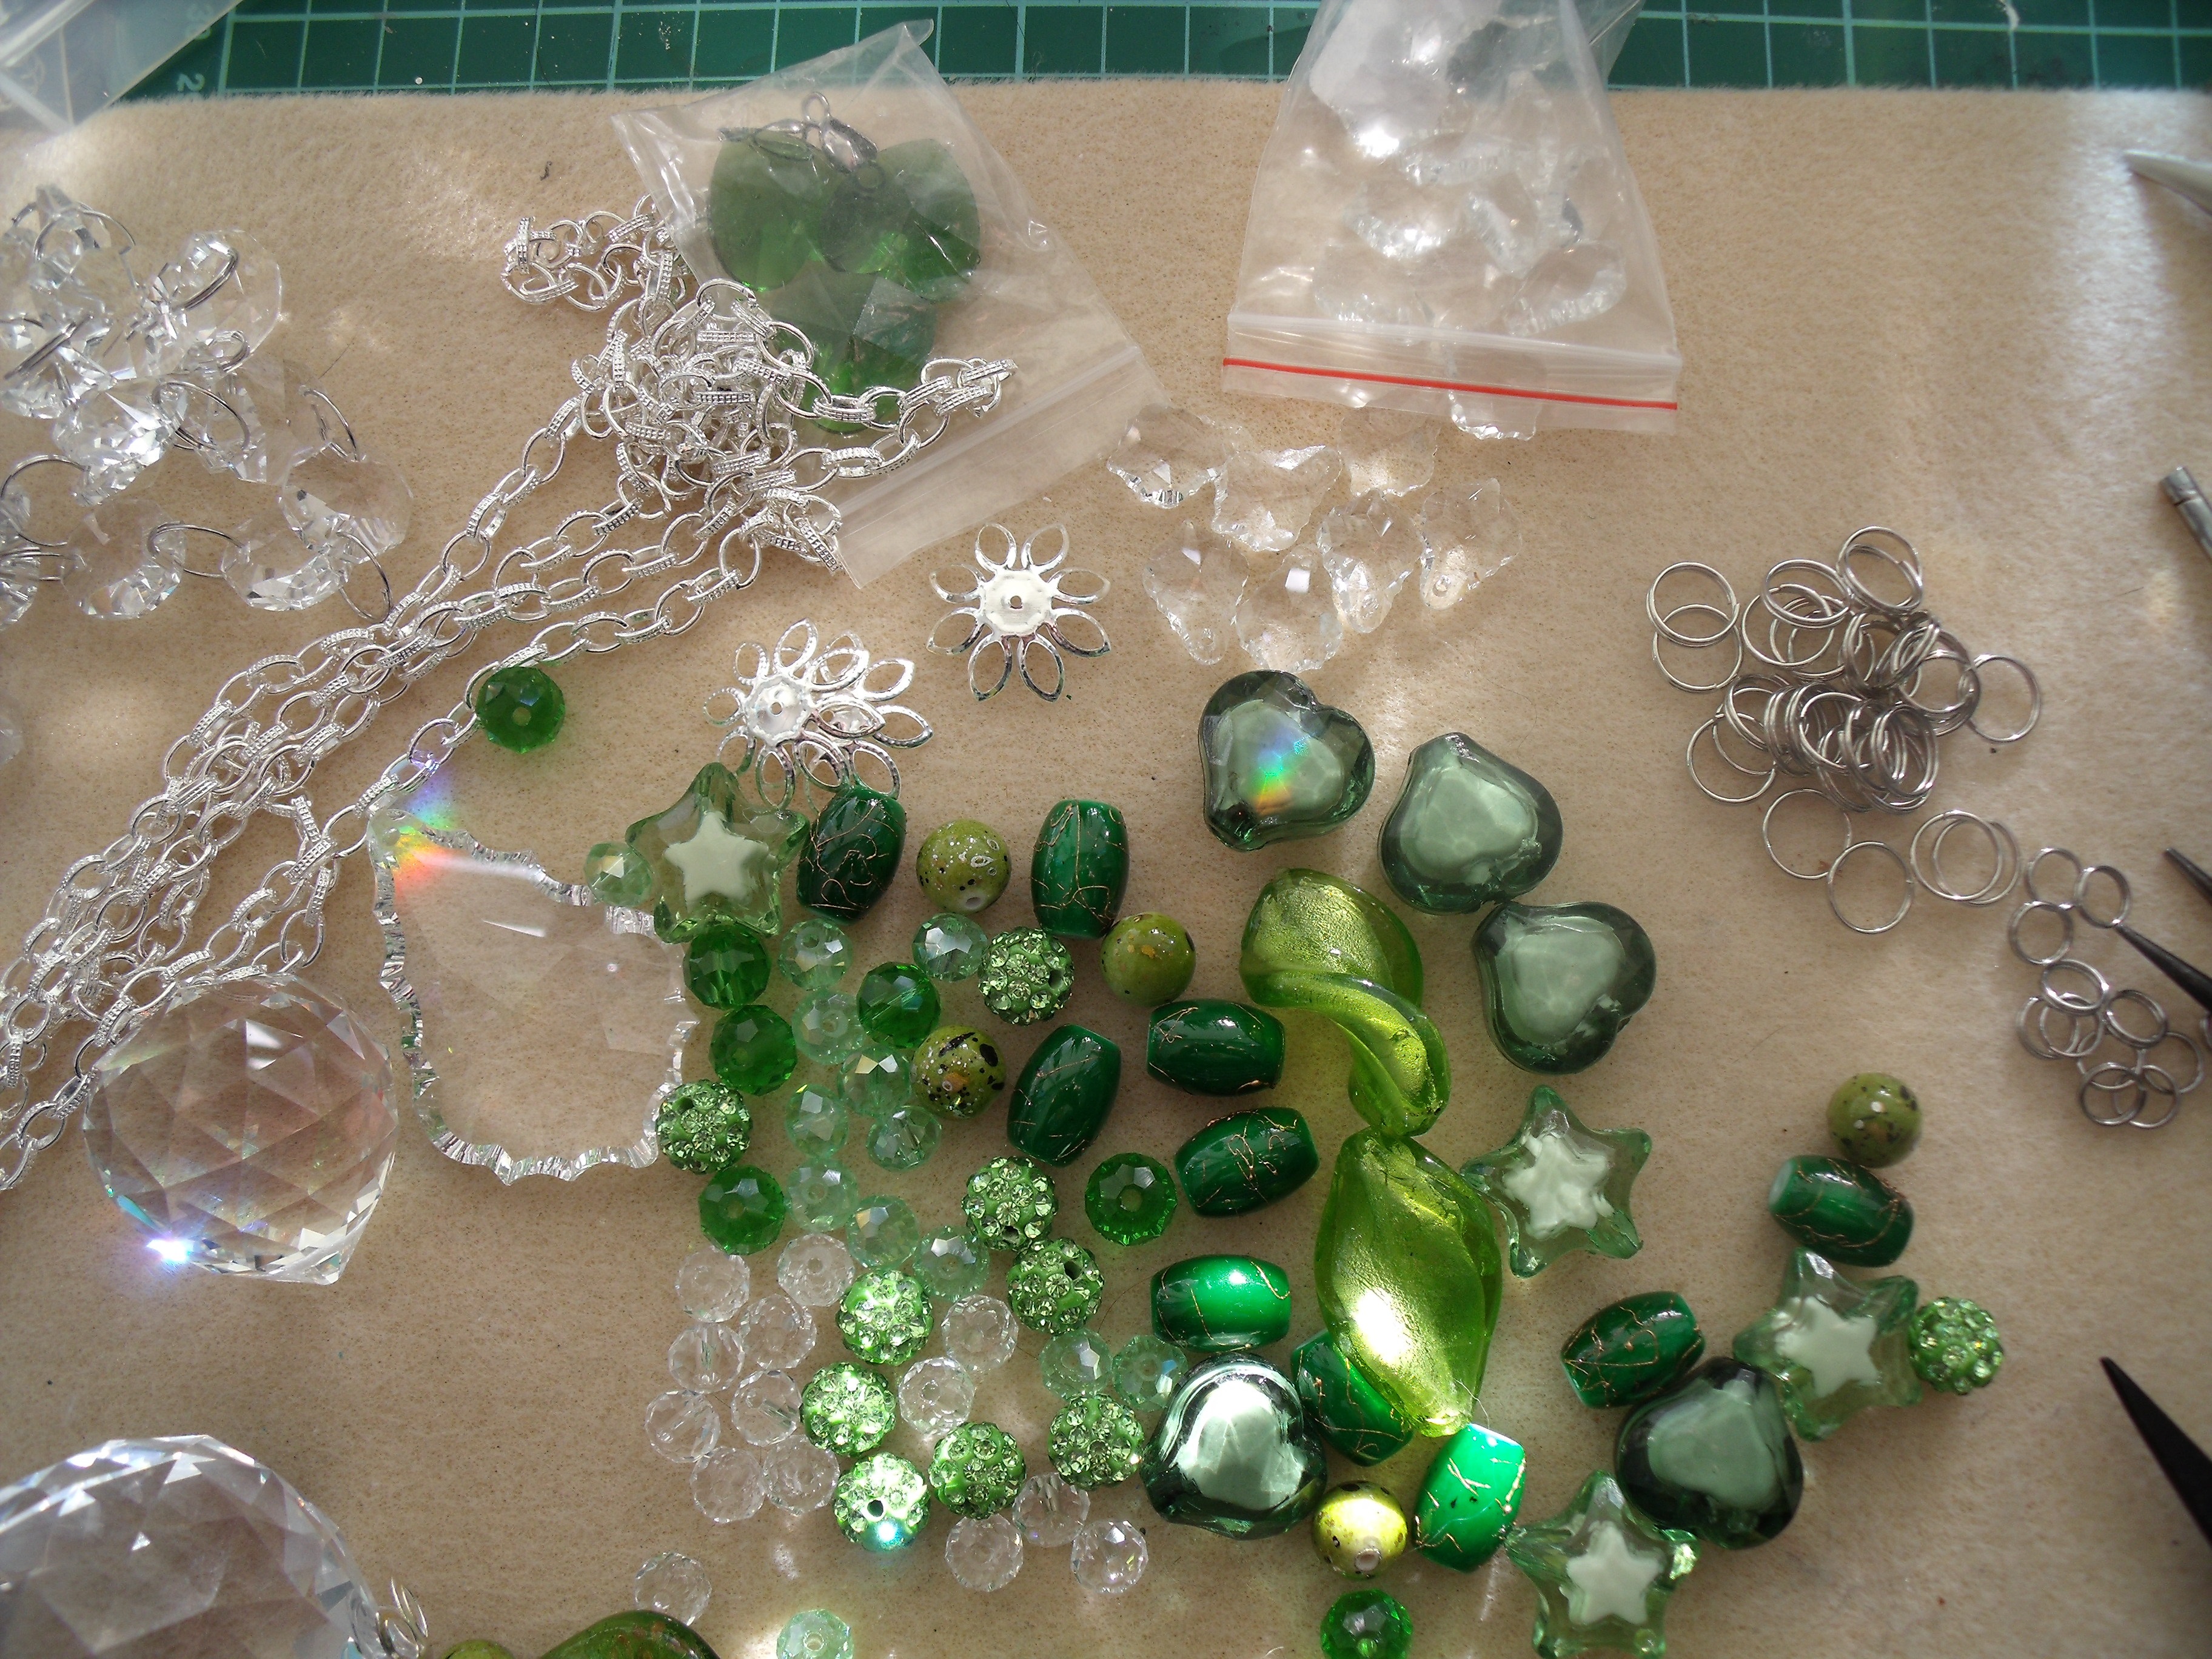
I look for interesting shapes, a variety of shades and include glass, semi-precious gemstones, crystal, acrylic and facets wherever possible. I like using gemstones for their power and meaning, facets for their bling factor, shapes for interest and texture and crystals of course are the major source of light refraction. Acrylic beads are also very handy for keeping the weight down – these things can get heavy! I may, or may not, use all of my selection. It just depends.
I choose the hanging chain, recently I have discovered a particularly nice one which I am hoping to use in all future catchers. You can see it lying across the top left of the first photo. You can click on the photos twice to biggify – get the close up view for real!
Tools:

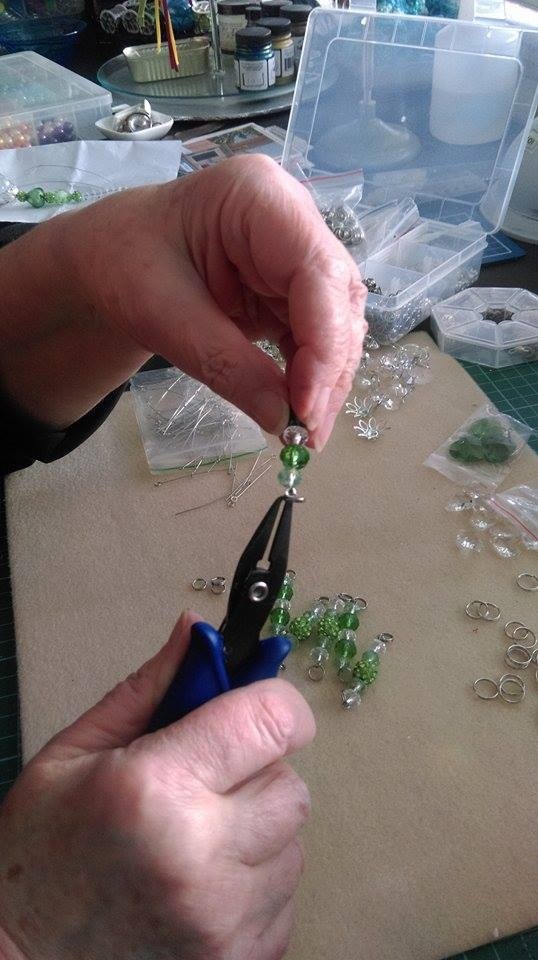
These four pliers are my go to essentials. The most recently added in is the one on the right, a split ring opener. Prior to that I used the pokey tool [official designation] seen at the top right and my finger nails. My left forefinger is covered with scars from puncture wounds – a proper tool was sought and finally found. My life has changed 🙂
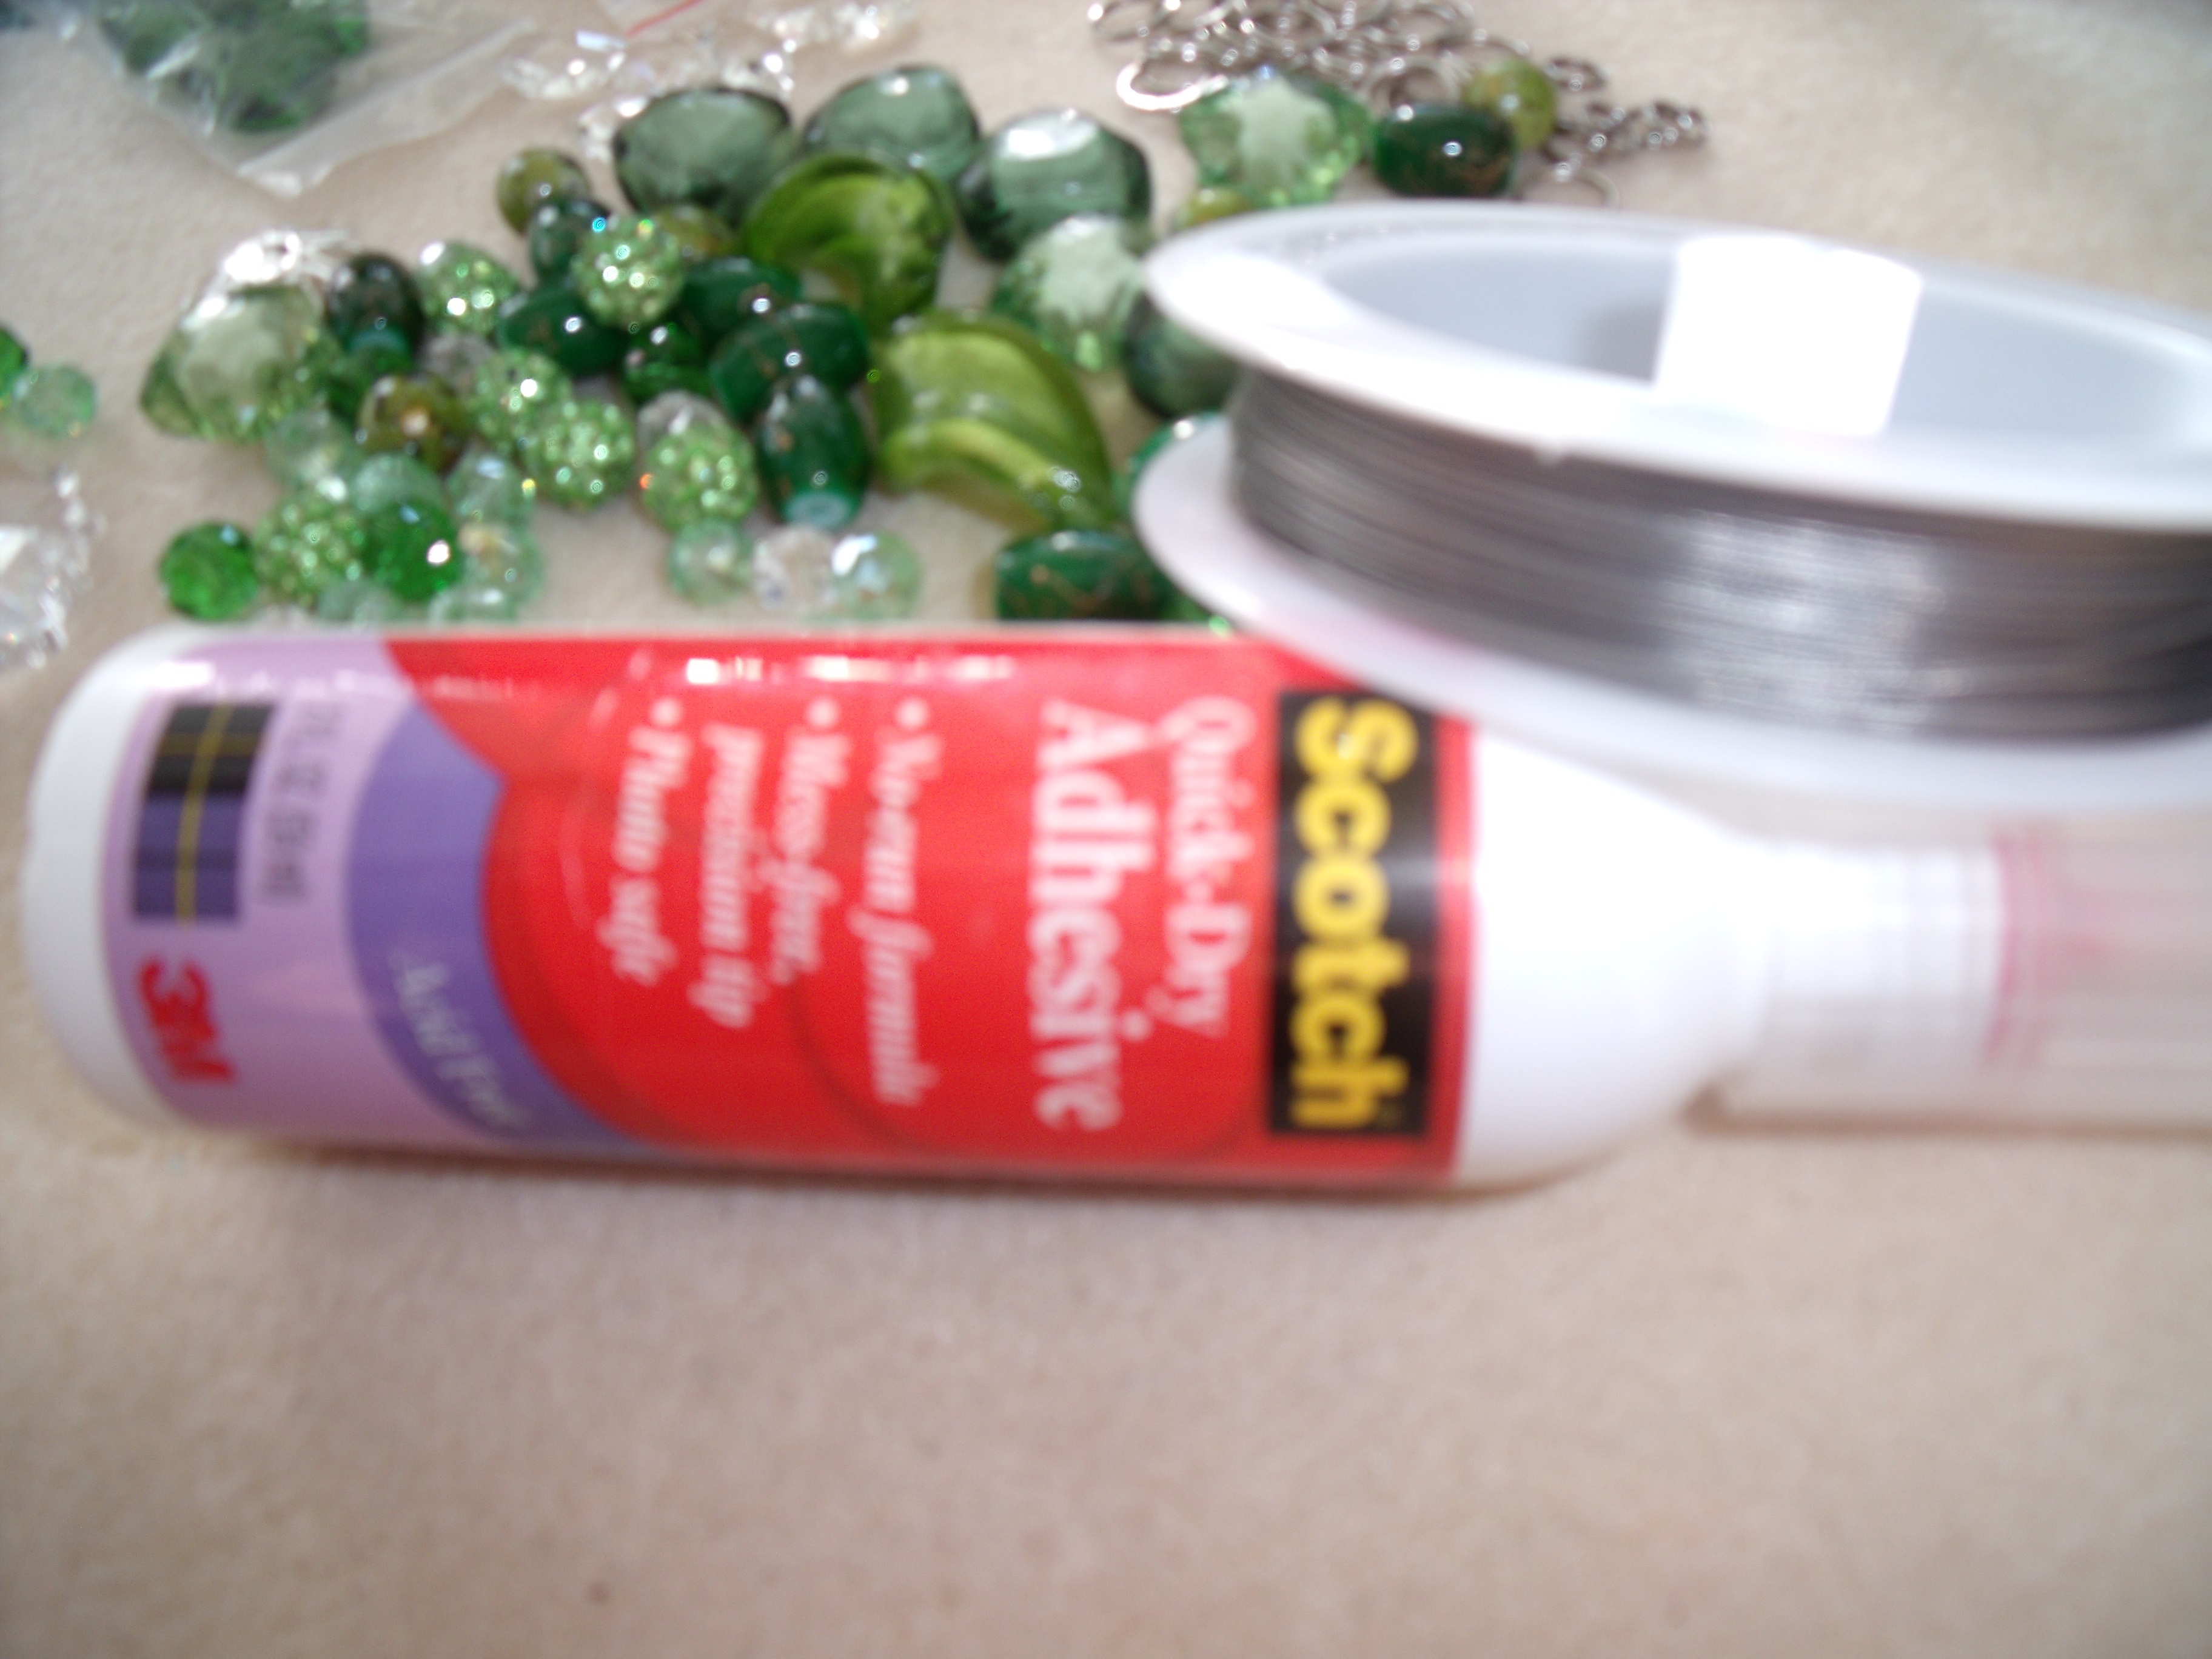
Beading wire [I prefer ‘Tiger’s Tail] and quick dry adhesive to help secure the wire ends. Excuse the blurry photos – I find it a real challenge to snap photos while in the creative process – it is often an afterthought and is done on the fly ……….
Here we have the first length begun, I chose a pretty gold speckled green glass twist interspersed with small polished agate rounds


And the second string started, these beads are all acrylic and used for shape and texture. The wire is threaded through the crystal ball and up through the beads. It is pulled through a split ring, wrapped around itself two or three times and then threaded back down through as many beads as possible. These are tiny beads, so it can’t go too far down. Where the wire is poking out and at the top, fast drying adhesive is added to help secure wire and beads together. When the glue is dry I snip off the excess wire and attach the length of chain. If the glue doesn’t catch, or is peeled off, the wire can slip out and the whole thing will eventually collapse – it has happened and I try hard to ensure it won’t happen again!

Next I set about making half a dozen or so tiny little dangly bits. This is a selection of faceted glass or crystal beads for bling factor. I use long eye pins and snip them down as necessary. I make two different sets, three in each.

Split rings are added to both ends


I chose glass pearl balls and faceted hearts to hang at the bottom of three of the mini-danglers The hearts, due to their thickness, have to be hung using chandelier bow ties. These things are the bane of my light-catcher-creative life! They slip out of place whenever the catcher is moved and while I know where and how to put them back in place, the new owner may not. The only alternative I have is to use a large connecting split ring which looks ungainly – so I prefer not to go that route. If you have an alternate suggestion please, I would be so grateful should you care to share it.


Tiny crystal hearts are are attached onto the other mini-danglers and then the two strands are attached to a heavy brass ring.

I thought I had finished and left the catcher hanging above my work table for the night.
Early the next morning I wandered into the room and started to play some more. Before I knew it, there was another strand, a new hanging option and a few baubles added – and never a camera to hand! Here’s what I ended up with:

I found the three ring gold acrylic hanger on-line somewhere and bought ten of them, not realising they were so very – um, gold – I need to spray paint them silver but need warmer weather to do that. It’s hard to see in the photo but there are now two faceted crystal balls and one large faceted crystal pear hanging from the bottom of three strands of beads and chain and assorted baubles. The pear especially doesn’t photograph willingly, but is a beautiful thrower of rainbows! Also no charms have been added yet – I add them especially for the person who will own the catcher.
Trying to show some of the magic with the aid of a cushion and the afternoon sun

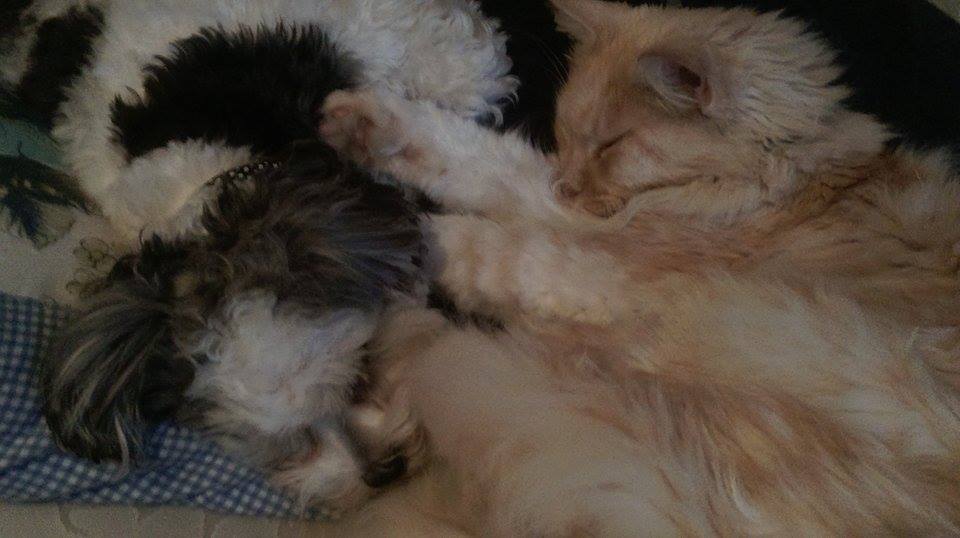
Of course, there’s no magic without Siddy

And just for a change, let’s finish this week with the lovely Orlando who would like to offer a teaser – there’s a giveaway coming up………. stay tuned!

Any questions, please ask them. Any suggestions, please do make them.
Thanks for coming by today, I love that you did!